Fashion Photography Services
E-commerce Photography
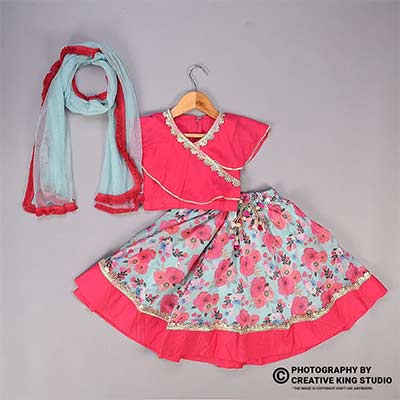
How to show the true colour, weight, handwork and flare of a bridal lehenga before wedding-season listings go live, without glare, guesswork or costly returns.
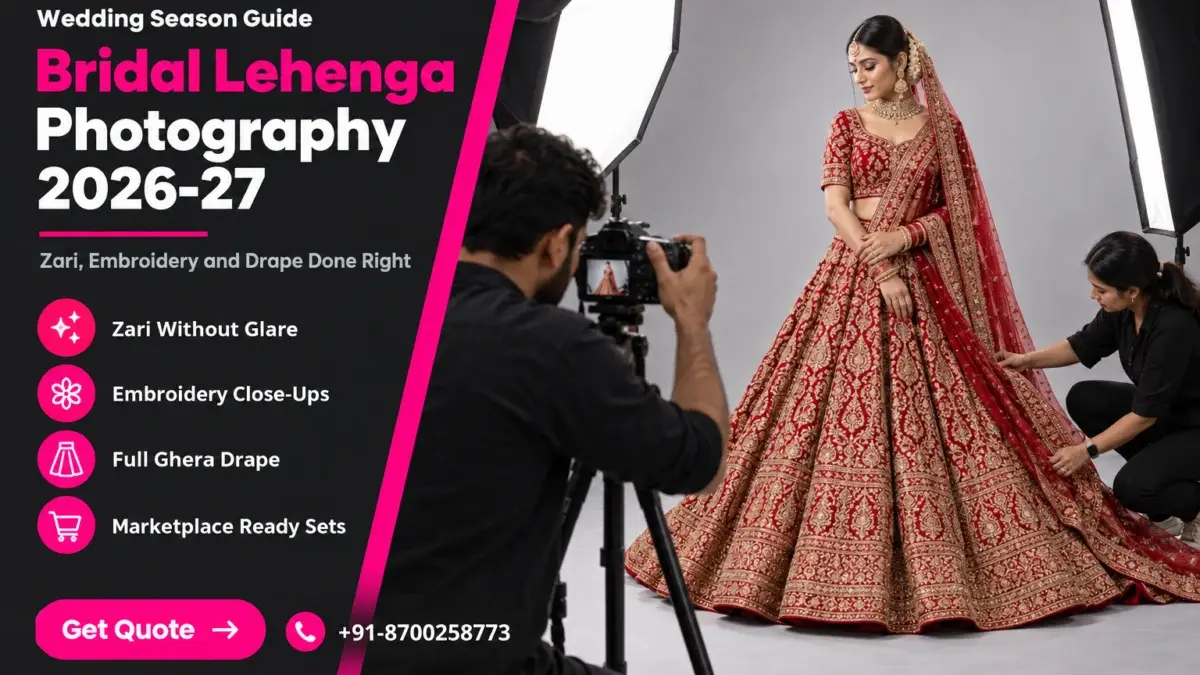
Bridal lehenga photography is the hardest kind of ethnic wear shoot to get right, because one garment combines metallic zari that throws glare, dense hand embroidery that needs macro detail, a heavy flared skirt that collapses on a hanger and a three-piece set that buyers must understand at a glance. This guide is part of our garment photography playbook, and it covers the exact lighting, shot list, styling and checks Ckstudio uses on bridal and heavy occasion wear.
The timing matters. Wedding demand in India peaks between late November and February, and most panchang calendars list the first big run of 2026 muhurats in the second half of November, right after Dev Uthani Ekadashi. A bridal buyer usually shortlists online weeks before she visits a store or places an order, so a lehenga that is photographed badly in early November loses the whole season. Prince, founder of Ckstudio, has shot heavy ethnic wear since the studio opened in 2015, and the rules below come from that floor, not from a stock checklist.
In this guide
Bridal lehenga photography has to solve four problems at once: reflective metal thread, very dense handwork, a heavy skirt with a large flare and a multi-piece set. A kurta or saree shoot usually faces one or two of these. A bridal lehenga faces all four in every single frame.
Start with the material. Zari, dabka, gota patti, sequins and mirror work are all designed to catch candlelight at a wedding, which means they also catch every studio light. At Ckstudio we see it on every bridal set: a setup that gives a perfect cotton kurta will turn a zari border into white specular streaks. The red and maroon base fabrics most brides prefer are also the colours camera sensors clip first, so a deep velvet can easily look flat orange on a phone screen.
Then there is weight. A bridal lehenga skirt with a full can-can and heavy embroidery can weigh several kilograms, and the flare, or ghera, is a selling point that sellers often quote in metres. If the skirt is not supported and spread correctly, the photo shows a narrow column and the buyer cannot judge the flare she is paying for.
Bridal lehengas are high-ticket, considered purchases. A buyer zooms into the blouse neckline, the border width, the dupatta pallu and the waistband finish before she decides whether a listing is worth a store visit or an order. In bridal lehenga photography, the image is effectively the trial room. Thin, grainy or glary pictures make a premium piece look like a budget copy, and the buyer moves to the next listing.
Finally, the set itself is complicated. A typical bridal set has a lehenga skirt, a blouse or choli (often unstitched or semi-stitched), one or two dupattas and sometimes a can-can or belt. Buyers need to see exactly which pieces are included and how each one looks. If you already sell sarees and kurta sets, our ethnic wear photography guide for sarees and kurtis covers the lighter categories; this post goes deeper on the bridal end only.
Use large, soft, diffused light sources placed at controlled angles, add a polariser where the metal reflects straight back, and judge exposure on the darkest embroidery rather than the brightest sequin. The goal is to show the metal shine as a soft glow with visible thread texture, not as white dots.
The single biggest mistake on heavy ethnic wear is a small, hard light pointed straight at the garment. Metal thread acts like thousands of tiny mirrors, and a small source creates a hot spot on every one of them. A big octabox or a scrim between the light and the lehenga spreads the reflection across a wider area, so each sequin shows a gentle highlight instead of a pin-point of white.
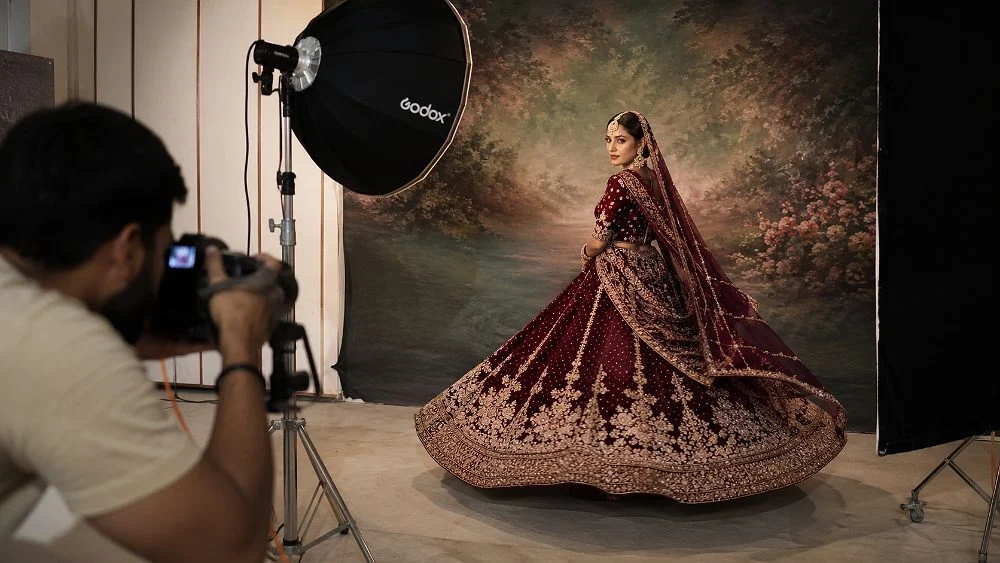
From the studio floor
For heavy zari on a model, we start with a 120 cm octabox as the key light at about 45 degrees and slightly above eye level, a 30 x 120 cm strip softbox behind at the opposite side as rim light, and a large white bounce for fill. Where the border still throws glare, a circular polariser on the lens (and a polarising film on the key light for flat-lay detail) cuts the reflection by a stop or two. We shoot tethered and check the sequin highlights at 100 percent zoom before the model changes pose.
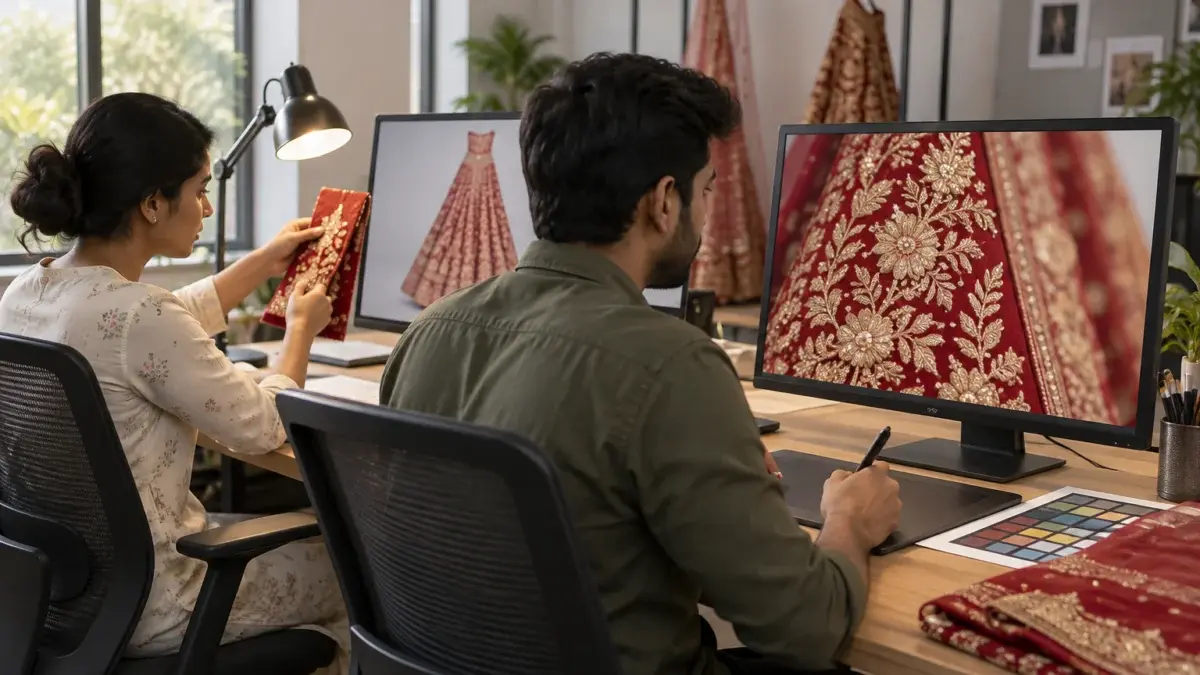
Shoot a colour checker card under the same light at the start of every set and whenever the lights move. Deep reds should be edited against the physical fabric under daylight-balanced light, not against memory. We export in sRGB because marketplaces and phones display sRGB, and we compare the final file on a calibrated monitor and on a mid-range phone, since most bridal shoppers browse on a phone.
A complete bridal lehenga listing needs 8 to 10 frames: a full-length front, back and side, a full flare spread, blouse and neckline close-ups, an embroidery macro, the dupatta on its own, a set-contents flat image and a short motion clip. Each frame answers one buyer question.
Buyers of heavy occasion wear zoom and compare. If one question is not answered visually, for example how deep the back neck is or whether the dupatta border matches the skirt, she either asks the seller a question, which slows the sale, or simply leaves. The shot list below is the order we capture a bridal set in, so styling changes are kept to a minimum.
| Frame | What it must show | Buyer question it answers |
|---|---|---|
| 1. Full-length front | Complete set worn, dupatta styled, head to hem | What does the full bridal look include? |
| 2. Back view | Blouse back, tie-ups or hooks, skirt back panel | Is the back neck deep or covered? |
| 3. Side or three-quarter | Skirt volume and dupatta fall | How much does the skirt stand out? |
| 4. Full ghera spread | Skirt flared out in a full circle | How big is the flare in real life? |
| 5. Blouse close-up | Neckline, sleeve work, finishing | Is the blouse as detailed as the skirt? |
| 6. Embroidery macro | Thread, stones, base fabric weave | Is it handwork or machine work? |
| 7. Dupatta alone | Border, butti spread, net or silk base | What does the dupatta look like opened? |
| 8. Set contents | Every piece laid out separately | What exactly arrives in the box? |
| 9. Motion clip | Twirl or walk, 8 to 15 seconds | How does it move and catch light? |
Frame 8 is the one most sellers skip and the one that prevents the most disputes. Lay the skirt, blouse piece, dupatta and any can-can or latkans side by side on a neutral surface and photograph them from directly above. If the blouse is unstitched, show it as fabric, not as a stitched blouse borrowed from the sample, because buyers judge the listing by what the photos promise.
Jewellery deserves the same discipline. A bride in full kundan sets looks beautiful, but if the jewellery is not part of the sale, keep it minimal on the main image and use it only on secondary lifestyle frames. That keeps the product clear and avoids “item not as shown” complaints after delivery.
Use a macro lens, light the embroidery from a low side angle so stitches cast tiny shadows, include a scale cue such as the border edge, and focus-stack when the work is raised. That combination shows whether the work is hand-done, how dense it is and how it sits on the base fabric.
Embroidery photographed with flat front light looks printed. A low side light, sometimes called raking light, lets each dabka coil, cut-dana bead and French knot throw a small shadow, and that texture is what tells a buyer she is looking at handwork. We usually keep the main light at 20 to 30 degrees to the fabric surface for macros and add only a small white card on the opposite side.
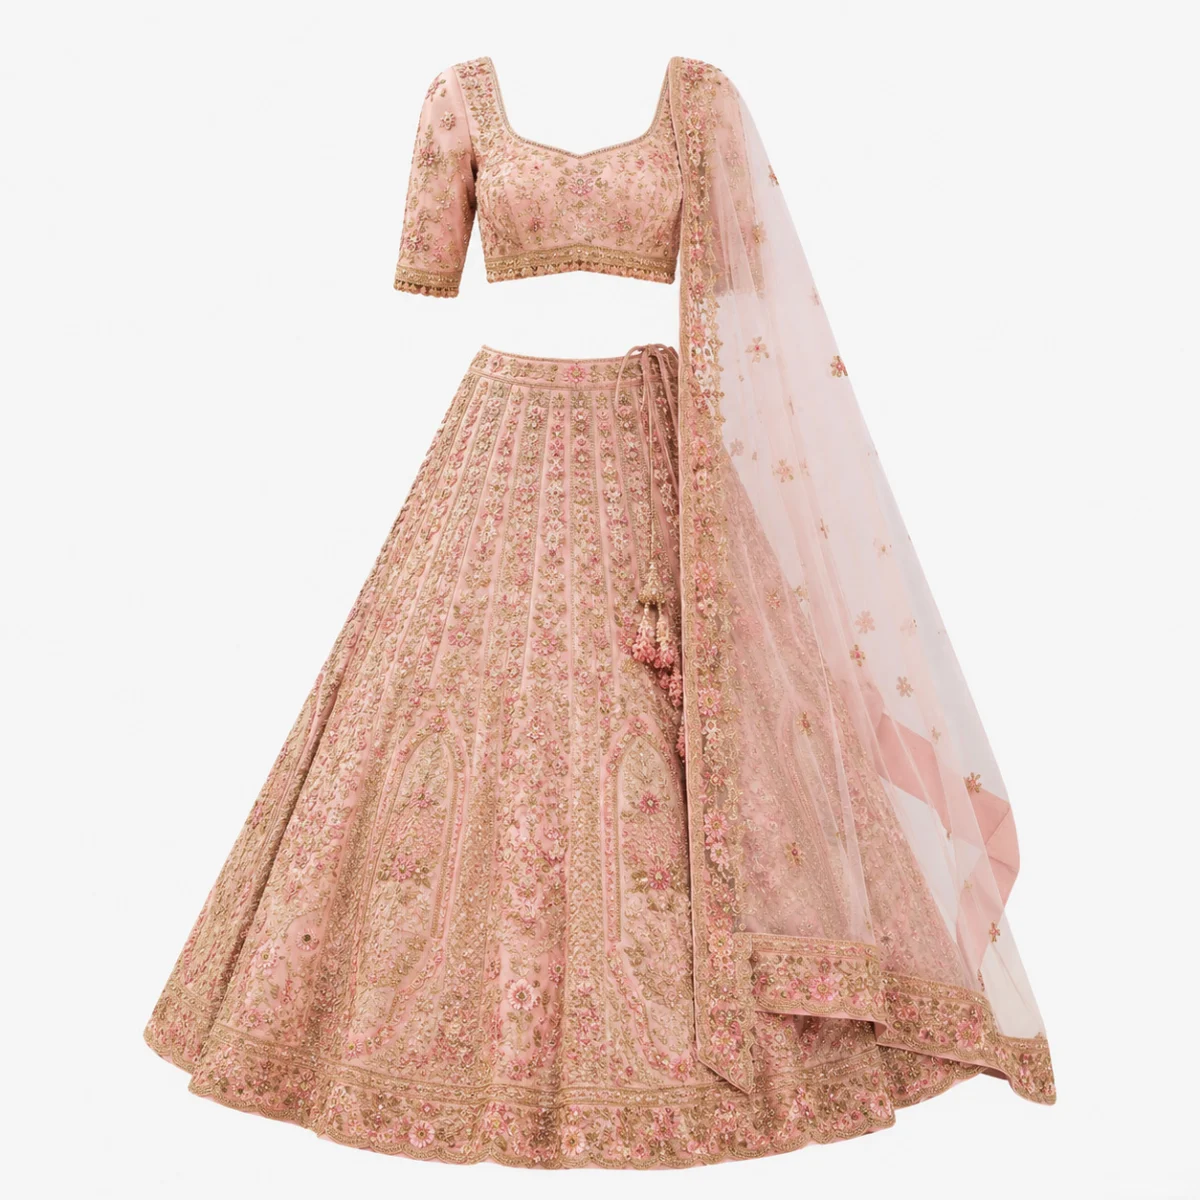
From the studio floor
Our embroidery macros are shot with a 100 mm macro lens at f/8 to f/11, ISO 100, on a tripod, with the camera parallel to the fabric. For raised zardozi or stone work we take 4 to 8 frames at different focus distances and stack them, so the top of the stones and the base fabric are both sharp. Each macro is framed to include the edge of the border or a seam, which gives the buyer a natural sense of scale without a ruler.
Do not try to macro every inch. Pick the three areas a bride compares between listings: the skirt border, the blouse neckline or sleeve, and the dupatta pallu or border. If the lehenga has a signature motif, such as a doli, peacock or name panel, give it its own frame. For machine embroidery, be honest; a clean, sharp macro of good machine work still sells, while a blurred close-up that hides the method creates doubt.
Keep retouching on embroidery light. Remove lint, loose threads and dust, and even out a crease if it distracts, but never rebuild missing stones or extend a border in editing. Bridal buyers often compare the product received with the listing photo inch by inch, and edited-in detail is the fastest route to a return request.
Use a model for the hero and the motion frames, because a bridal lehenga sells an emotion and a fit. Use an invisible or ghost mannequin for clean set shots, back views and catalogue consistency across many SKUs. Most successful bridal listings combine both.
A model shows how the blouse sits, how the dupatta falls from the shoulder and how the skirt moves, which a dress form cannot. A mannequin, however, holds the skirt perfectly still, allows long exposures for detail and keeps every SKU in a range identical in scale. For e-commerce sellers with 20 or more lehengas, mixing them gives the best balance of emotion and consistency.
| Factor | On model | Ghost / invisible mannequin |
|---|---|---|
| Emotional appeal | High: shows the bridal look | Moderate: product-focused |
| Fit and drape | Real body, real fall | Shape implied, no body |
| Consistency across 30+ SKUs | Depends on poses and model | Very high |
| Heavy skirt support | Model tires under weight | Holds for long exposures |
| Best frames | Front hero, side, motion | Back, set shots, details |
When a range needs clean, consistent set images without the cost of a model on every SKU, ghost mannequin photography solves the problem by compositing the inner neck and hollow areas so the lehenga looks worn without a body. When the bridal look itself is the selling point, a model photoshoot for ethnic wear gives buyers the fit, posture and movement they need before committing to a high-ticket piece.
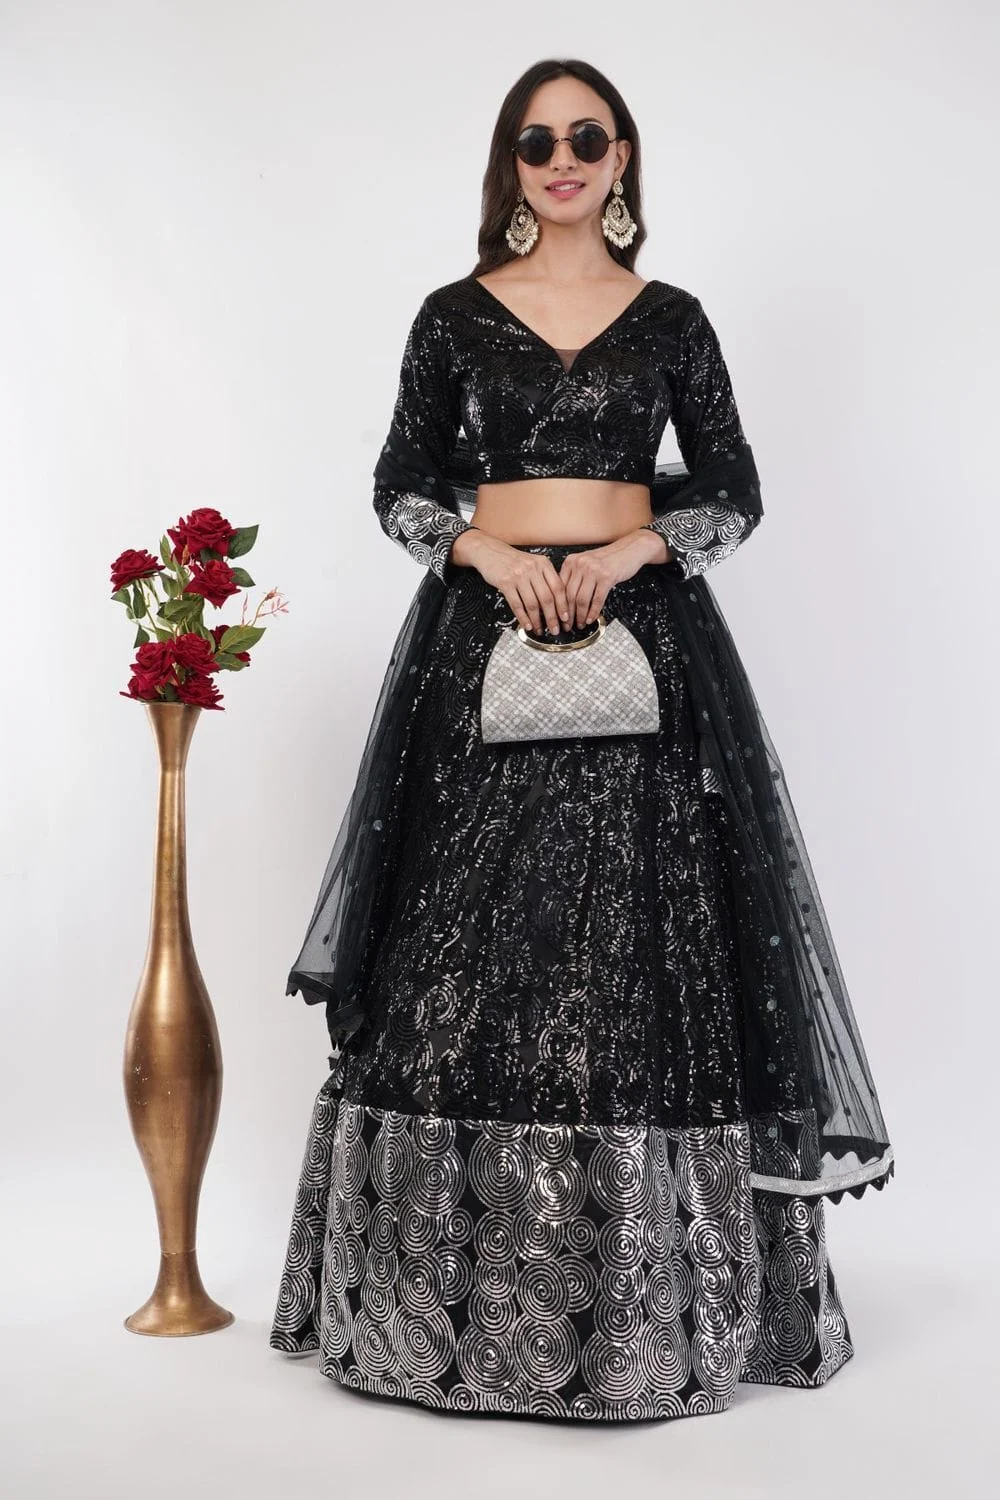
Pick a model whose height suits the lehenga length; a skirt that pools on the floor hides the border, and one that is too short looks like the wrong size. Poses should be slow and grounded: a gentle step, a hand lifting the skirt edge, a look down at the dupatta. Fast fashion poses make heavy outfits look awkward. This short reel shows how on-model fashion frames are directed and lit in a working studio, which is the same discipline a bridal set needs.
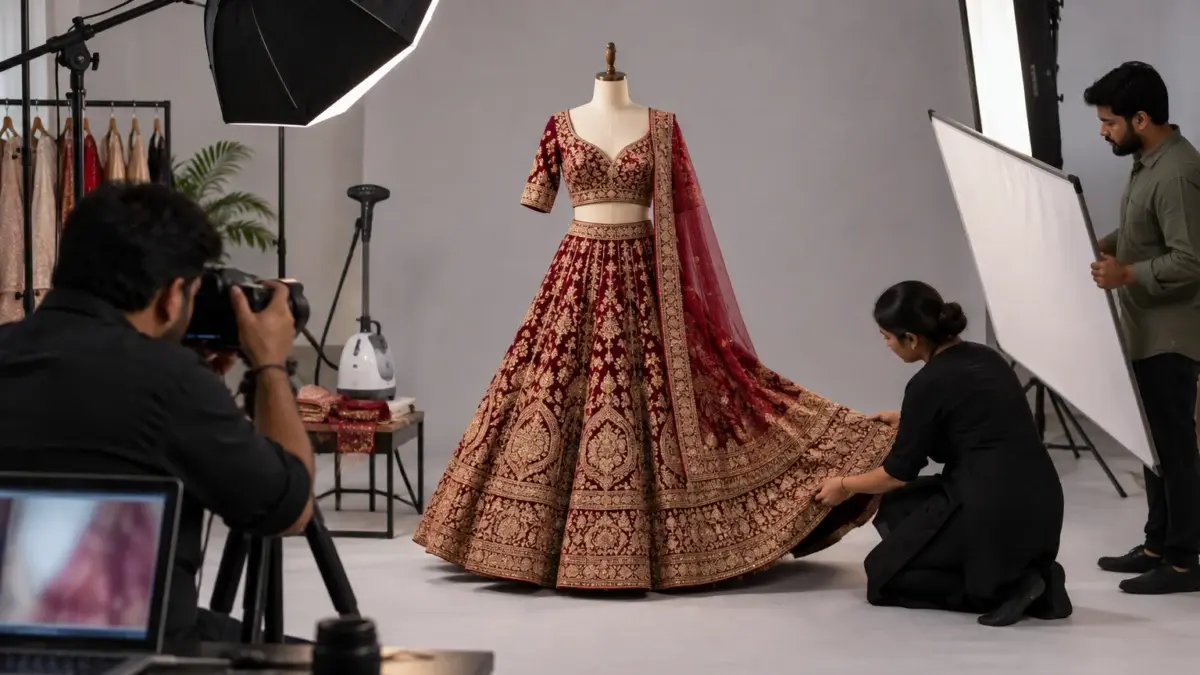
Support the skirt with the right can-can, spread the ghera evenly by hand before each frame, shoot one top-down or wide flare frame, and state the flare and weight from the seller’s own measurements in the listing. The photo should match what the buyer feels when she wears it.
Flare is the single most misrepresented attribute in lehenga listings. Some sellers pin the skirt outwards with hidden clips or add extra layers that do not ship, which looks impressive and then disappoints. The honest approach is simple: use the can-can that comes with the lehenga, or a neutral studio can-can of similar volume, and say so in the description if the can-can is sold separately.
From the studio floor
On a dress form, we steam the skirt panels from the inside first, then fit the can-can and spread the ghera in even folds, checking from the camera position that the hem forms a smooth curve with no flat side. The camera sits at about waist height of the form with a 50 mm or 24-70 mm lens at around 50 mm, so the skirt is not distorted into a cone. A stylist re-sets the folds between every angle; a single collapsed panel is visible on a 1200 px zoom.
Weight is hard to photograph, but you can imply it. A side frame with the model holding the skirt slightly away from her body shows the stiffness of the work. A motion clip of a slow twirl shows how much the skirt swings, and heavier skirts swing less. Pair those visuals with an exact weight in the description, measured by the seller on a scale, rather than vague words like “light” or “heavy”.
Every marketplace wants a clean main image that shows only the product being sold, enough resolution for zoom and no text, logos or watermarks on the primary frame. Category style guides for ethnic wear differ by platform, so always check the current guide on your own seller account before the shoot.
Amazon publishes its rules openly. Its product image requirements on Seller Central ask for a pure white background on the main image, the product filling about 85 percent of the frame, at least 1000 pixels on the longest side so zoom works, and no text, logos or watermarks on the main image. Those rules shape how we frame the bridal main image for Amazon fashion even when the seller’s priority platform is elsewhere.
Flipkart, Myntra and AJIO share category-specific style guides with registered sellers through their partner portals, and the specifications for ethnic wear (background tone, model crop, number of frames) are updated from season to season. Check the current version on the Flipkart Seller Hub or your Myntra and AJIO partner dashboards, and share it with the studio before the shoot rather than after the first rejection.
| Requirement | Amazon (published rule) | Flipkart, Myntra, AJIO (practice) |
|---|---|---|
| Main image background | Pure white | Follow the category guide on your seller panel |
| Product fill | About 85% of the frame | Full outfit visible, head-to-hem framing |
| Resolution for zoom | 1000 px or more on the longest side | High-resolution files; check portal limits |
| Text, logos, watermarks | Not allowed on the main image | Avoid on all catalogue frames |
| Props and extras | Show only the product being sold | Keep jewellery and props minimal and clearly not included |
The route Ckstudio follows is to shoot once at high resolution with enough headroom around the outfit, then crop and export separate sets for each platform. Shoot the main frames on a background that can be cleaned to pure white for Amazon and kept as light grey or off-white where the category guide prefers it. This short behind-the-scenes clip shows a marketplace-oriented studio workflow, from product placement to tethered review, which is the same process a bridal range goes through.
If your bridal range is listed on two or three platforms, keep the file names, colour names and set-contents frames identical across them. A buyer who sees the same lehenga in a different red on two apps loses trust in both listings.
Plan backwards from the date you want listings live: allow time for garment preparation, the shoot, retouching, colour approval and marketplace QC. Freeze the shot list and set contents before the shoot, and run a colour check against the physical lehenga before upload.
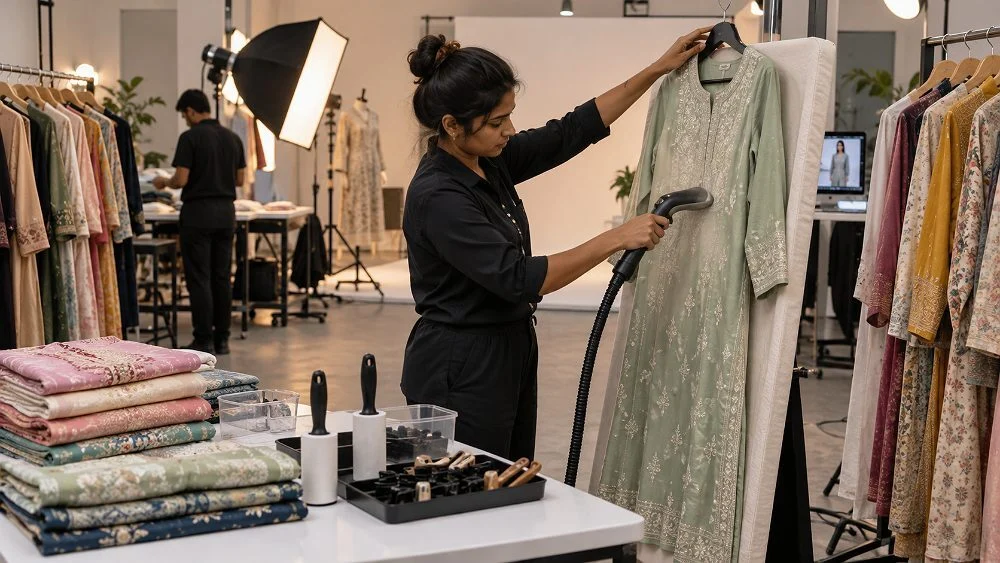
Bridal ranges are usually small in SKU count but heavy in effort per SKU. A kurta set might take minutes on set; a bridal lehenga needs steaming, can-can fitting, dupatta pinning and several styling resets. Plan the day around the number of full looks a model can wear comfortably, not around the number of SKUs a catalogue shoot normally covers.
Example scenario
Example: a boutique moving 30 bridal and heavy occasion lehengas online plans 8 on-model frames for each of its 10 hero pieces and 6 mannequin and detail frames for the other 20. That works out to roughly 80 model frames and 120 mannequin and macro frames, plus 10 short motion clips for the hero pieces. These numbers are illustrative only, but splitting hero and supporting SKUs this way keeps model time focused where emotion sells.
Need help planning a wedding-season shoot? Call +91-8700258773 or share your set list on +91-8700258773 on WhatsApp, and the Ckstudio team will suggest a shot plan for your range.
Plan 8 to 10 frames: front, back, side, full flare, blouse close-up, embroidery macro, dupatta alone and set contents, plus a short motion clip. Upload as many as the platform allows, with the strongest full-length front as the main image.
Use large soft light sources instead of small hard ones, place them at an angle rather than straight at the garment, and add a polariser where reflections persist. Check the highlights at 100 percent zoom during the shoot, not after.
Both have a job. A model sells the bridal look, fit and movement on the hero frames, while a ghost or invisible mannequin gives consistent back views, set shots and detail frames across a whole range. Most strong listings use both.
Shoot a colour checker under the set light, set white balance from it, export in sRGB and approve the final files against the physical lehenga in daylight. Keep the same colour name across every marketplace listing.
Keep it minimal on the main image so buyers know what is being sold. Fuller bridal styling with jewellery works on secondary lifestyle frames, ideally with a line in the description saying jewellery is not included.
Shoot early enough that listings are live and approved before buyers start shortlisting, which for the November to February season means planning the shoot well before the first late-November muhurats. Leave time for retouching, colour approval and marketplace QC.
Bridal lehenga photography rewards patience: soft light on the zari, honest macros of the handwork, a properly supported ghera and a clear set-contents frame do more for conversions than any filter. If you want a second opinion on your current lehenga images, email [email protected] with two or three listing links and Prince or the Ckstudio team will point out what to reshoot first.
Next step: once your shot list is ready, book a garment photoshoot for your bridal range.
Ckstudio shoots ethnic and bridal wear for ecommerce brands selling on Amazon, Flipkart, Myntra and AJIO. Share your SKU list and set contents on WhatsApp at +91-8700258773 or email [email protected] for a shot plan.
Call Prince: +91-8700258773