Fashion Photography Services
E-commerce Photography
A practical shot list, lighting plan and QC routine for lehengas, sarees and sherwanis that have to look as rich online as they do in the hand.
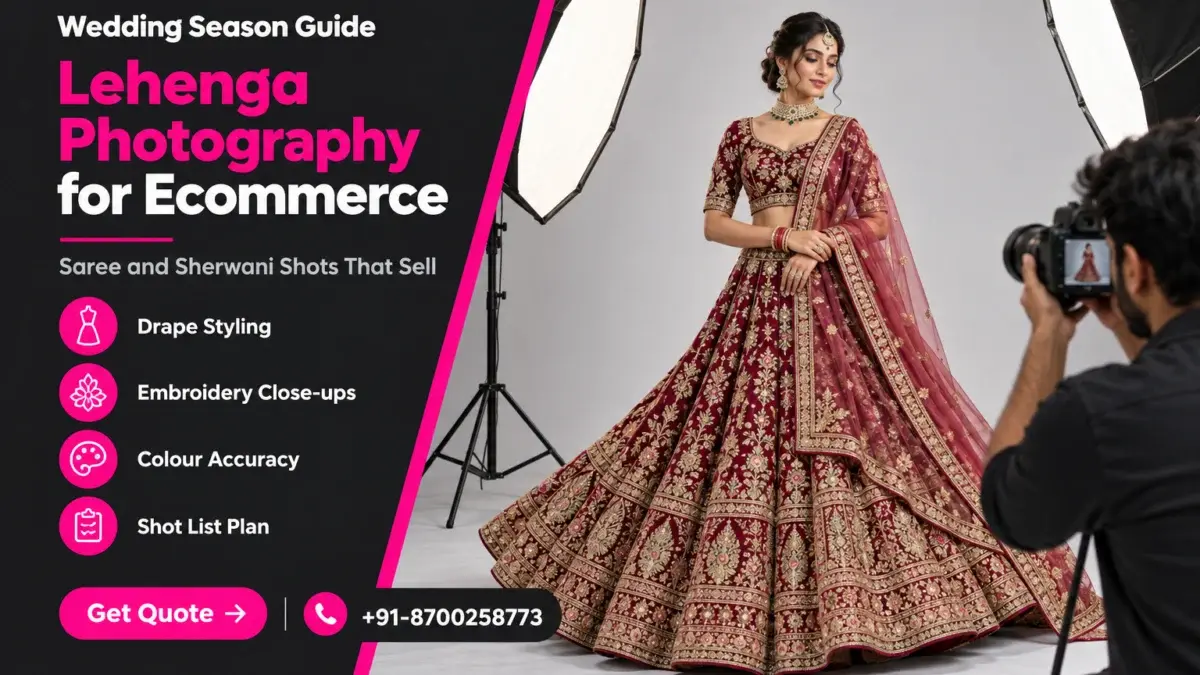
Lehenga photography for ecommerce is the hardest apparel brief of the year: a single bridal piece can carry 3 to 4 kg of zari, sequins and can-can, a sheer dupatta that turns grey under the wrong light, and a price tag that makes buyers zoom into every motif before they pay. Shaadi season opens after Dev Uthani Ekadashi in November and runs through February, so the brands that win are the ones whose wedding drop is shot, retouched and live before the search spike, not during it.
This guide is the planning layer that sits under our garment photography work: what to shoot, in what order, under which lights, and how to check it before upload. It is written from the studio floor at Ckstudio, where Prince and the team have been shooting ethnic wear for marketplace and D2C catalogues since 2015, and it covers lehengas, sarees and sherwanis because those three categories fail in very different ways.
In this guide
Because wedding pieces are heavier, more reflective and more expensive than everyday ethnic wear, and buyers judge them almost entirely on close-up detail. A plan built for kurtis or co-ord sets under-lights the embroidery, flattens the flare and skips the shots a bride’s family actually asks for.
Everyday ethnic wear is bought on fit and colour. Bridal and wedding-guest wear is bought on craft: the density of the zardozi, the finish on the blouse back, the border on the dupatta, the fall of the kali panels. A buyer comparing two maroon lehengas at very different price points needs the images to explain the difference, and a single full-length front shot cannot do that.
The second reason is timing, and it shapes lehenga photography for ecommerce more than any lighting choice. Wedding collections are usually ready in October, shot in a rush and uploaded in November, exactly when studios, models and stylists are busiest. Brands that treat it as “one more shoot” end up with mixed lighting across SKUs because pieces were shot on different days by different crews. That inconsistency is visible on a category page where twenty of your lehengas sit next to each other.
The third reason is returns. On high-value ethnic wear the most common return reasons we hear from sellers are “colour looked different” and “work looked heavier in the photo”. Both are photography problems. Honest light, true colour and a clear detail sequence reduce the gap between what the buyer imagined and what arrives in the box.
If you already have a general ethnic catalogue routine, our ethnic wear photography guide for sarees and kurtis covers the basics. This article only covers what changes when the garment is a wedding piece.
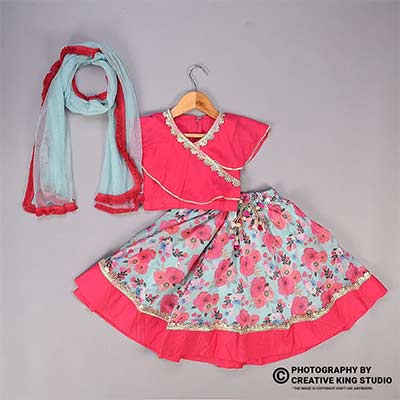
A complete lehenga set needs a full-length front hero, a flare or twirl frame, a back view showing the blouse and dori, a dupatta-drape frame, and three to four detail close-ups of the skirt border, blouse work and dupatta edge. That gives 7 to 9 images that answer every question a buyer asks before checkout.
The hero is a straight-on, full-length frame with the dupatta draped in the most common wedding style — one side pinned on the shoulder, the other falling over the arm. Keep the camera at the model’s waist height so the skirt does not look shorter than it is. The second frame is the flare: either a mid-twirl at a fast shutter or a static pose with the stylist fanning the ghera on the floor. This is the image that sells the volume of the kalis.
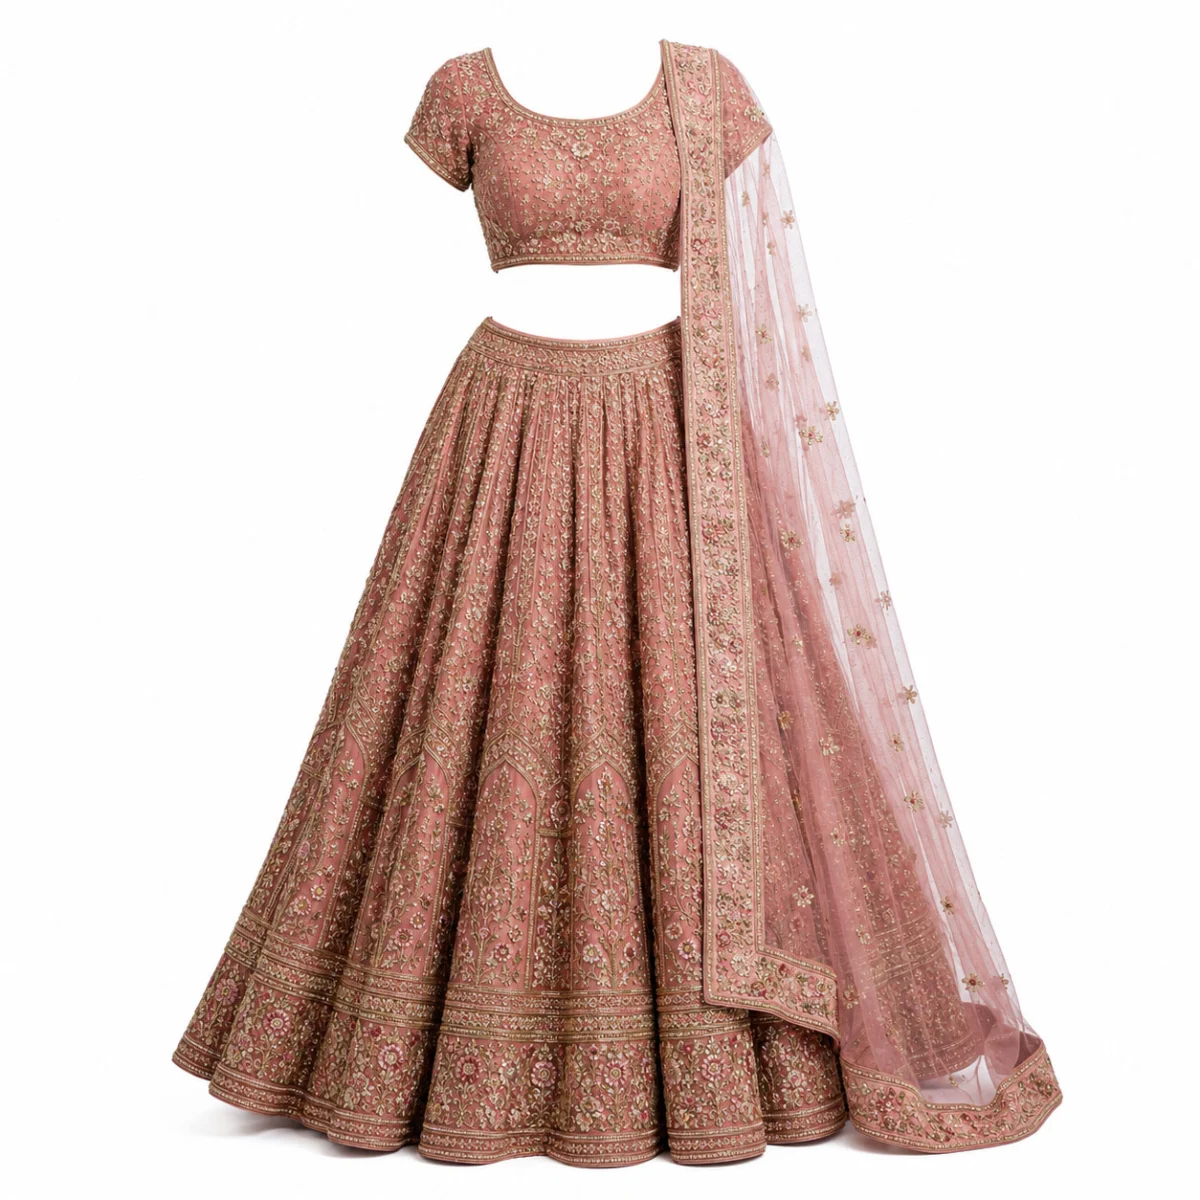
Detail frames are where a wedding lehenga earns its price, and they are the part of lehenga photography for ecommerce most often cut to save time. Shoot the skirt border at roughly 1:2 magnification so individual sequins and thread twists are readable, then the blouse front work, the dupatta border, and one texture frame of the base fabric — velvet, raw silk and net all read very differently. The back frame matters more than most brands think: the blouse back, tassels, dori and hook placement are what tailors and mothers of the bride inspect first.
Some sellers book lehengas the same way they book everyday garments and get five frames back. For a piece that sells at wedding prices, that leaves the buyer guessing. If you are shooting with a team for the first time, read how to prepare garments before a model photoshoot so the heavy pieces arrive steamed, tagged and complete with cans and latkans.
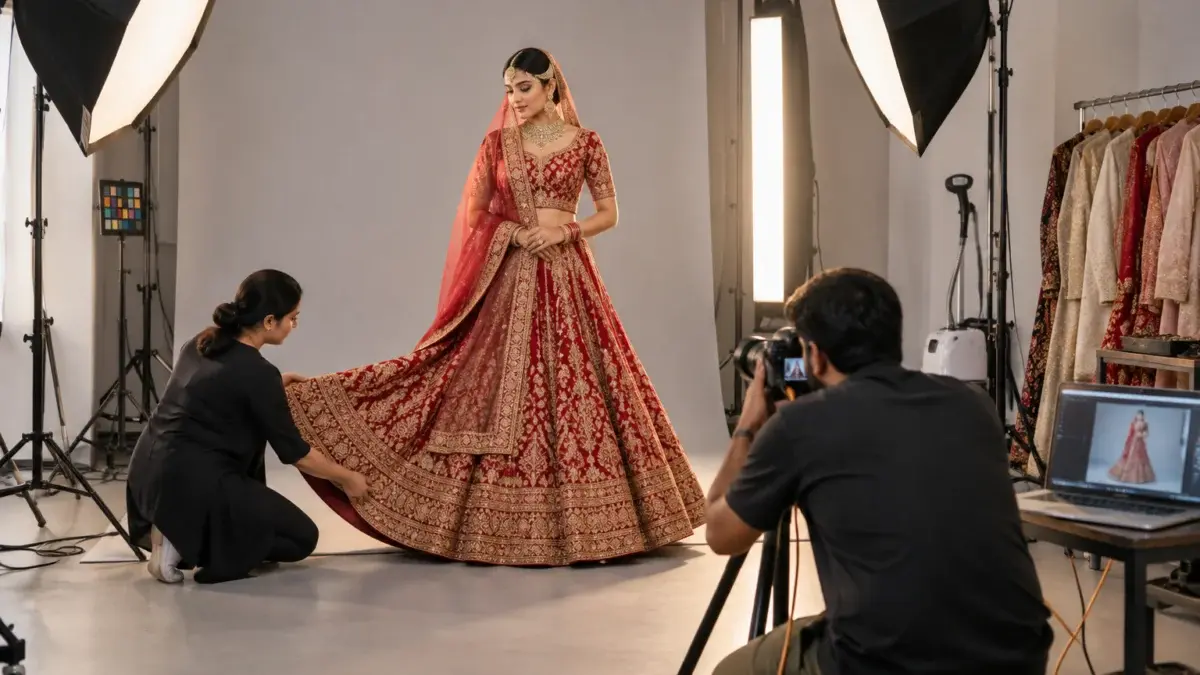
Use large soft sources at about 45 degrees to the garment, add a narrow strip light behind for edge separation, and keep the camera slightly off the mirror-work axis so highlights become sparkle rather than white blow-outs. Flat on-axis light kills metallic depth and makes embroidery look printed.
Metallic thread behaves like thousands of tiny mirrors. Point a hard light straight at it and you get either dead grey thread (light bouncing away from the lens) or clipped white patches (light bouncing straight in). The fix is to make the light source big relative to the garment, so every sequin catches some highlight, and to angle it so most reflections fall outside the lens.
From the studio floor
For a bridal lehenga at Ckstudio the standard key is two Godox SK400II heads in large octaboxes at roughly 45 degrees left and right, about 2 m from the model, with one strip softbox behind at hip height for rim light on the net dupatta. We shoot at f/8 to f/11, ISO 100 and 1/160 s on a full-frame body with a 50 mm lens for full-length frames, then switch to a 100 mm macro for border close-ups. A grey card and colour chart go in the first frame of every new garment.
Velvet is the opposite problem: it absorbs light and goes muddy. Raise the key by about a third of a stop for velvet bases and add a low white bounce under the hem so the bottom border does not fall into shadow. Net and organza dupattas need the backlight most, otherwise they disappear against a white or light grey sweep.
Keep the same light positions marked on the floor with tape for the whole collection; in lehenga photography for ecommerce, that discipline is what keeps a 30-piece drop looking like one brand. Consistency across thirty SKUs matters more on a category grid than any single beautiful frame.
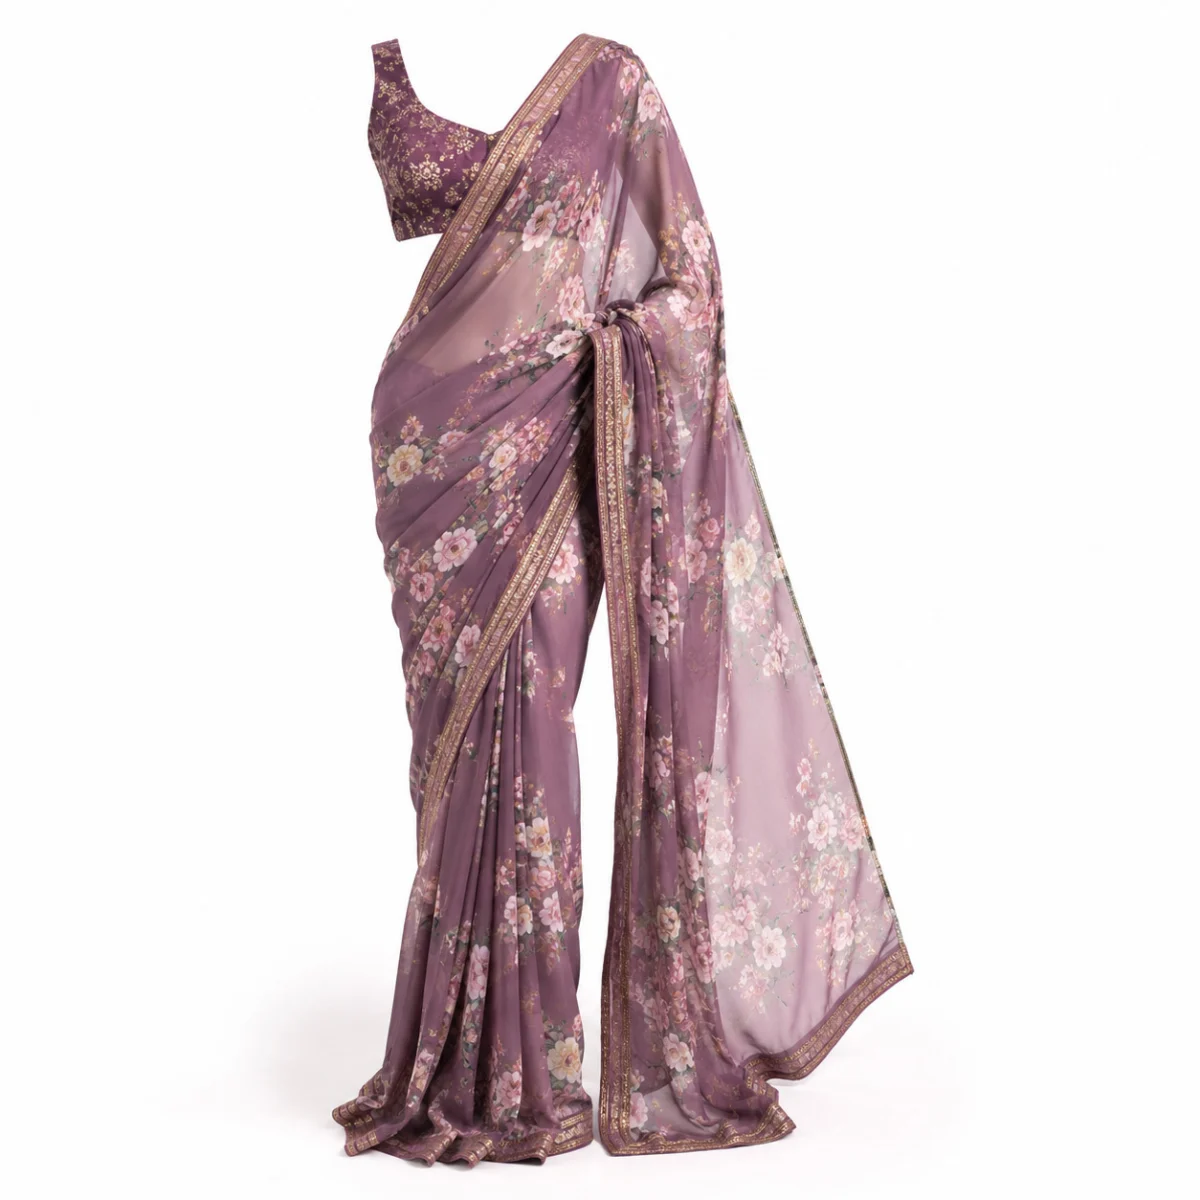
Show the saree three ways: worn in a standard Nivi drape, with the pallu opened to show its full design, and as a border and body close-up. A saree photoshoot for an online store fails when it only shows the drape, because buyers cannot see the pallu motif or how wide the border really is.
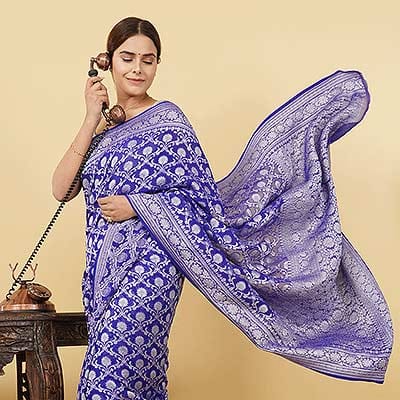
A wedding saree is two products in one: the drape a buyer will wear and the six-odd metres of design they are paying for. The worn frame sells the look; the open-pallu frame sells the craft. For Banarasi, Kanjeevaram and heavy georgette pieces, the pallu is often the most expensive part of the weave, so hiding it in pleats wastes the most valuable visual.
From the studio floor
Pleats are where saree shoots go wrong. Our stylists make 7 to 9 pleats of about 5 inches each, pin them at the waist and again 10 inches below with flat safety pins hidden inside the fold, then steam the front face only. The pallu gets a single concealed pin at the shoulder. Every saree is re-pleated from scratch after its pallu-open frame because an opened pallu pulls the pleats out of line.
Georgette and chiffon sarees move with the slightest breeze from a fan or a strobe’s cooling vent, which is useful for a flowing secondary frame but disastrous for the hero. Shoot the hero first with all fans off, then add movement for one lifestyle frame. Silk sarees need a little more light from the side to reveal the weave texture, and very light pastel organza sarees need the background a stop darker than usual so the edges hold.
When a saree comes in several colourways, keep the drape, pose and crop identical across them. On a listing page, colour swatches that jump between different poses make it look like different products.
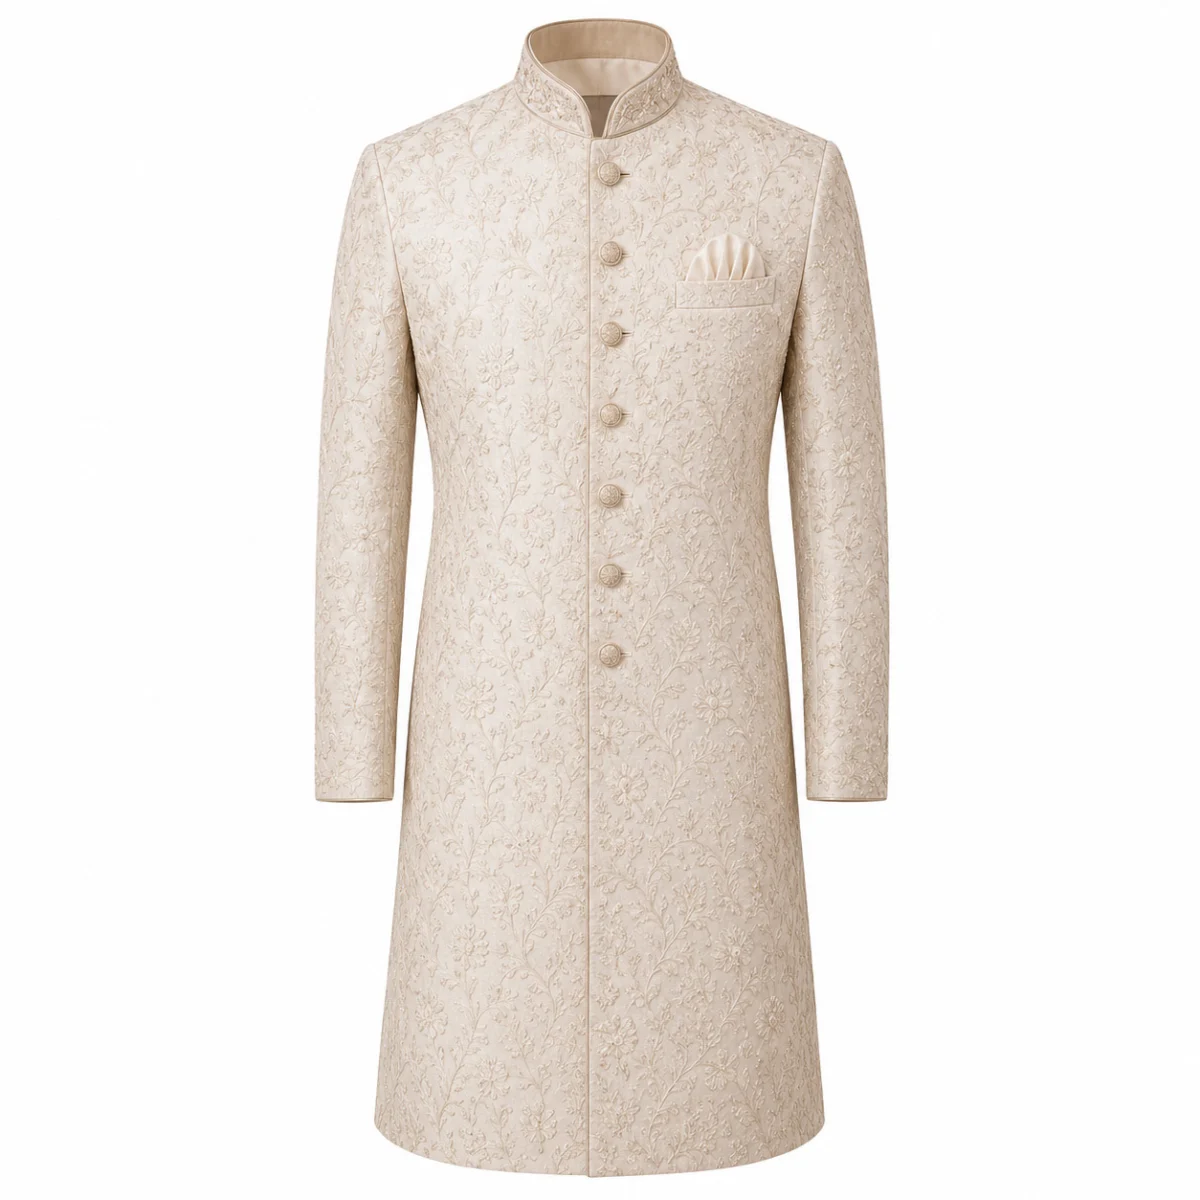
Sherwani product photography has to show structure: a straight shoulder line, a crisp bandhgala collar, evenly spaced buttons and the length relative to the knee. Kurtas forgive soft draping; a sherwani that looks crumpled or tilted reads as cheap tailoring.
A sherwani is closer to a tailored jacket than to a kurta. Buyers look at the collar height, whether the front panels meet cleanly, the button finish and how the hem falls over the churidar. That means the garment must be shot either on a well-fitted model or on an invisible mannequin with correct shoulder padding, never laid loose on a table where the canvas interlining collapses.
Groomswear also has a styling problem that ghost mannequin cannot solve: fit on a real body. If shoppers keep asking whether a sherwani will look boxy on a slimmer frame, an ethnic wear model shoot with a male model of a realistic build answers it in one frame. The menswear reel below shows how a marketplace-ready male model video is framed for the same purpose.
Here is a short Ckstudio menswear video shot for marketplace listings; the same framing logic of front, turn and detail carries over to sherwani and bandhgala sets.
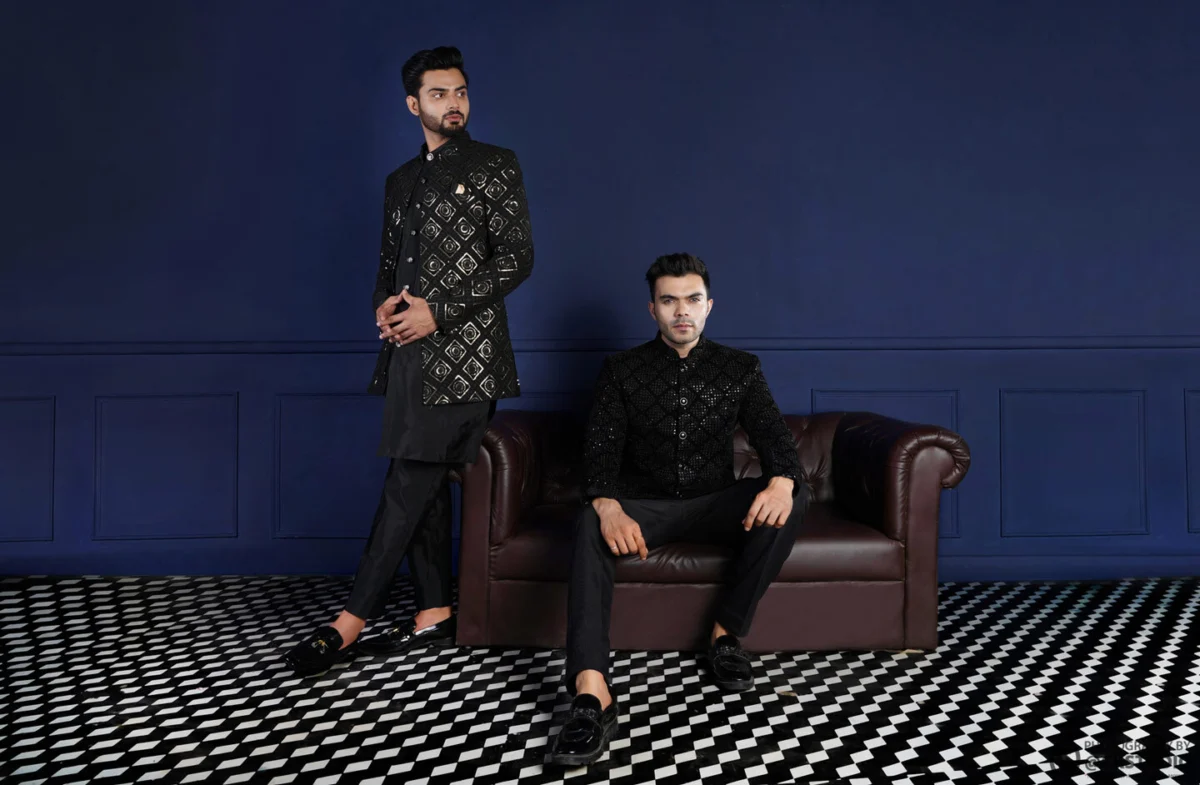
Use a model for the hero of lehengas and sarees, because drape and flare only exist on a body. Use ghost mannequin for consistent colourway sets and sherwanis, and keep flat lay for dupattas, unstitched blouse pieces and accessories. Most wedding SKUs need a mix, not one format.
Choosing one format for the whole collection is the most common budgeting shortcut, and it usually backfires. A lehenga on a flat lay loses its volume entirely; a saree on a ghost mannequin looks tidy but stiff; a sherwani on a model can hide the collar line if the model’s posture is off. Decide format garment by garment, then group the shoot days by format so the crew is not rebuilding sets every hour.
| Garment | Best hero format | Support format | Why |
|---|---|---|---|
| Bridal lehenga | On-model | Ghost mannequin set + macro details | Flare, fall and dupatta drape only read on a body |
| Party lehenga (lighter) | On-model or ghost mannequin | Flat lay of dupatta | Lower price point; consistency across colourways matters more |
| Wedding saree | On-model, Nivi drape | Pallu spread + border close-up | Pallu design and drape are separate selling points |
| Sherwani | Ghost mannequin or model | Collar and button macro | Structure and symmetry are the buying signals |
| Dupatta, stole, blouse piece | Flat lay | Draped detail on model | Shows full length and border without distortion |
Here is a short Ckstudio fashion reel that shows how on-model frames are directed for movement and fabric fall, which is exactly what a lehenga flare frame needs.
A useful rule of thumb from our shoots: if the garment’s value is in how it moves, use a model; if the value is in how it is built, use a form; if the value is in a long flat surface, lay it flat. Many wedding SKUs have all three, so plan the hero by the first and add the others as supporting frames.
For brands that also sell on their own website, the on-model frames double as campaign material. That is where a wedding edit stops being a set of listing images and starts telling a story, which we cover in the scheduling section below.
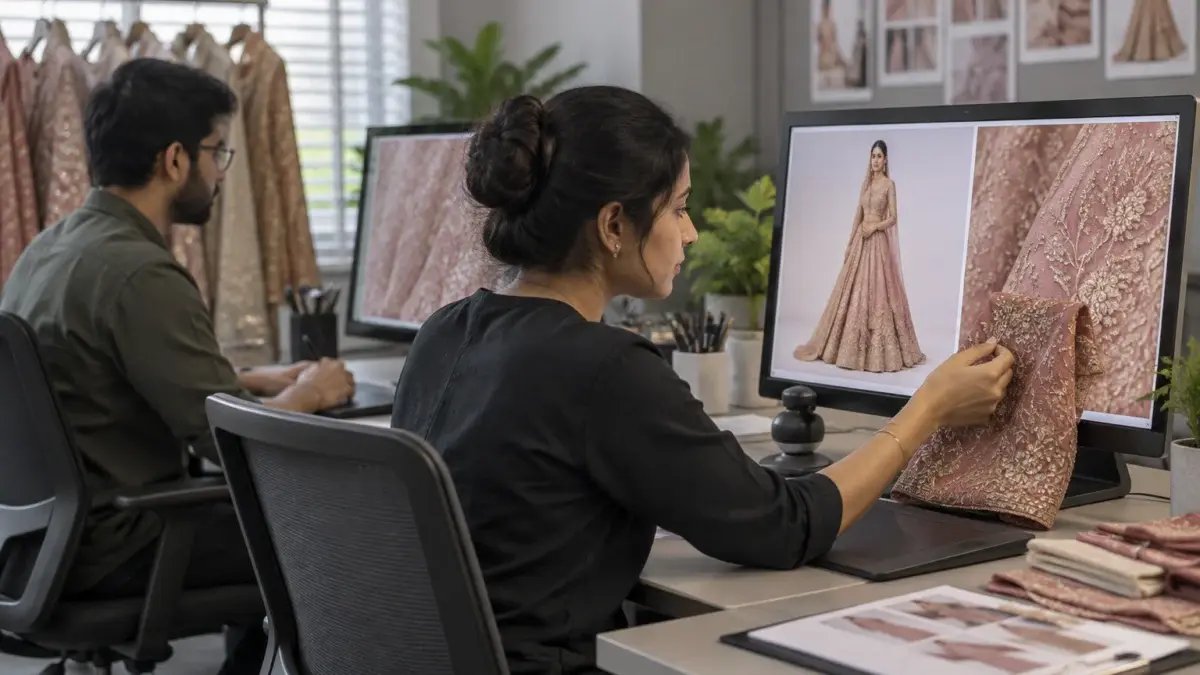
Shoot a colour chart in the first frame of every garment, set white balance from a grey card rather than by eye, edit on a calibrated monitor, and export in sRGB. Then compare the screen against the physical fabric under daylight before the image is approved.
Deep wedding colours are where catalogue images drift most. Rani pink tips into magenta, maroon into brown, bottle green into teal. Each drift is small on its own but it is exactly what a buyer notices when the parcel opens. Colour accuracy is the single cheapest return-reduction step in lehenga photography for ecommerce, because it costs a few minutes per SKU rather than a reshoot.
From the studio floor
At Ckstudio wedding pieces are captured in RAW with a colour chart in frame, edited in a wide-gamut working space and exported as sRGB JPEGs at 2000 px on the long side, under 1 MB each. The QC desk checks three things for every SKU before delivery: shade against the physical swatch under a 5000 K lamp, sequin highlights not clipped above 250 on any channel, and identical crop and background value across all colourways.
Every marketplace has its own image specification, and those rules change. The two public references below are the ones we check most often; always confirm the current version before a large upload.
| Rule | What it means for wedding wear | Source |
|---|---|---|
| Main image on a pure white background | Shoot on white or light grey and clean it to white for the main slot; keep styled sets for secondary slots | Amazon Seller Central image requirements |
| Product fills about 85% of the frame | Crop full-length lehengas tightly; do not leave wide studio space around the flare | Amazon Seller Central image requirements |
| 1000 px or more on the longest side enables zoom | Zoom is essential for embroidery; deliver 2000 px files | Amazon Seller Central image requirements |
| No text, logos or watermarks on the main image | Keep “bridal collection” text and brand marks off the hero | Amazon and Google Merchant Center |
| No promotional overlays or borders on product images | Sale badges belong in ads, not the product image | Google Merchant Center image specification |
You can read the full Amazon Seller Central product image requirements and the Google Merchant Center image specification for the exact wording. Myntra and Ajio share their own style guides with onboarded sellers through their partner portals, so follow the version your account manager sends.
Book the shoot four to six weeks before you want listings live, group shoot days by format, and send the full collection with a written shot list. A bridal wear catalogue photography schedule that leaves editing and QC until the last week almost always slips past the first wedding dates.
The order of work matters as much as the shoot itself. Garments need to arrive early enough for steaming and fitting; models need to be cast for the right sizes; and editing heavy embroidery takes longer than editing plain cotton because every stray thread and lint speck shows at zoom.
Example scenario
Example: a brand launching a 30-SKU wedding drop with 12 lehengas, 10 sarees and 8 sherwanis. At 8 frames per lehenga, 6 per saree and 5 per sherwani, the shot list is 96 + 60 + 40 = 196 finished images. If an on-model day realistically covers about 10 heavy lehengas or sarees including changes, the shoot needs roughly 2 to 3 model days plus 1 invisible-mannequin day for the sherwanis. These numbers are illustrative; your actual pace depends on the weight of the pieces and the number of drapes per saree.
For D2C brands, wedding season is also the one time a year when a story-led edit pays for itself on Instagram, email and the homepage. That is where lookbook photography fits: a short ethnic wear lookbook shot on the same days as the catalogue, using the same models, gives you campaign images without a second booking. Plan four to six lookbook frames per day at the end of the on-model sessions.
If you want help building the shot list itself, send your SKU sheet to [email protected] or message the team on WhatsApp at +91-8700258773; Ckstudio returns a frame-by-frame plan before any booking is confirmed.
The costly mistakes are clipped sequin highlights, colour drift, hidden pallus and blouse backs, inconsistent crops across colourways, and dupattas that disappear against the background. Each has a simple studio fix if it is caught before the edit, not after upload.
A pattern we see often: a brand spends heavily on fabric and embroidery, then saves on the shoot by sending pieces unsteamed and without blouses stitched. Wedding buyers read wrinkles as poor finishing. Steaming is a garment photography basic, but on 3 kg lehengas it can take 30 minutes per piece, so build it into the timeline instead of hoping it happens on shoot day.
The other quiet mistake is shooting only for one channel. A marketplace hero on white and a homepage campaign image have different jobs, and trying to make one image do both usually gives you a hero with too much set and a campaign shot with no mood. Shoot both on the same day instead. To discuss your collection, call Prince on +91-8700258773.
Plan 7 to 9 finished images: a full-length hero, a flare frame, a side view, a back view, a dupatta frame and three or four embroidery close-ups. Lighter party lehengas can work with 5 to 6.
For the hero, yes in most cases, because drape and pleats only read on a body. Add an invisible-mannequin or flat pallu frame for consistency across colourways.
Use large diffused lights at about 45 degrees, keep the camera slightly off the mirror-work axis and check that no highlight channel clips above about 250 in the edit.
Four to six weeks before you want listings live. For a November to February wedding season that usually means shooting in September or October.
White or very light grey for marketplace main images, cleaned to white where the platform requires it. Styled sets work for secondary images and campaign banners.
Yes. Share your SKU list by email at [email protected] or WhatsApp +91-8700258773 and the team sends a frame-by-frame plan for each garment type.
Good lehenga photography for ecommerce is not about one dramatic hero image. It is a repeatable sequence of frames, a lighting setup that respects metallic thread, a drape routine for sarees, a structure check for sherwanis and a colour QC step that matches the screen to the fabric. Get those right once, lock the marks, and the whole wedding collection looks like one confident brand rather than thirty separate shoots.
Next step: when your SKU list and shot plan are ready, book a wedding-collection garment photoshoot.
Send your lehengas, sarees and sherwanis to the Ckstudio studio and get marketplace-ready images with true colour and readable embroidery. Talk to the team between 10 am and 7 pm.
Call Prince: +91-8700258773