Fashion Photography Services
E-commerce Photography
A verify-first checklist for fashion sellers who want every on-model frame to pass catalogue QC on the first upload.
AJIO model image guidelines decide whether a fashion style goes live or comes back from catalogue QC, and most of the checks happen long before anyone opens the upload sheet. This guide sits inside our AJIO seller hub and covers one job only: making the on-model frames of an apparel set pose-correct, cropped to the portrait frame, styled consistently and colour-true.
Prince, founder and lead photographer of Ckstudio, has shot marketplace fashion catalogues since 2015, and the same few model-image errors keep returning: a cropped first frame that hides the hemline, a back view styled differently from the front, and a colour that shifts between the studio and the listing page. Below are the nine checks we run on every AJIO e-commerce set, with the rules each one is tied to and where to verify them.
In this guide
AJIO model image guidelines cover the frame (a portrait ratio above a minimum size), how much of the frame the garment fills, which angles are mandatory, what may appear as the first image and what is never allowed, such as watermarks or promotional text. They do not tell you how to pose, style or light a model, which is where most rejections and returns actually start.
AJIO runs its marketplace on Reliance’s supplier stack, and its listing documentation is published through the Fynd platform that powers the seller tools. The Fynd AJIO listing FAQ states that every product needs at least one and at most 14 images, that each image must exceed 1000 pixels on both sides, and that images must come from a professional photoshoot that follows the AJIO image guidelines. The detailed rules sit in a figure inside that FAQ and in the category templates you download from AJIO Seller Central.
Because the rules live in templates and figures rather than one public page, they shift by category and season. At Ckstudio, every number below is treated as something to re-check in your own seller panel before a shoot, not as a permanent constant. Our earlier overview of AJIO product image specs covers files and formats across categories; this post stays on the model frames only.
For topwear and bottomwear, the documented rule is that the first image is an on-model frame that puts the garment first. Mannequin, ghost mannequin and pack shots may appear later in the gallery but cannot lead it. Creases and folds are flagged, so every garment is pressed before it reaches the set.
| Rule area | As documented | Where to verify |
|---|---|---|
| Image count | Minimum 1, maximum 14 per product | Fynd AJIO listing FAQ |
| Minimum size | Above 1000 px on both height and width | Fynd AJIO listing FAQ |
| Frame shape | Portrait 1:1.25 (for example 1600 × 2000 px) | Category template in Seller Central |
| Garment fill | About 80–85% of the frame on apparel angles, 100% on the detail shot | AJIO image guideline figure |
| First image | On-model; mannequin and pack shots not allowed first | AJIO image guideline figure |
| Never allowed | Watermarks, brand URLs, price tags, promotional text, duplicates | AJIO image guideline figure |
| Rights | Only images you own or license; celebrity imagery needs written authorisation | Seller Central terms |
The table is a starting point. If your template shows a different ratio or fill for a category such as innerwear, sarees or kidswear, the template wins and the shoot plan changes with it.
Every apparel style needs a front, a side, a back and a detail frame at minimum, with the front on-model shot as the first image. Most categories add a full-length look and a styled or movement frame, and the detail shot should show fabric, print or embroidery close enough to read the weave.
The shot list is where a set either holds together or falls apart. Sellers often shoot the front well and then rush the back and side, so the gallery looks like two different shoots. Plan the list per style code before the model arrives, and write the frame order into the call sheet so the photographer, stylist and editor all work from the same sequence.
| Category | First image | Frames to add | Watch for |
|---|---|---|---|
| Kurtas and kurta sets | Front, cropped from below the nose | Full length, side, back, embroidery detail | Dupatta hiding the neckline |
| Tops and shirts | Front, cropped to the waist or hip | Side, back, collar or cuff detail | Tucked versus untucked across frames |
| Jeans and trousers | Front, waist to ankle | Side, back pocket view, wash detail | Hem break and shoe choice |
| Dresses | Front, full length or knee crop | Side, back, movement, fabric detail | Belt or slit changing between frames |
| Sarees | Front drape, full length | Pallu, border detail, blouse back | Pleats shifting between angles |
Where a model is not the right fit for every frame, a later ghost mannequin or flat lay image can show construction more clearly; our comparison of flat lay, ghost mannequin and model formats explains which slot each one earns. For the first image on AJIO, though, the model frame stays.
If your in-house frames keep failing because the back and side never match the front, an ecommerce model photoshoot planned per style code fixes the set at the source instead of patching it in editing. This short reel shows how a marketplace apparel style is covered angle by angle in one take.
At Ckstudio we plan five frames for most fashion styles: front crop, full length, side, back and one detail. Ethnic sets with a dupatta often need a sixth for the drape. Going beyond seven rarely adds conversion and slows the edit, so spend extra frames only where the garment has a feature buyers ask about, such as pockets, a slit or a back tie.
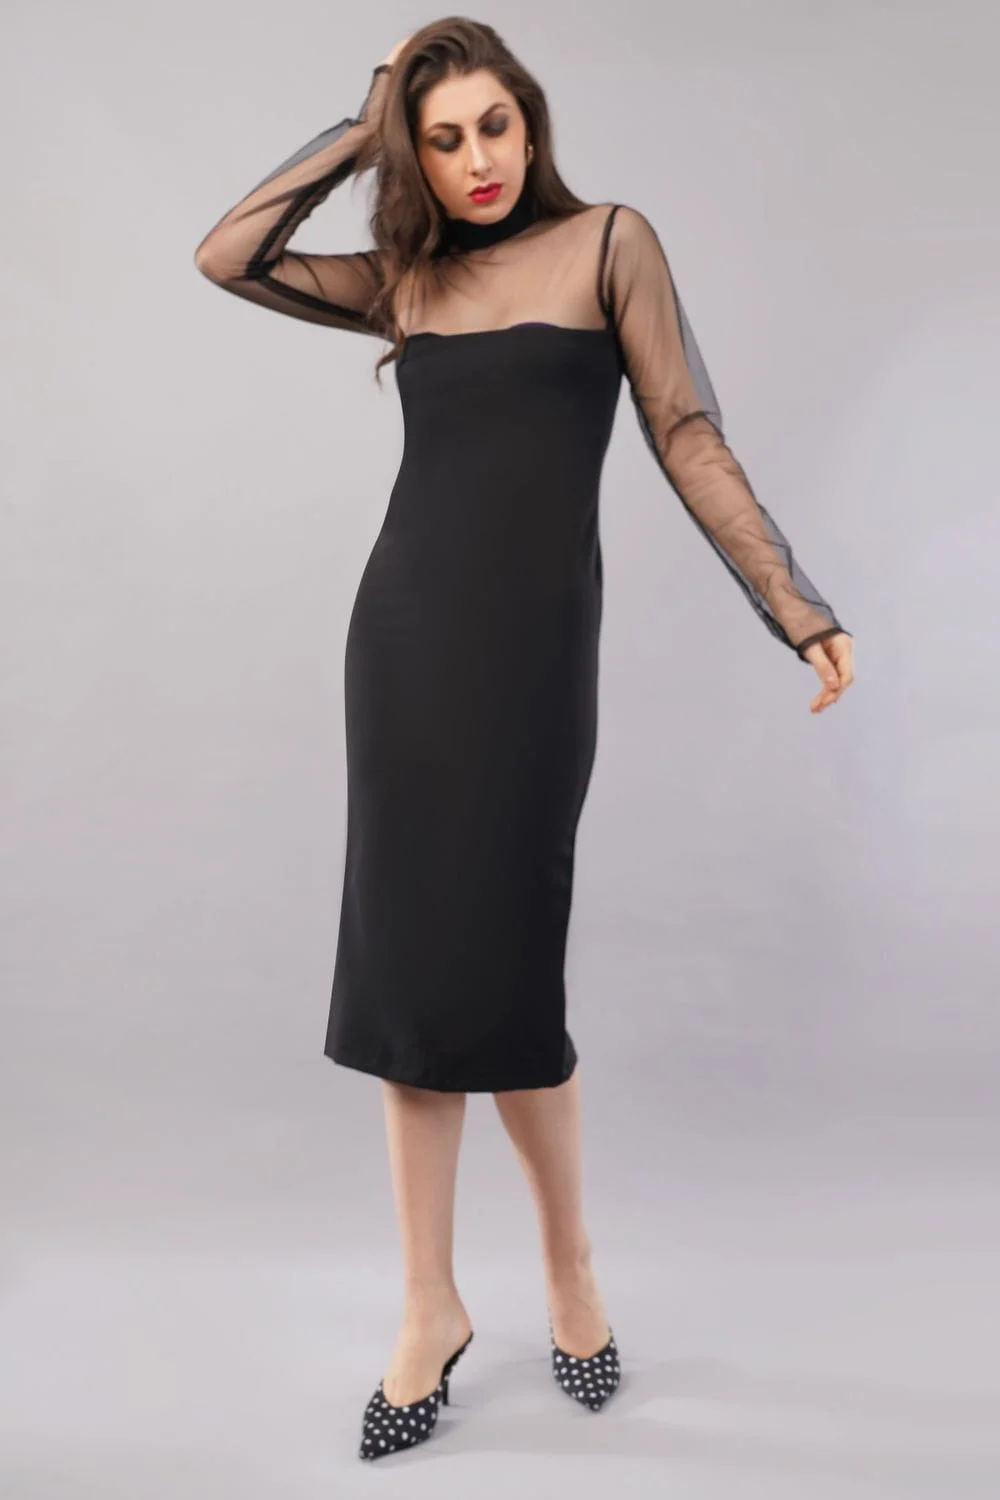
Keep the model square to the camera for the front frame, with weight on one leg, arms relaxed away from the body and hands never covering the garment. Pose should show fit and construction first; attitude comes second and only in the styled or movement frame.
The most common pose error on marketplace frames is an arm folded across the torso or a hand in a pocket that hides the waistband. On AJIO, where the first frame is cropped tight, a hand at the hip can cover a fifth of the visible garment. Ask the model for a small gap between arm and body so the side seam and silhouette read clearly.
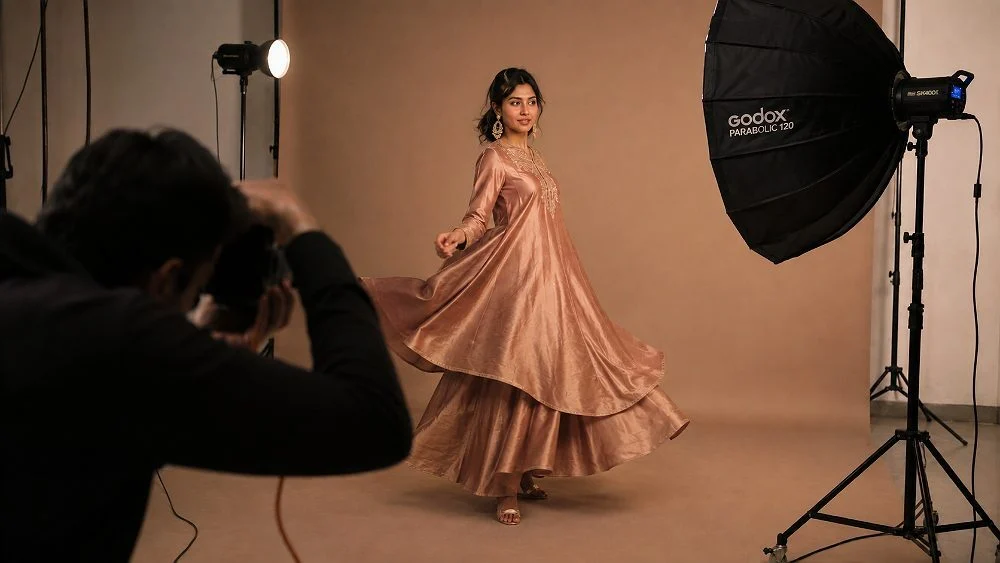
For a broader view of how pose, light and styling combine on a fashion set, this studio reel covers the same decisions at a campaign scale.
When one style comes in six colours, shoppers flip between them on the same listing. If the pose changes per colour, the garment looks like it fits differently. The Ckstudio team repeats the same front pose for every colour of a style and mark the model’s feet with floor tape so the stance, distance and camera height stay identical.
Hands deserve their own check. Nail colour, rings and watches pull attention and can clash with a print, so keep them neutral and identical across a range. A bracelet that appears on the black variant and vanishes on the navy one looks like a product difference to a buyer reading the gallery closely.
Shoot wider than you need, then crop to the portrait ratio in your template so the garment fills roughly 80–85% of the frame. For topwear and bottomwear first images, a crop from the base of the nose down is documented as acceptable, which keeps attention on the garment rather than the face.
Cropping is where many sellers lose a QC pass without noticing. A landscape camera frame cropped to a tall portrait leaves very little room, and a tight crop from a mid-length shot can cut off a hemline or cuff that the size chart depends on. The safer route is to shoot vertical at a distance where the full garment plus a margin fits, then crop in editing.
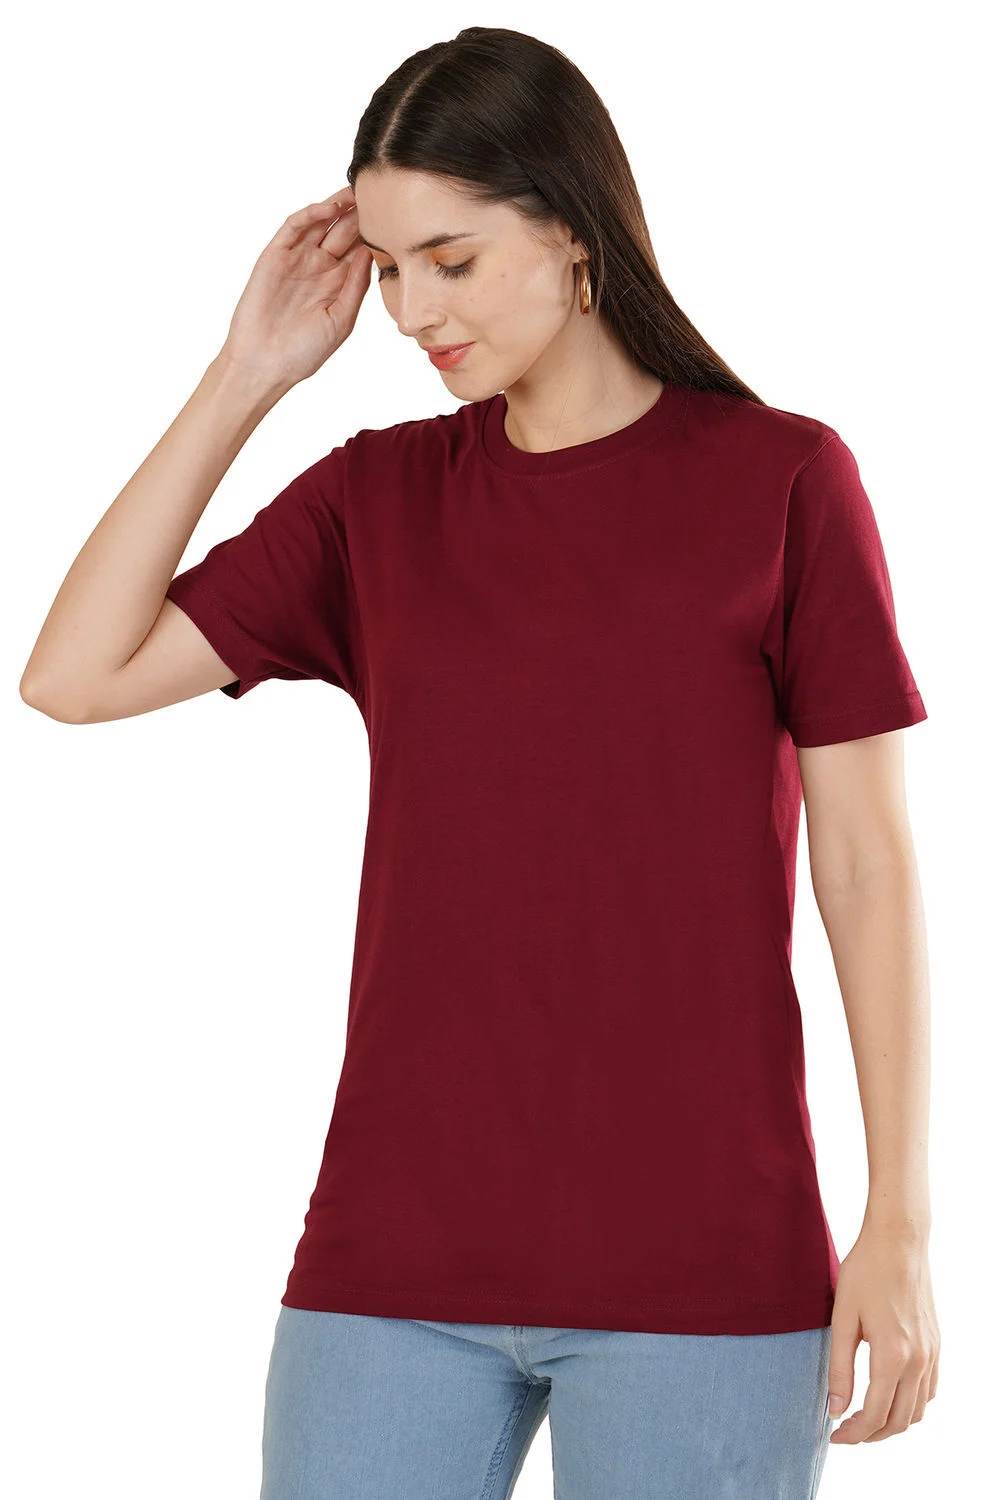
A crop that starts at the base of the nose works for tops, shirts, kurtas and trousers because the face is not the product. For dresses, sarees and co-ord sets, a full-length frame with the face often sells better as a second image, since buyers judge proportion. Keep the crop line the same across every colour of a style so the gallery grid aligns.
From the studio floor
On AJIO sets we shoot vertical on a Sony A7R5 with a 50mm prime at roughly 4 metres, camera height locked near the model’s navel so legs are not stretched or shortened. We export at 1600 × 2000 px, 72 dpi, sRGB JPEG, and run a crop template overlay in the editing software that shows the 80–85% fill band, so every frame in a 30-style batch is checked against the same guide rather than by eye.
If you are fixing older files yourself, the free bulk image resizer can bring a folder to one portrait size, but it cannot add canvas that was never shot. A frame cropped too tight in camera usually needs a reshoot.
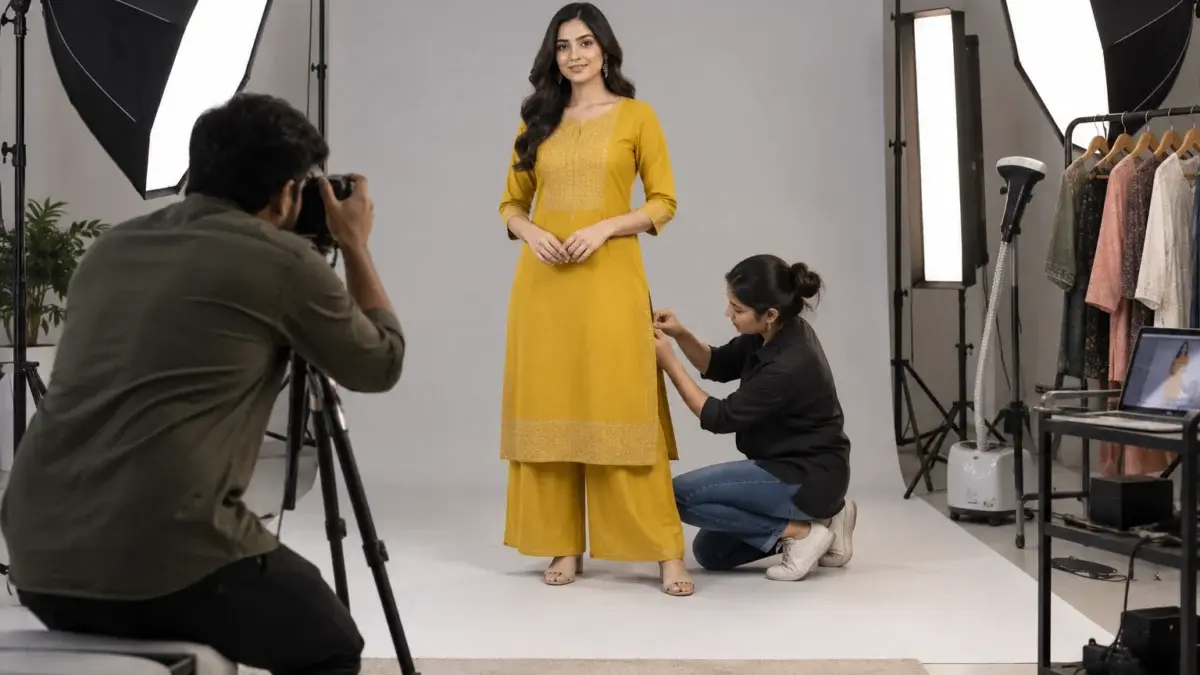
Fix the styling once per style, record it, and repeat it for every angle and colour: same tuck, same sleeve roll, same footwear, same accessories. Fit is controlled with back clips and pins that are moved for the back frame, and every garment is steamed between angles because creases are flagged in QC.
Shoppers read a gallery as one garment. If the shirt is tucked in the front frame and loose in the back frame, or the sleeve is rolled in one colour and not the next, buyers assume a different cut and returns follow. A single styling card per style, with a reference phone photo, keeps the stylist honest when the set has been running for six hours.
From the studio floor
We shoot a full apparel set in one session in a fixed order: all front frames for every colour first, then sides, then backs, then details and movement last. Each garment is steamed for about two minutes before it goes on the model, clipped at the back for the front frame and unclipped for the back frame. One stylist owns the styling card; a second person only checks fit between frames, so nothing is changed by accident.
Fit is the quiet reason behind many fashion returns. A kurta pinned too tight looks slimmer than the size chart promises, and a buyer who orders by the photo then sends it back. Use clips to remove slack, not to change the silhouette, and never clip a garment smaller than its measured size. Where styling and fit decisions keep slipping between shoots, on-model fashion photography with a dedicated stylist keeps every frame in the set aligned.
Keep accessories minimal and identical for the whole style. Plain studs rather than statement earrings, neutral footwear that matches the occasion, and no bags in the first frame. An accessory that dominates the image can also trigger QC if it reads as an extra product, so save styled looks for a later gallery slot or a brand page.
Hair follows the same logic. Tie it back for the back frame on tops and kurtas so the neckline and yoke are visible, and keep the parting and length identical across colours. Small differences in hair and makeup between days are the most common reason a re-shot colour no longer matches the original set.
AJIO allows a light background, but the listing grid shows dozens of your styles side by side, so a set that mixes white, cream and grey looks unplanned. Matching backdrop, light position and exposure across the catalogue keeps the brand grid clean and stops colour from shifting between frames.
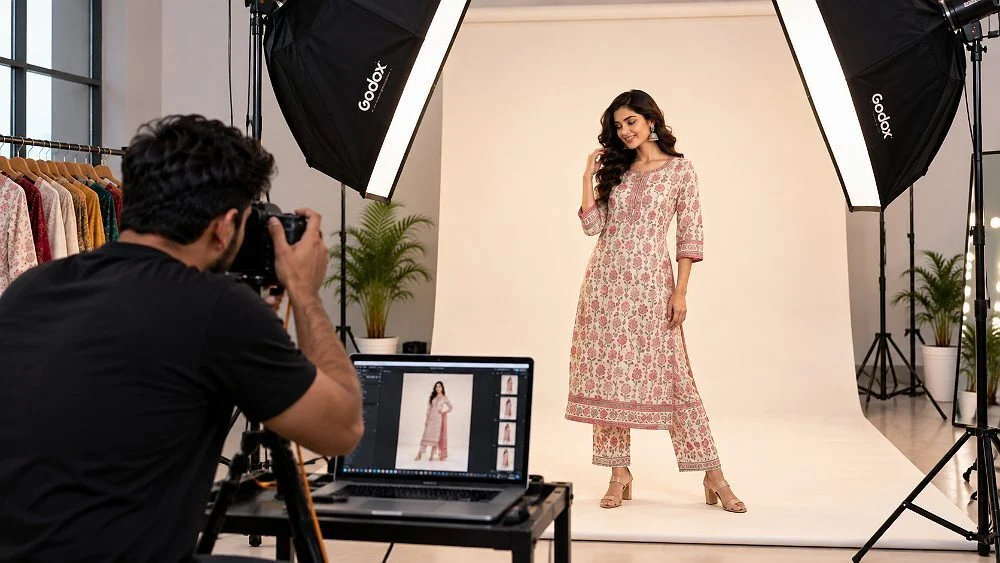
Lighting decides how fabric texture and colour read. A soft key from the front with a slight side angle shows weave and drape; flat frontal light hides texture and makes cotton and rayon look the same. A strip light from behind can separate dark garments from the backdrop, which matters for black and navy styles that otherwise merge into shadow.
| Decision | Option A | Option B | Pick when |
|---|---|---|---|
| Backdrop | Pure white seamless | Light grey or warm grey | White for bright colours; grey when many white or pastel styles risk blending |
| Key light | Large octabox, slight side angle | Two strip boxes, even front | Octabox for texture; strips for shiny or sequinned fabric |
| Shadow | Soft contact shadow kept | Shadow removed in editing | Keep it; a natural shadow gives depth and avoids a cut-out look |
| Session | Whole range in one day | Split across days | One day whenever possible; split days need a recorded light plot |
When a range is split across two days, record the light plot: distances, power settings, modifier positions and camera settings. If you cannot repeat it exactly, colour and shadow will drift. Sellers who shoot apparel in batches through the season often book garment photography on a fixed studio set for exactly this reason: the backdrop and lights never move between drops.
Exposure is the last match. A frame half a stop brighter than its neighbours makes the same white kurta look like a different shade. On a Ckstudio set, exposure is locked manually for the whole session and the histogram is checked on the tethered screen; never let auto settings adjust frame by frame.
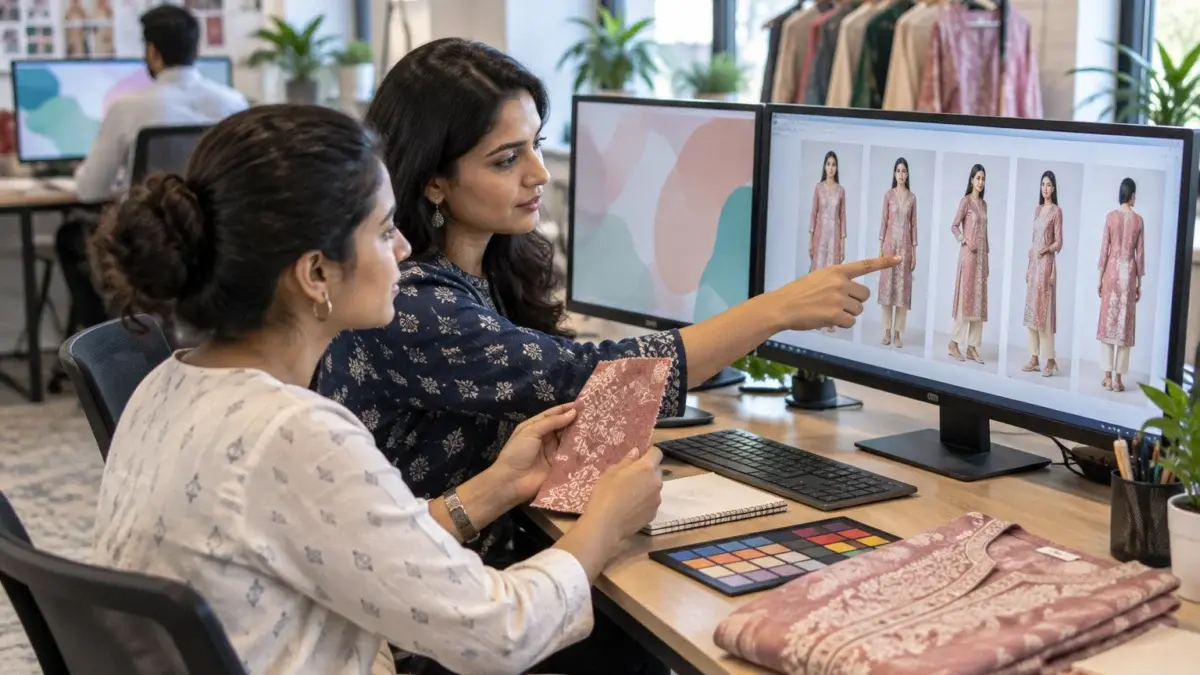
Lock white balance in Kelvin, shoot a colour reference card at the start and after every light change, edit on a calibrated monitor and export in sRGB. Then compare the final file with the physical garment under daylight before upload, because colour mismatch is a leading reason fashion buyers return an order.
Colour errors rarely come from one big mistake. They build up: auto white balance shifts slightly per frame, an uncalibrated laptop screen pushes the editor to over-correct, and an Adobe RGB export looks dull once a browser reads it as sRGB. Each step is small, but a maroon that becomes red on the listing page is a return waiting to happen.
From the studio floor
Our colour routine is fixed: white balance set manually to the flash temperature (around 5500K), a 24-patch colour card shot at the start of every style and after any light move, and tethered capture so the editor sees each frame on a calibrated monitor within seconds. Before export, the physical garment is held next to the screen under daylight-balanced light, and any shade that looks off is corrected against the card, not by eye.
AJIO’s template has a swatch field for the colour selector, and it should be a true-colour crop of the fabric from the same session. A swatch taken from a different day or a supplier photo will not match the model frames. Run one final check: open every colour variant side by side and confirm each is distinct and true, especially for close shades like navy and black or beige and ivory.
Prints and embroidery need the same care. Metallic zari, sequins and mirror work can shift colour depending on the angle of the light. Shoot a detail frame with the light angled to show the shine, and a second with flatter light to show the true base colour, then pick the one closest to the garment in hand.
Run a nine-point check on every style: frame size and ratio, garment fill, first-image type, angle set complete, pose consistency, styling match, background and exposure match, colour against the garment and a clean frame with no text or watermark. Fix failures before the sheet is uploaded, because one failed image can hold back the whole style.
Example scenario
Example: a label launching 30 kurta-set styles on AJIO, each in two colours, plans five frames per colour. That is 60 colour-ways and 300 frames. Shot in the fixed order above with one model, the fronts for all 60 colour-ways come first, so the first-image slot is consistent across the grid before any side or back frame is taken. The numbers are illustrative, but the order is what keeps a batch this size consistent.
Need a second pair of eyes on your current AJIO frames? Send five sample images on WhatsApp at +91-8700258773 or email [email protected], and the Ckstudio team will point out which checks they would fail.
For topwear and bottomwear, the documented AJIO model image guidelines expect an on-model first image that puts the garment first. Mannequin, ghost mannequin and pack shots can appear later in the gallery. Confirm the rule for your category in the Seller Central template.
The Fynd AJIO listing FAQ allows a minimum of one and a maximum of 14 images per product, each above 1000 pixels on both sides. Most apparel styles do well with five to seven frames: front, full length, side, back and detail.
Yes for many categories. A crop from the base of the nose down is documented as acceptable for topwear and bottomwear first images. Keep the crop line identical across colours, and add a full-length frame with the face where proportion matters, such as dresses and sarees.
Size is only one check. Frames also fail for garment fill outside the band, a mannequin image in slot one, visible creases, text or watermarks, or duplicate images. Running a pre-upload checklist against the AJIO model image guidelines catches most of these before QC does.
Often yes, if you shoot wide enough to crop for each marketplace’s frame and keep a clean light background. Check each platform’s ratio and first-image rules separately, and export a separate file set per marketplace rather than stretching one crop to fit both.
Yes. Different jewellery, footwear or a bag on one colour makes buyers think the product itself differs. Keep accessories minimal and identical for every colour of a style, and save styled looks for a later slot or brand page.
AJIO model image guidelines reward discipline more than creativity: one shot list, one pose, one crop line, one styling card and one colour routine per style. Get those right and catalogue QC becomes a formality. If you would rather hand the whole set to a studio, call Prince on +91-8700258773 or WhatsApp +91-8700258773 between 10 am and 7 pm.
Next step: once your model frames pass these checks, read our guide to the AJIO catalogue QC rejection errors that still hold listings back.
Ckstudio plans the shot list per style code, shoots every colour in a fixed order and exports to your AJIO template, with colour checked against the real garment. Share your style count and categories at [email protected] or call +91-8700258773 for a plan.
Call Prince: +91-8700258773