Fashion Photography Services

E-commerce Photography
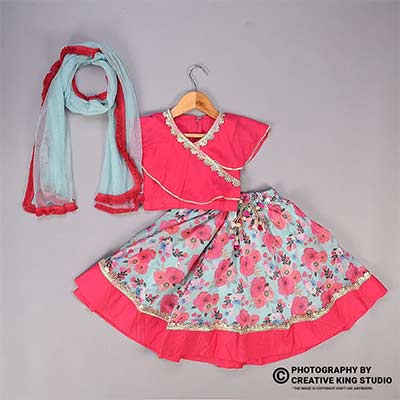
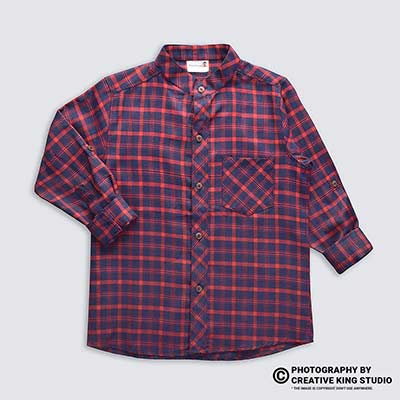
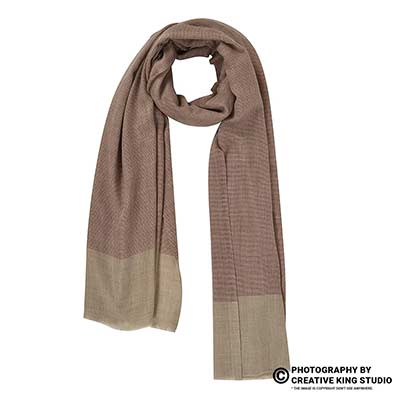
Raking light, steaming, shape control and true wool colour, so every knit, quilt and weave looks as rich online as it feels in the hand.
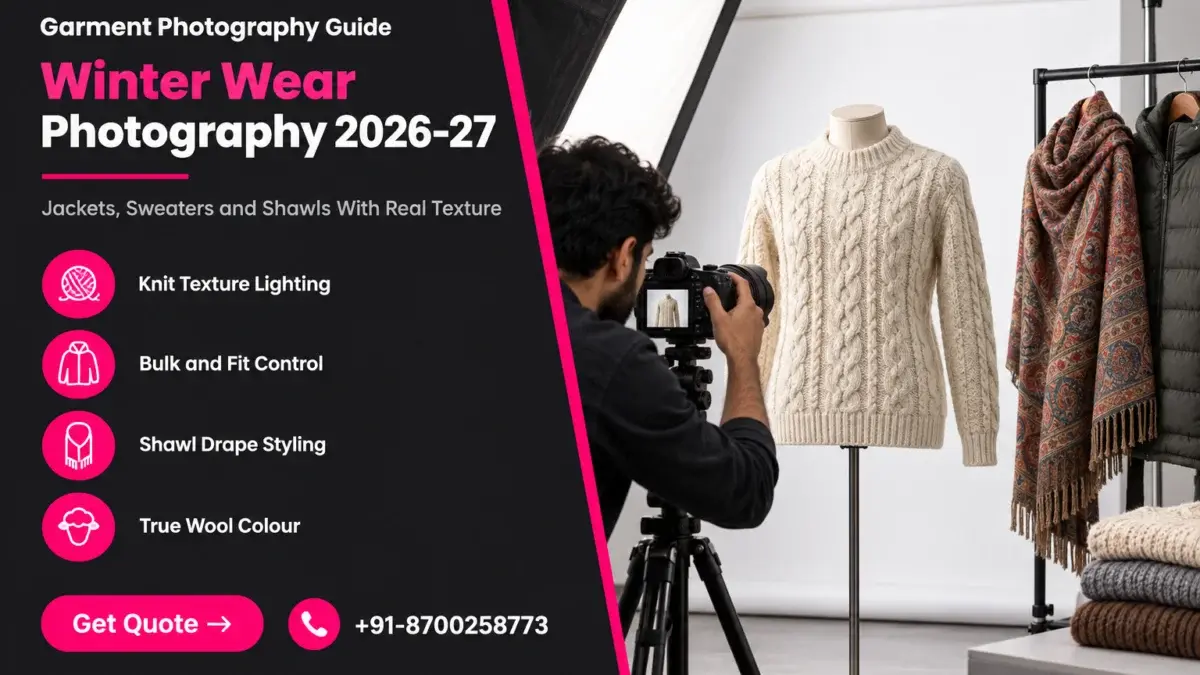
Winter wear photography fails in a very specific way: the sweater that feels thick and soft in your hand turns into a flat beige rectangle on the listing page. Jackets lose their quilting, shawls lose their weave, and dark wool turns into a muddy blob. This guide explains exactly why that happens and the nine studio fixes Ckstudio uses to keep texture, bulk and colour intact for ecommerce sellers.
Everything here sits inside the wider discipline of garment photography, but winter wear needs its own playbook because wool, fleece, down and acrylic behave differently under light than cotton or polyester. Prince, founder and lead photographer at Ckstudio, has shot winter collections every season since the studio opened in 2015, and the rules below come from that floor experience rather than generic tips.
If you are a woollen brand from Punjab, the Ludhiana knitwear cluster has the same peak-season rush every October, and our fashion photography and model photoshoot in Ludhiana page explains how those shoots are scheduled. For everyone else, read on: the fixes work for any winter catalogue on Amazon, Flipkart or Myntra.
In this guide
Winter wear photography looks flat when the light hits the fabric head-on, the garment has collapsed or creased, and the colour drifts during editing. Wool and knit texture is made of tiny raised loops, and only light that skims across the surface creates the micro-shadows your eye reads as softness and thickness.
Most sellers photograph a sweater the same way they photograph a printed T-shirt: one big softbox beside the camera, flat front light, auto white balance. That approach is fine for a print because the print is the selling point. For a cable-knit or a chunky rib, the texture is the selling point, and frontal light erases it completely.
The second cause is shape. Heavy garments sag on a hanger, sweaters lose their shoulders on a flat table, and puffer jackets deflate once the packing has squeezed the down. A buyer scrolling a search grid judges warmth by visual volume, so a deflated jacket reads as a thin, cheap jacket even when the fill weight is generous.
Across our winter catalogue shoots we see buyers zoom into the same three things. First, the surface: can they see the knit stitch, the brushed fleece or the quilting line? Second, the volume: does the garment look warm and structured? Third, the colour: will that “camel” arrive as camel or as mustard? Every fix in this guide targets one of those signals.
There is also a practical cost to getting it wrong. On e-commerce portals, winter categories carry higher price points than summer basics, so buyers compare more carefully and return more readily when the product feels different from the photo. A colour mismatch on a ₹2,000 cardigan hurts far more than on a ₹300 tee. That is why winter wear photography deserves its own lighting plan, its own prep time and its own QC step, not just a faster version of your summer workflow.
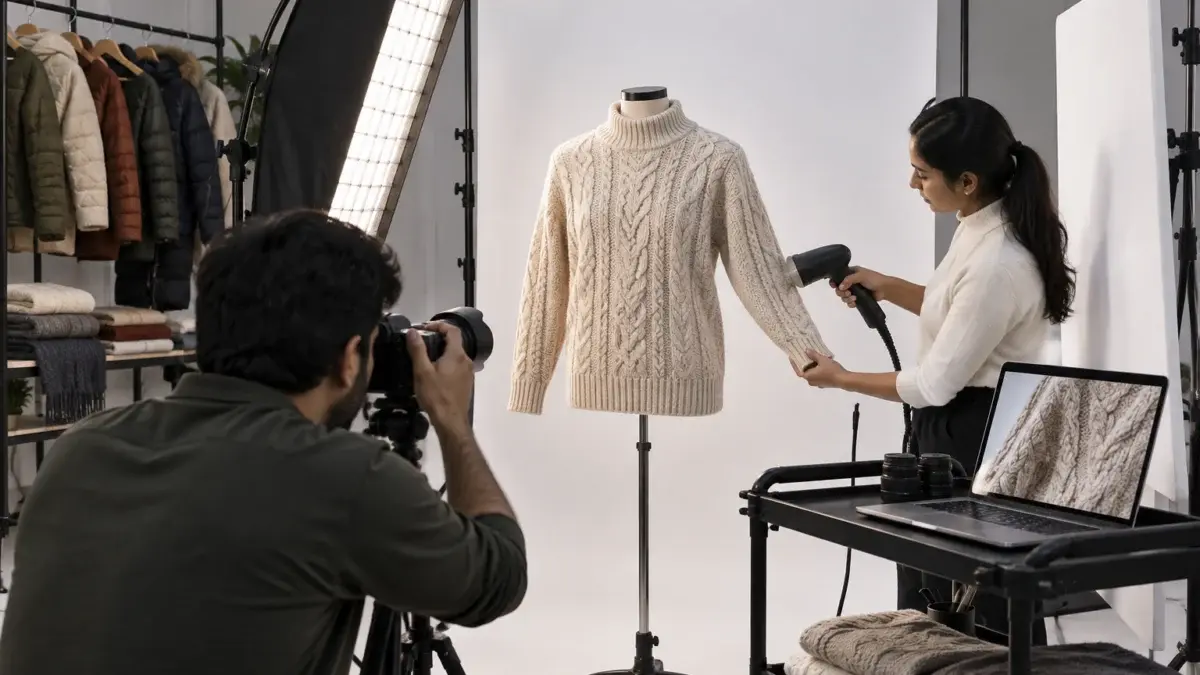
Light knitwear with a narrow, soft source placed low and to the side, so it rakes across the fabric at a shallow angle. Add a gentle fill on the opposite side to stop shadows going black, and light the white background separately so the garment exposure and the background never fight each other.
Think of raking light like a torch held flat against a wall: every bump suddenly throws a shadow. On a woollen sweater, each loop and cable gets a tiny highlight on one side and a shadow on the other, and that contrast is what makes the image look touchable. The angle matters more than the power. Too steep and you only light the front; too shallow and half the garment falls into darkness.
From the studio floor
For a cable-knit on an invisible mannequin, Ckstudio sets one Godox SK400II inside a 1 x 6 ft strip softbox about 1.2 m from the garment, angled roughly 20 to 30 degrees off the fabric surface from camera-left. A white V-flat on camera-right fills about one stop under the key. The seamless is lit by two separate heads so it reads near 250 on the histogram. We shoot at f/8, ISO 100, 1/160 s with a 50mm lens, then switch to a 100mm macro at f/11 for the stitch close-up.
Not every winter fabric wants the same angle. Chunky hand-knits and cables can take a very low, hard-ish rake because the texture is deep. Fine merino and cashmere-blend jumpers need a softer, slightly higher source, otherwise the gauge looks rough and cheap. Brushed fleece and sherpa show their pile best with a back-side rim light that catches the fibre tips.
Dark wool is the hardest case. A black or navy sweater absorbs light, so the texture only appears in the highlight edge. Here we increase the key slightly, move the fill further away, and expose for the garment rather than the background, then clean the background in post. The goal of winter wear photography is always the same: let the buyer see the fabric surface without opening the image to full zoom.
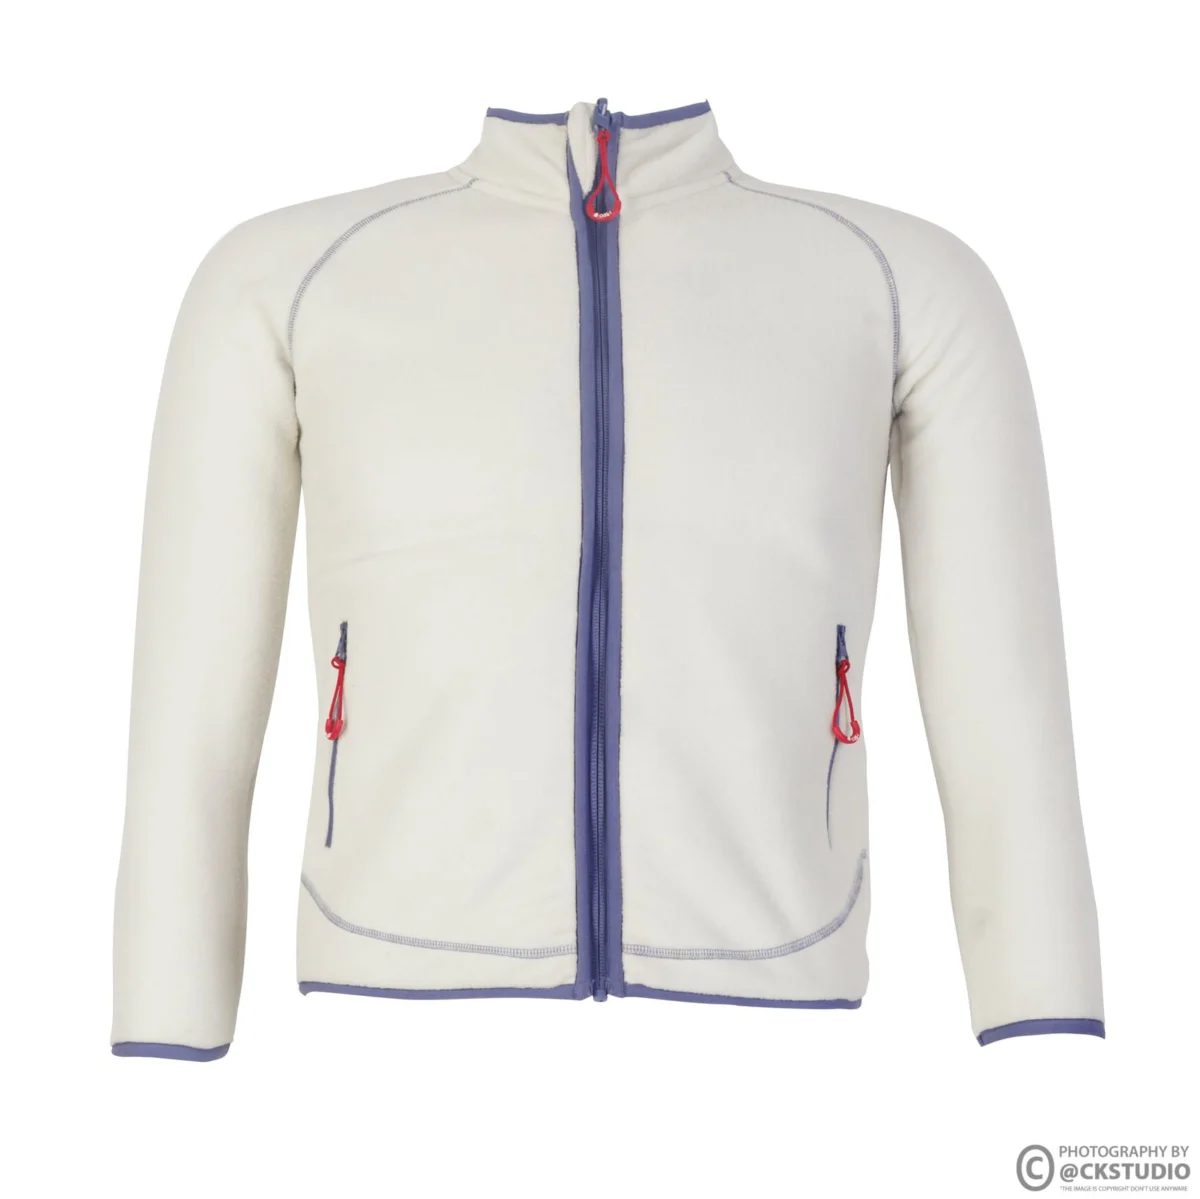
Prep winter garments by steaming without pressing, de-pilling and lint-rolling the surface, then building shape with tissue, clips and stuffing before the camera comes out. Good prep removes most of the retouching work and keeps the knit looking natural.
Wool punishes rushed preparation. An iron pressed directly onto a knit flattens the loops permanently, and that shiny, crushed patch shows instantly under raking light. Fleece collects lint from the packing bag, and acrylic blends pill at the underarm and side seam. These are tiny details on a hanger, but under a 100mm macro they are the first thing a buyer sees.
From the studio floor
Our prep station runs one vertical steamer per two garments in the queue. Knits get steamed from about 15 to 20 cm, then rest for roughly 10 minutes before they go on the mannequin, because warm, damp wool keeps stretching under its own weight. Each piece gets a lint-roller pass, a fabric-shaver pass on pilling zones and a tissue fill in the sleeves. That is around 8 to 12 minutes per sweater before the first exposure, and it saves far more time in retouching.
Shawls need a different routine. Steam them hanging, then lay them on a clean surface and smooth the fringe with a wide-tooth comb so each tassel sits separately. Embroidered or Kani-style patterns should be checked for loose threads, which look like hair on a macro shot.
Use a ghost mannequin for sweaters, cardigans and structured jackets that need visible shape, flat lay for shawls, stoles and thermals where the full surface matters, and a model for oversized fits, coats and anything where drape on the body sells the product. Most winter catalogues mix all three.
The choice decides how much texture and volume the buyer can see. A sweater on a flat table loses its shoulders, while on an invisible form it holds the chest and sleeve roundness that signal warmth. If shoulders keep collapsing in your current images, an invisible mannequin shoot for sweaters and jackets brings back the 3D shape without the cost of a model day.
| Garment | Best primary style | Why it works | Must-have extra shot |
|---|---|---|---|
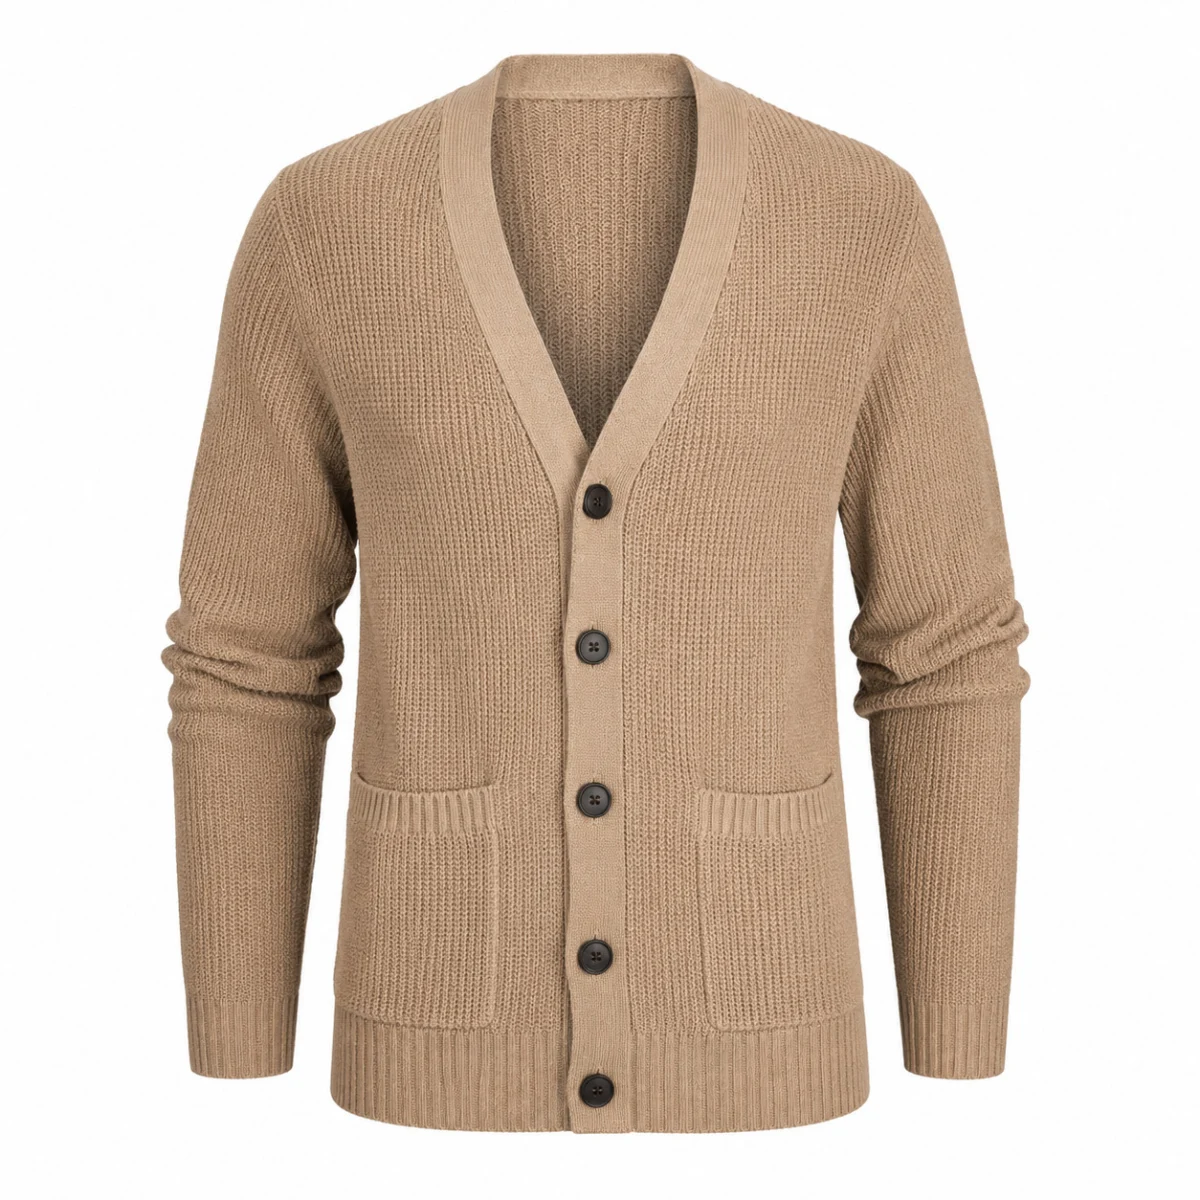
| Cable-knit or chunky sweater | Ghost mannequin | Holds chest and shoulder volume; raking light reads the knit | 100mm macro of the stitch |
| Cardigan | Ghost mannequin, buttoned | Shows placket line and pocket placement | Open-front view on model or form |
| Puffer or quilted jacket | Ghost mannequin or model | Keeps quilting channels round and even | Hood and zip detail, inner lining |
| Woollen shawl or stole | Flat lay plus drape | Full pattern and border visible in one frame | Weave macro and fringe close-up |
| Thermals and inner layers | Flat lay or ghost mannequin | Clean, simple and category-appropriate | Fabric stretch or waistband detail |
| Overcoat or long coat | Model | Length, drape and fit only read on a body | Back view and lapel detail |
For shawls, scarves and thermals, a top-down layout wins because the buyer wants to see the entire pattern and the border at once. Professional flat lay photography with a controlled overhead light keeps the weave even from corner to corner, which a phone shot on a bedsheet never does. If you are still deciding between formats, our comparison of flat lay, ghost mannequin and model apparel images goes deeper into cost and conversion trade-offs.
The short video below shows how a marketplace apparel shoot moves from styling to final frames, and the same discipline applies to knits and outerwear.
Re-loft puffer jackets before the shoot, fill them on a mannequin so the quilting channels sit round, and use broad soft light to control the shine on nylon shells. Expose for the jacket colour, not the background, especially for black and navy outerwear.
Down and synthetic fill compress in transit. If you photograph a puffer straight out of the polybag, the channels look thin and uneven, and the jacket reads as a light windcheater. Hang it for a day, then tumble or gently pat each channel to bring the fill back. On the mannequin, a thin layer of padding at the shoulders stops the sleeves from collapsing inward.
Nylon and polyester shells are shiny, so a narrow raking source creates hard hot-spots that look like stains. For outerwear we switch to a large octabox or two big diffused sources, which give a smooth, even sheen across each quilt line. The texture here is the stitched channel, not the fibre, and broad light shows the channel shape through gentle gradation.
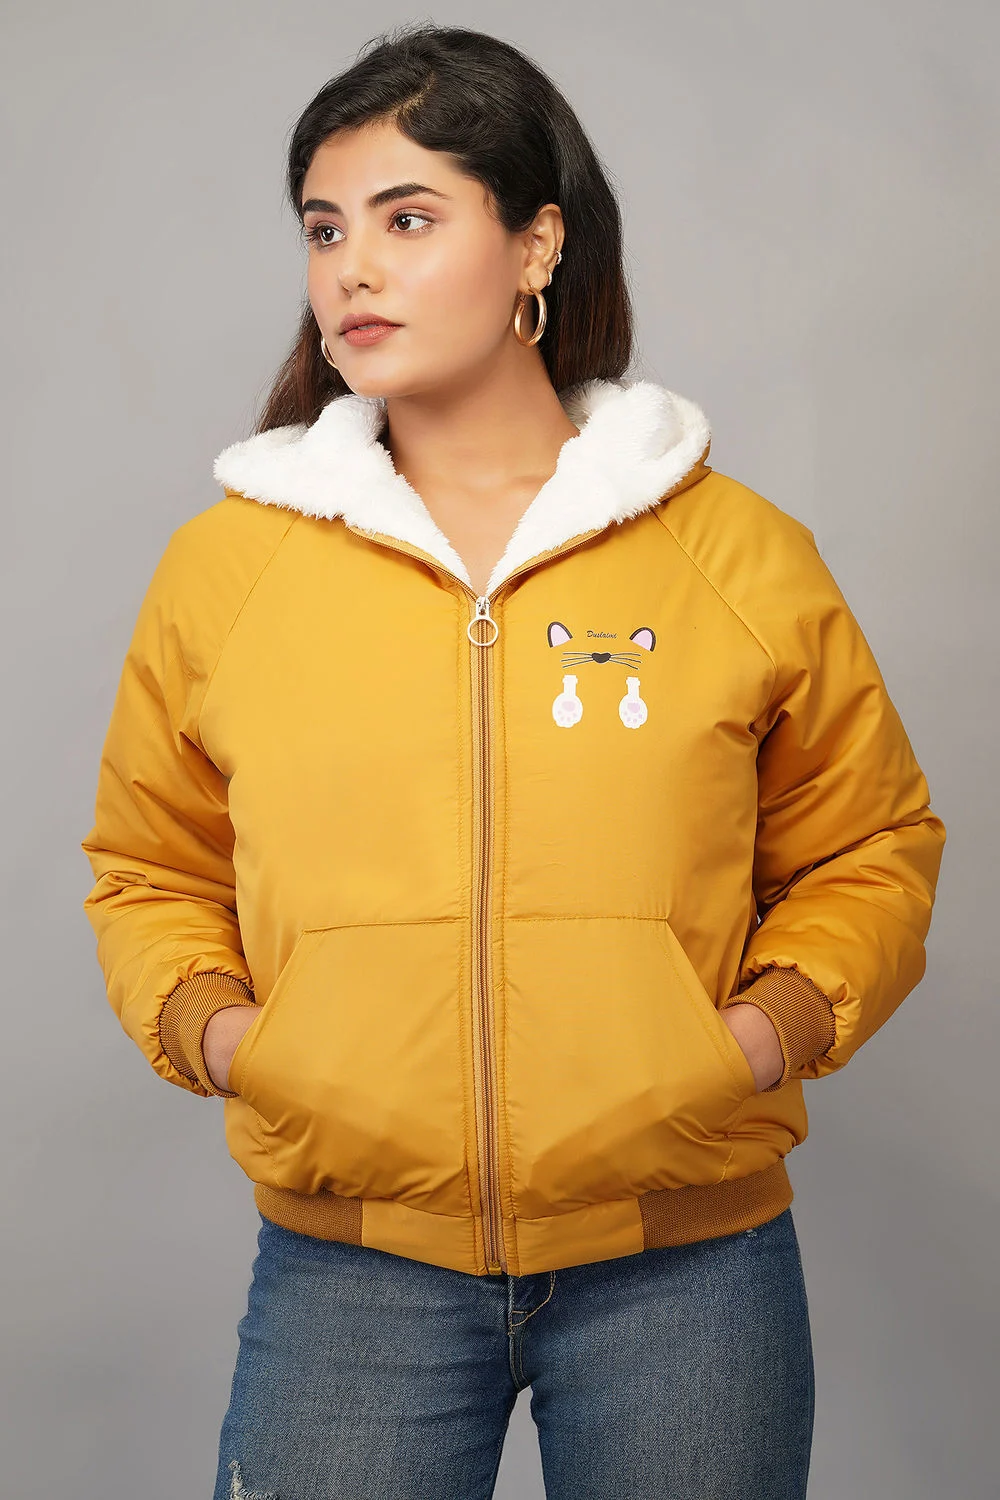
Fashion-led outerwear often sells better once the buyer sees fit and length on a person. This clip shows how a studio fashion shoot is built frame by frame, the same approach we use for coats and jackets on a model.
Shoot every shawl three ways: a full flat lay that shows the complete pattern and border, a draped view on a form or model that shows how it falls, and a macro of the weave and fringe. That trio answers the questions buyers ask most about woollen shawls.
Shawls are deceptively difficult. They are large, so a flat lay needs a high camera position and a perfectly even overhead light; any fall-off makes one corner look darker and suggests a dye fault. The fringe tangles, the border curls, and fine pashmina-style weaves turn into a smooth grey surface if you shoot them from too far away. A buyer paying for a woollen shawl wants to see that it is woven, not printed.
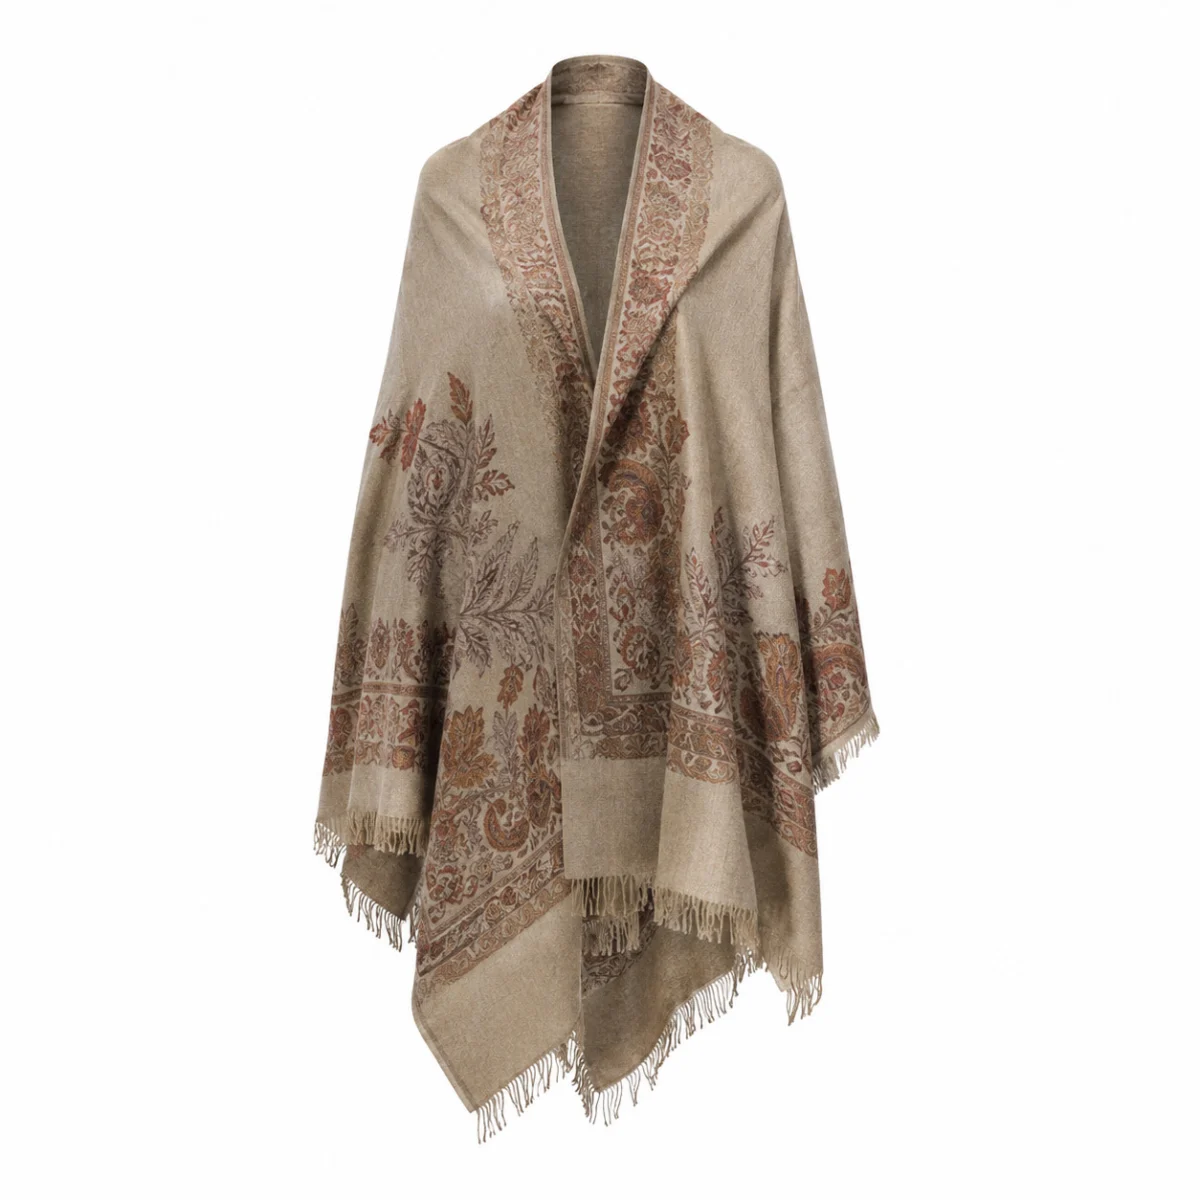
For one shawl SKU we usually plan four frames. The first is a full top-down flat lay with the shawl opened completely, used as the main image. The second is a folded flat lay that shows the border and the pallu-style end panel. The third is the drape on a form or model, and the fourth is a 100mm macro of the weave with a few fringe strands in frame.
For flat lays, the camera goes on a boom arm directly overhead, with two large softboxes at 45 degrees on either side for even coverage. We check the corners on the histogram: if one corner reads more than a few values darker than the centre, a light gets moved before shooting. The drape shot uses side light again, because the folds of a heavy shawl show weight only through shadow.
Embroidered shawls need one more angle: a raking close-up of the embroidery so the raised thread stands proud of the base fabric. Without it, hand embroidery and a digital print look almost identical in a thumbnail, and you lose the price justification for a hand-finished piece.
Each marketplace sets its own image rules, so winter wear images must follow the platform’s current style guide for background, frame fill, resolution and what may appear in the main image. Amazon publishes its product image requirements in Seller Central, and Flipkart shares listing guidance through its Seller Hub.
Amazon’s product image requirements on Seller Central India are the most widely referenced rule set, and many sellers reuse the same masters for other portals. The table below summarises the general rules that matter most for winter wear. Category style guides add apparel-specific rules, so always confirm the current version before a big upload.
| Rule (Amazon main image) | What it means for winter wear | Source |
|---|---|---|
| Pure white background (RGB 255, 255, 255) | Light the seamless separately so white sweaters and cream shawls keep their edge | Amazon Seller Central, product image requirements |
| Product fills about 85% of the frame | Bulky jackets need a wider crop than T-shirts; plan camera distance | Amazon Seller Central, product image requirements |
| At least 1,000 px on the longest side for zoom | Zoom is how buyers inspect knit texture, so shoot well above this | Amazon Seller Central, product image requirements |
| No text, logos or watermarks on the main image | Keep warmth claims and fabric callouts for secondary images | Amazon Seller Central, product image requirements |
| Accepted formats include JPEG, TIFF, PNG and GIF | Deliver JPEG in sRGB for consistent colour on phones | Amazon Seller Central, product image requirements |
Flipkart and Myntra apply their own background, ratio and model rules for fashion, and they update them between seasons. The safest route is to check the latest guidance on the Flipkart Seller Hub and in your Myntra partner portal before the shoot, then set the crop and background in the shot list rather than fixing it later in Photoshop.
From the studio floor
We shoot winter masters at full sensor resolution, export a 3,000 px long-edge sRGB master, and then make portal copies sized to each marketplace’s current spec. A colour-checker card is photographed at the start of every new colour batch and every time a light moves. Final JPEGs are checked for clipped whites on cream knits and blocked shadows on navy and black before delivery.
One practical tip: shoot with space around the garment. Bulky winter wear crops awkwardly, and a little extra canvas lets the retoucher meet each platform’s frame-fill rule without cutting off sleeves or hems.
Keep wool colour true by shooting a colour reference card in every lighting setup, setting a custom white balance, editing on a calibrated screen against the physical garment, and exporting in sRGB. Colour accuracy is the main defence against “colour not as shown” returns in winter wear.
Wool dyes are notoriously tricky on camera. Heather greys pick up a blue or green cast, camel slides towards mustard, and maroon can tip into brown under warm modelling lights. Auto white balance makes it worse, because the camera “corrects” a big area of coloured fabric as if it were a colour cast. A manual white balance from a grey card under the actual shooting light fixes most of it before editing even starts.

At Ckstudio, colour QC happens with the garment physically on the retoucher’s desk under a daylight lamp. The retoucher compares the screen and the fabric side by side, adjusts hue and saturation per colourway, and only then batches the rest of the frames. It is slower than a one-click preset, but it is the step that stops a navy coat arriving as black.
Example scenario
Example: a winter collection of 40 SKUs, with 16 sweaters, 12 jackets and 12 shawls. Planning four angles for sweaters (front, back, side, knit macro), five for jackets (front, back, side, open front, hood or lining) and four for shawls (flat lay, folded border, drape, weave macro) gives 64 + 60 + 48 = 172 frames. Grouping by colour family means the colour card is shot about eight times instead of forty, and the whole set can be checked in eight colour batches.
If cost is part of your planning, these are the approved Ckstudio rates for the two display styles most winter catalogues lean on:
| Shoot type | Images | Turnaround | Price |
|---|---|---|---|
| Ghost mannequin | 1 angle | 3–4 days | ₹200–300 |
| Flat lay | 2–3 angles | 6 days | ₹99–133 / angle (₹300–400 / per sku) |
Final quotes depend on SKU count, angles and retouching — call or WhatsApp +91-8700258773. You can also send your winter SKU list on +91-8700258773 for a shot-list suggestion.
A narrow, soft light placed low and to the side of the garment works best, because it rakes across knit and wool and creates the small shadows that show texture. Add a soft fill on the other side and light the background separately.
No. Pressing flattens the knit loops and leaves a shiny patch that shows under studio light. Steam the sweater from a short distance, let it rest so the fibres set, then de-pill and lint-roll before shooting.
Ghost mannequin is usually better for sweaters and cardigans because it keeps shoulder and chest volume, which signals warmth. Flat lay works better for shawls, stoles and thermals where buyers want to see the full surface and pattern.
Plan at least five: front, back, side, an open-front or lining view, and a detail shot of the hood, zip or quilting. Add an on-model image for coats and oversized fits so buyers can judge length and drape.
Auto white balance often misreads large areas of neutral fabric. Set a custom white balance from a grey card under the shooting light, photograph a colour reference card, and edit while comparing the screen with the real sweater in daylight.
Yes. Sellers courier their winter collection to the studio, and the products are returned after the shoot. Share your SKU list on WhatsApp or by email at [email protected] to plan angles and display styles first.
Winter wear photography rewards patience: the right light angle, a properly prepared garment and disciplined colour checks turn a flat listing into one that feels warm through the screen. If you would rather hand the season’s catalogue to a team that does this daily, call Prince on +91-8700258773 or email [email protected] with your SKU list, and Ckstudio will suggest a shot plan for each garment type.
Next step: once your shot list is ready, follow our checklist on preparing garments for an ecommerce model photoshoot.
Ckstudio photographs sweaters, jackets, shawls and thermals with lighting and prep built for wool and knit. Send your SKU list on WhatsApp +91-8700258773 for a quote.
Call Prince: +91-8700258773