
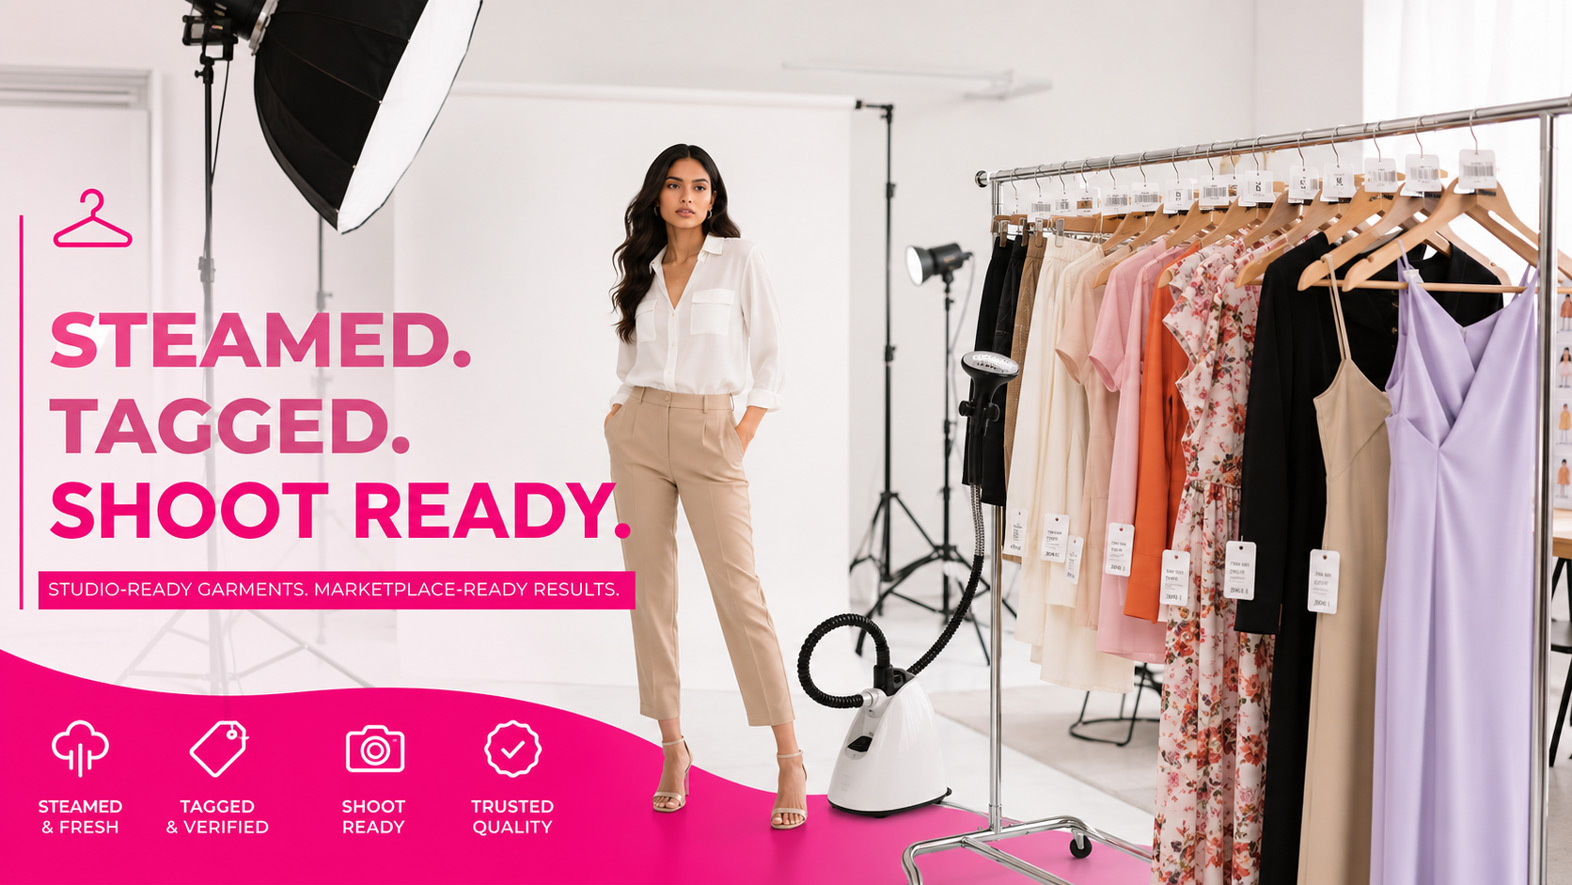
A well-organised garment rack at the Ckstudio fashion floor — every piece steamed, tagged, and ready for the model.
A great e-commerce model photoshoot doesn’t start when the camera clicks — it starts the moment you decide which garments to send to the studio. Most apparel sellers in India underestimate this stage, and it costs them. Wrinkles in final images, mismatched SKUs in catalogues, lint on dark fabrics, and missing styling pieces are the silent killers of conversion on Amazon, Flipkart, and Myntra. Garment preparation is not a chore — it’s the foundation of every great shot.
In 9+ years of running Ckstudio, our team has photographed thousands of SKUs for D2C brands, marketplace sellers, and emerging fashion labels. The single biggest difference between a smooth shoot and a stressful one is how well the garments arrived at our studio. This guide walks you through the exact pre-shoot preparation system we recommend to every client — from quality-checking each piece to packing them for transit.
🔑 Key Takeaways
- Start preparing garments 5–7 days before your shoot date — never less.
- Steaming, lint removal, and fit verification are non-negotiable for marketplace-grade imagery.
- Each garment must carry an SKU label, color code, and size tag for studio workflow.
- Real model photography beats AI-generated images on fabric texture, drape, and trust.
- A clear shot list and brand reference saves 30–40% of shoot time.
Why Garment Preparation Decides the Outcome of Your Shoot
When you send a garment to a studio, you’re not just sending fabric — you’re sending the face of your brand. A T-shirt with a stray thread, a kurta with deep packing creases, or a dress missing its belt accessory will translate directly into your product listing image. And on platforms like Myntra and Ajio, where shoppers scroll through hundreds of listings in minutes, professional e-commerce photography quality is the only thing standing between a click and a swipe-away.
Professional studios like Ckstudio can correct minor issues with advanced retouching, but corrections cost time and money. A wrinkle that takes 5 seconds to steam on-set can take 20 minutes to retouch in post-production — multiplied across 200 SKUs, that’s days of editing. Smart sellers understand this economics: preparation upstream is always cheaper than correction downstream.
The Hidden Cost of Poor Preparation
Beyond the obvious aesthetic issues, badly prepared garments lead to:
- Reshoot expenses — when SKUs are missed or shot incorrectly
- Listing rejections — Amazon and Flipkart’s quality teams flag substandard imagery
- Slower catalogue launches — every reshoot delays your go-to-market by 7–14 days
- Lower conversion rates — research shows 67% of online shoppers rate image quality as the most important factor in buying decisions
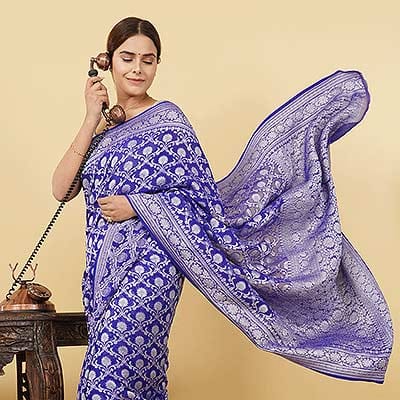
Real Model Photography vs AI-Generated Images: What Apparel Brands Should Know
In 2026, AI-generated fashion imagery looks impressive on social media, but it falls apart on a marketplace listing. Indian e-commerce platforms run strict trust signals — and shoppers can spot the difference. Here’s an honest comparison:
Real Professional Photoshoot
- Authentic fabric drape, weight & movement
- True color accuracy under controlled lighting
- Real human expression that builds trust
- Accurate fit reference for size guides
- Marketplace-compliant from day one
- Reusable across web, app, social, ads
- Returns rate drops 22–30% with real model imagery
AI-Generated Garment Images
- Fabric texture often plasticky or unrealistic
- Color shifts between outputs
- Synthetic faces erode brand trust
- Cannot show how YOUR specific garment fits
- Often rejected by Myntra & Ajio QC teams
- Limited variation without re-prompting
- Higher return rates due to fit/expectation gap
Ckstudio’s recommendation: AI tools are excellent for mood boards, ideation, and concept presentations. But for live e-commerce listings, especially fashion photography and professional garment photoshoots on real models remain the only reliable path to high-converting product pages. The investment pays back through lower returns and higher conversion within the first 60 days.
The 10-Step Garment Preparation Process (Used by Ckstudio Clients)
Below is the exact pre-shoot system we share with every Ckstudio client — from emerging Meesho sellers to established Flipkart fashion brands. Follow these steps in order, and your shoot day will move 2× faster with significantly better results.
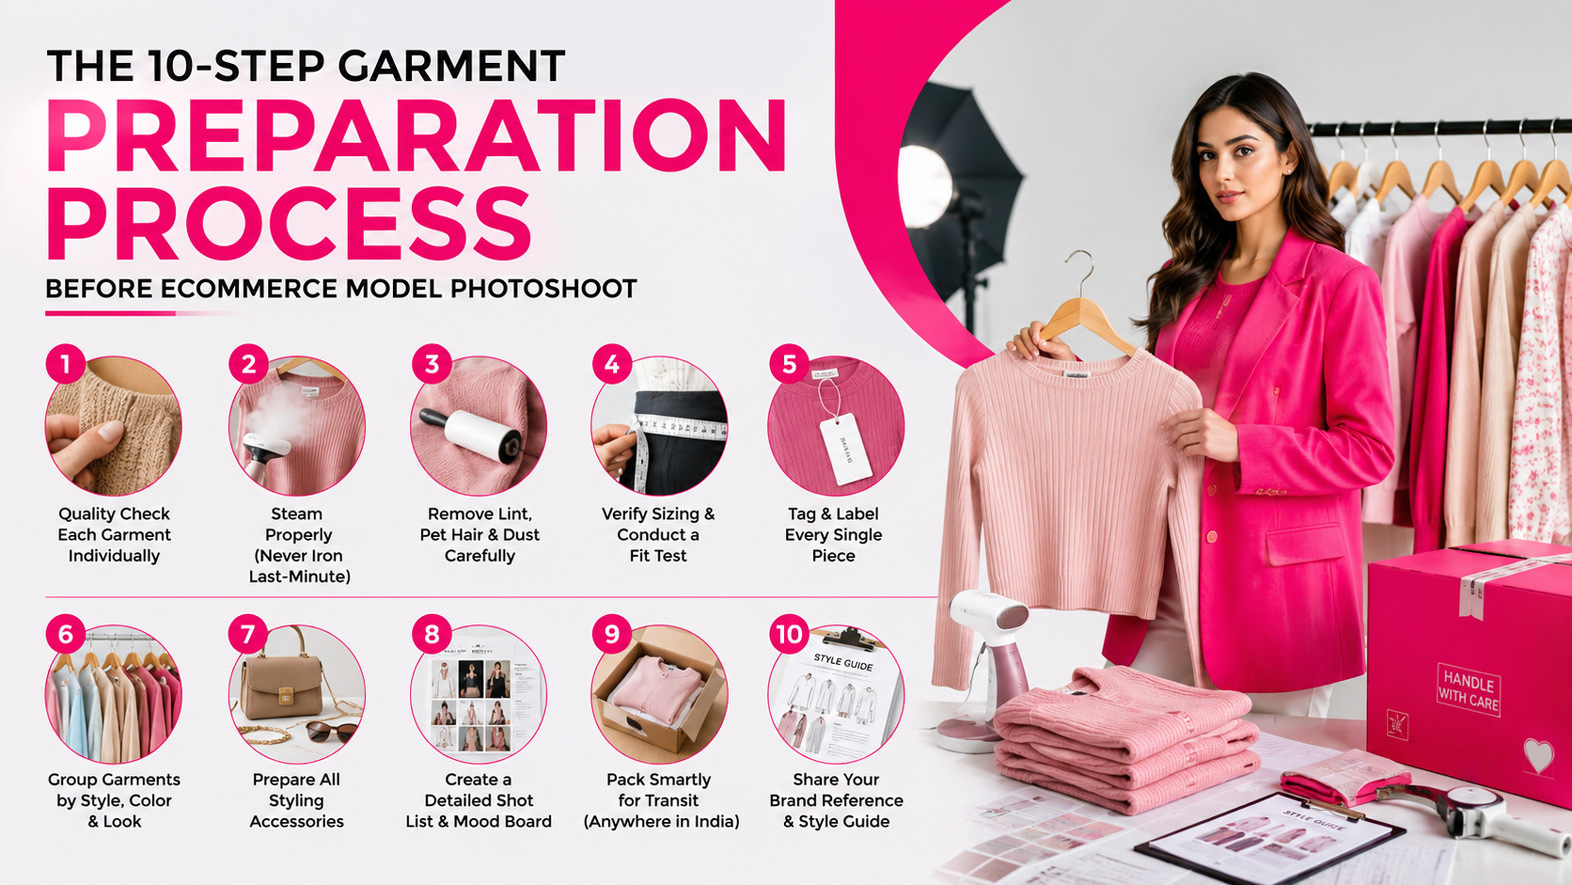
Professional garment preparation workflow before an ecommerce fashion model photoshoot — including steaming, tagging, lint removal, styling accessories, shot list planning, and garment organization at Ckstudio Delhi.
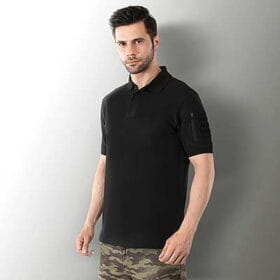
Quality Check Each Garment Individually
Before anything else, lay out each garment under bright daylight or white LED light and inspect every inch. You’re hunting for issues that the camera will magnify 3–4×.
- Loose threads at hems, necklines, and seams
- Missing or damaged buttons, zippers, hooks
- Stitching defects (puckering, skipped stitches)
- Fabric flaws (holes, snags, dye spots, pilling)
- Print or embroidery alignment issues
Wash & Steam Properly (Never Iron Last-Minute)
Most packing creases are not removed by ironing — they need steam. Steam relaxes the fabric fibres without flattening texture, which is critical for fabrics like georgette, chiffon, linen, and crinkle cottons.
- Wash garments per their care label (cold wash, dry-clean only, etc.)
- Air-dry on padded hangers — never tumble-dry delicates
- Use a vertical garment steamer, not a regular iron, for finished garments
- Hang steamed garments immediately on wide-shoulder hangers
- Cover with breathable garment bags to prevent dust
Remove Lint, Pet Hair & Dust Carefully
Dark fabrics — black, navy, deep red, charcoal — show every speck of dust under studio lights. This is one of the most underestimated steps.
- Use a sticky lint roller across every surface
- Soft natural-bristle brushes for textured fabrics
- Compressed air for hard-to-reach areas (collars, pleats)
- Avoid masking-tape hacks — they leave residue
- For knitwear, gently de-pill with a fabric shaver
Verify Sizing & Conduct a Fit Test
Studios shoot to standard model sizes — typically size S/M for women and size 38/40 for men in India. If your garment labelled “M” is actually closer to “L”, the fit on the model will look loose, and your size guide on the listing will mislead customers.
- Measure each sample against your size chart (chest, waist, length, sleeve)
- Conduct a fit test on a colleague matching the model’s size
- Mark any garments that need sample size adjustments
- Send the studio your size measurement chart for reference
- For ghost mannequin shots, send the size that matches your studio’s mannequin spec
Tag & Label Every Single Piece
This is the step that separates amateur sellers from professional brands. A clear tagging system saves 30–40% of shoot time because the studio team doesn’t waste minutes hunting for the right SKU.
- Attach a hang tag with: SKU code, color code, size, style name
- Use safety pins or non-marking tags — never staples or pins that leave holes
- Number garments in shoot order (Look 1, Look 2, Look 3…)
- Maintain a master spreadsheet with the same SKUs for cross-reference
- For multi-color variants, tag each color separately with the variant code
Need a Professional E-commerce Model Photoshoot in Delhi?
Ckstudio handles end-to-end shoots for apparel brands across India — from model casting to retouched, marketplace-ready imagery. Speak to Prince directly.
Group Garments by Style, Color & Look
On shoot day, the studio works in looks — complete styled outfits photographed together. Pre-grouping garments at your warehouse helps the production team plan the model’s wardrobe changes efficiently.
- Bundle full looks together (top + bottom + accessory) in one garment bag
- Group by color family if shooting on themed backdrops
- Group by category (kurtis together, dresses together, etc.)
- Mark each bundle with a Look Number that matches your shot list
Prepare All Styling Accessories
A garment without its styling accessories is an incomplete look. If your design includes a belt, scarf, dupatta, or specific footwear — it must travel with the garment.
- Match accessories to specific garments using the same SKU/Look numbers
- Send footwear in studio-clean condition (wipe soles, no street dust)
- Include jewellery, bags, and props in dedicated labelled pouches
- For lookbook photography, send 2–3 styling options per outfit
Create a Detailed Shot List & Mood Board
The shot list is your shoot’s blueprint. Without it, the photographer is guessing your vision — and guesses cost time.
- List every SKU with required shots (front, back, side, detail close-up)
- Specify pose direction (standing, walking, seated, looking away, etc.)
- Indicate background preference (white, beige, lifestyle, outdoor)
- Attach a 5–8 image mood board referencing brands you admire
- Note any “must-have” angles for marketplace requirements (Myntra needs front + back + side + 1 detail)
Pack Smartly for Transit (Anywhere in India)
Whether you’re in Mumbai, Bangalore, Surat, or Jaipur shipping garments to a Delhi studio, transit damage is real. Smart packing prevents reshoot drama.
- Use breathable garment bags for hanging items (suits, dresses, kurtas)
- Pack delicate fabrics flat with acid-free tissue paper between layers
- Use sturdy cardboard boxes — not flimsy polybags
- Add silica gel sachets in monsoon season to absorb moisture
- Mark boxes “FRAGILE — APPAREL FOR PHOTOSHOOT” prominently
- Insure shipments above ₹50,000 in declared value
Share Your Brand Reference & Style Guide
Finally, give the studio everything they need to think like your brand — not a generic photographer.
- Brand guidelines (logo, color codes, typography)
- Past photoshoot images you loved (and ones you didn’t)
- Final delivery format requirements (Myntra spec, Amazon spec, web crop, social crop)
- Retouching style preferences (natural skin, editorial, high-end magazine, etc.)
- Your target customer profile so the model can deliver appropriate emotion
Common Mistakes Indian Sellers Make Before a Model Photoshoot
After running shoots for hundreds of sellers across Amazon, Flipkart, Meesho, and D2C brands, the same preparation mistakes repeat themselves. Here are the ones that cost the most:
❌ Mistake 1: Sending Sample Garments Instead of Final Production
Sample stitching, fabric, and color often differ from the final production batch. Photos of samples mislead customers — and result in returns. Always shoot final production garments only.
❌ Mistake 2: Skipping the Steaming Step
Sellers assume the studio will steam garments. Studios do steam, but pre-steaming saves an hour of shoot time. Don’t ship wrinkled garments expecting magic on-set.
❌ Mistake 3: No SKU Labels on Garments
The studio team has 40+ pieces moving around. Without labels, the wrong garment gets photographed under the wrong SKU on your listing — a catalogue disaster waiting to happen.
❌ Mistake 4: Forgetting Accessories
“The dress comes with a belt — oh wait, we forgot to send it.” This happens weekly. Every styling element must travel with its garment.
❌ Mistake 5: No Shot List or Last-Minute Vision Changes
Walking into a shoot day saying “let’s see what looks good” wastes 2–3 hours. Studios charge by the day. A clear shot list pays for itself.
❌ Mistake 6: Choosing a Studio Without a Portfolio Match
A studio that excels at jewellery photography may not be the right fit for an apparel model shoot. Always review their portfolio for similar work.
Advanced Pro Tips From Ckstudio’s Production Floor
1. Schedule Steaming the Night Before, Not Morning Of
Garments steamed and hung overnight settle into their natural drape. Last-minute steaming creates rushed, uneven results.
2. Test Your Dark Fabrics Under Studio Lights
Black and navy fabrics behave unexpectedly under flash lighting — sometimes the camera reads them as charcoal grey. If possible, test-photograph one piece in advance for color calibration.
3. Send a “Hero Garment” for Brand Cover Shots
Identify your hero piece (the bestseller or signature look) and brief the studio to spend extra time on it. This image becomes your homepage banner, ad creative, and Instagram cover.
4. Plan for Marketplace-Specific Crops in Advance
Amazon’s main image must be on pure white (RGB 255,255,255), Myntra prefers contextual neutral backdrops, while Flipkart’s apparel guidelines are stricter on model poses. Brief these specs before the shoot.
5. Consider Behind-the-Scenes Capture for Marketing
Studios like Ckstudio offer optional UGC and BTS video capture for an additional fee — these clips fuel your Instagram Reels, YouTube Shorts, and Amazon brand video content for months.
Tools & Equipment Every Brand Owner Should Own
You don’t need a professional studio to prepare garments well, but a few essential tools make a measurable difference:
Vertical Garment Steamer
Philips, Inalsa, or Maharaja Whiteline — ₹2,000–₹4,000. The single most important tool.
Lint Rollers (Pack of 6)
Refillable, sticky-type. Always keep extras at hand. ₹150–₹300 per pack.
Wide-Shoulder Padded Hangers
Prevents shoulder marks and stretch. ₹400–₹800 for a set of 20.
Fabric Shaver / De-piller
Removes pilling on wool, knit, and cotton blends. ₹500–₹1,500.
Breathable Garment Bags
Non-woven, transparent panel preferred. ₹50–₹120 per bag.
Hang Tags & SKU Printer
Thermal label printer or pre-printed tags. ₹3,000–₹8,000 one-time.
What Ckstudio Uses on the Studio Floor
For transparency, here’s a snapshot of the equipment our team works with — it explains why preparation matters at your end and execution at ours:
| Category | Equipment | Used For |
|---|---|---|
| Cameras | Canon R10, Sony A7R5 | Full-frame mirrorless capture |
| Lenses | 50mm prime, 100mm macro, 24–70mm zoom | Fashion, detail, full-body |
| Studio Strobes | 4× Godox SK 400II + 2× Elinchrom FRX 400 | Main key, fill, rim lighting |
| Light Modifiers | 4× strip softboxes, 2× octaboxes, 1× beauty dish | Soft, even, editorial light |
| Backdrops | Pure white seamless, beige, custom hand-painted | Marketplace + lifestyle |
Interactive Pre-Shoot Garment Preparation Checklist
Tick off each item as you complete it. Save or print this checklist for every shoot you do.
📋 The Ckstudio 15-Point Pre-Shoot Checklist
Future Trends in E-commerce Model Photography (2026 & Beyond)
The visual standards of Indian e-commerce are evolving fast. Here’s what brands should watch for:
1. Hybrid AI-Real Workflows
AI is becoming a useful support tool — for background variations, additional color swatches, and seasonal adaptations of base photoshoot imagery. But the foundation will continue to be real photography. Brands using hybrid workflows shoot less, but smarter.
2. Marketplace-Specific Image Sets
Single-set imagery for all platforms is dying. Myntra, Ajio, and Amazon now reward platform-tailored creative. Brands are commissioning differentiated image packs per platform.
3. Lifestyle-First Catalogues
Static studio shots are giving way to lifestyle product photography — real environments, real moments, real emotion. Garments need to be styled for storytelling, not just for showcasing.
4. Sustainable Garment Handling
Eco-conscious brands are adopting reusable garment bags, plastic-free tagging, and digital shot-list software — all of which start with smart pre-shoot preparation.
Ready to Plan Your Next Apparel Shoot?
From garment intake to retouched delivery, Ckstudio handles the entire pipeline for sellers across Amazon, Flipkart, Myntra & Ajio. Let’s plan your next shoot.
Frequently Asked Questions
Conclusion: Preparation Is the Secret of High-Converting Shoots
A great e-commerce model photoshoot is 50% preparation, 30% execution, and 20% retouching. Sellers who treat preparation as a checklist — not a chore — consistently get sharper images, faster turnaround, and lower per-SKU costs. They also build longer relationships with their photography partners because every shoot becomes predictably smooth.
If you’re planning a shoot in the coming weeks, use the 15-point checklist above. Print it. Share it with your team. And when you’re ready to brief a studio that has shot for some of India’s most demanding D2C apparel brands, reach out to Ckstudio. Prince and the team will walk you through the entire pipeline — from intake to delivery — and help you build a catalogue your competitors will study.
For deeper resources, you can also read the official Amazon Seller Central India image guidelines and Flipkart Seller Hub standards before your next dispatch.
Talk to Prince Directly
9+ years of e-commerce photography experience. 1,00,000+ SKUs delivered. Honest pricing, transparent process. Reach out today.