
Fashion Photography Services
E-commerce Photography
The main image specs, the shot list for each piece and the studio habits that keep jewellery listings accurate, sharp and approval-ready.
Amazon jewellery photography follows the same main image rules as every other category, but a ring that is 2 cm across, a pair of earrings and a 45 cm chain each break those rules in their own way. This guide sits inside the Amazon seller hub, and it covers what the white background, frame fill and zoom rules mean for small, reflective products.
At Ckstudio we have shot jewellery for marketplace catalogues since 2015, and the same ten problems come up on almost every new brand’s first upload. Below you will find each rule, the reason behind it, the shot that satisfies it and the mistake that usually breaks it, written for sellers of fine jewellery, fashion jewellery and silver on Amazon.in.
In this guide
The main image must be a real photograph of only the piece being sold, on a pure white background (RGB 255, 255, 255), filling about 85% of the frame, with no text, logos, borders or watermarks. It should be at least 1,000 pixels on the longest side so that zoom works.
These rules come from Amazon’s own product image requirements in Seller Central, and they apply to every category. Jewellery sellers also have a category style guide inside Seller Central, which adds category-specific instructions. Read the current version before each season, because Amazon edits these pages without announcing every change.
| Rule | What Amazon asks for | What it means for jewellery |
|---|---|---|
| Background | Pure white, RGB 255, 255, 255 | Grey shadows under a ring are fine; a cream or grey backdrop is not |
| Frame fill | Product covers about 85% of the image | A small stud needs a macro lens, not a crop from a wide shot |
| Zoom size | 1,000 px on the longest side minimum; larger recommended | Export at 2,000 px or more so stone settings hold up on zoom |
| Content | Only the product for sale | No ring box, velvet stand or bust in the main image unless it is included |
| Graphics | No text, logos, badges or watermarks | Purity stamps belong in a secondary close-up, not as an overlay |
| File | JPEG preferred; TIFF, PNG or non-animated GIF | sRGB JPEG keeps gold and rose gold tones predictable |
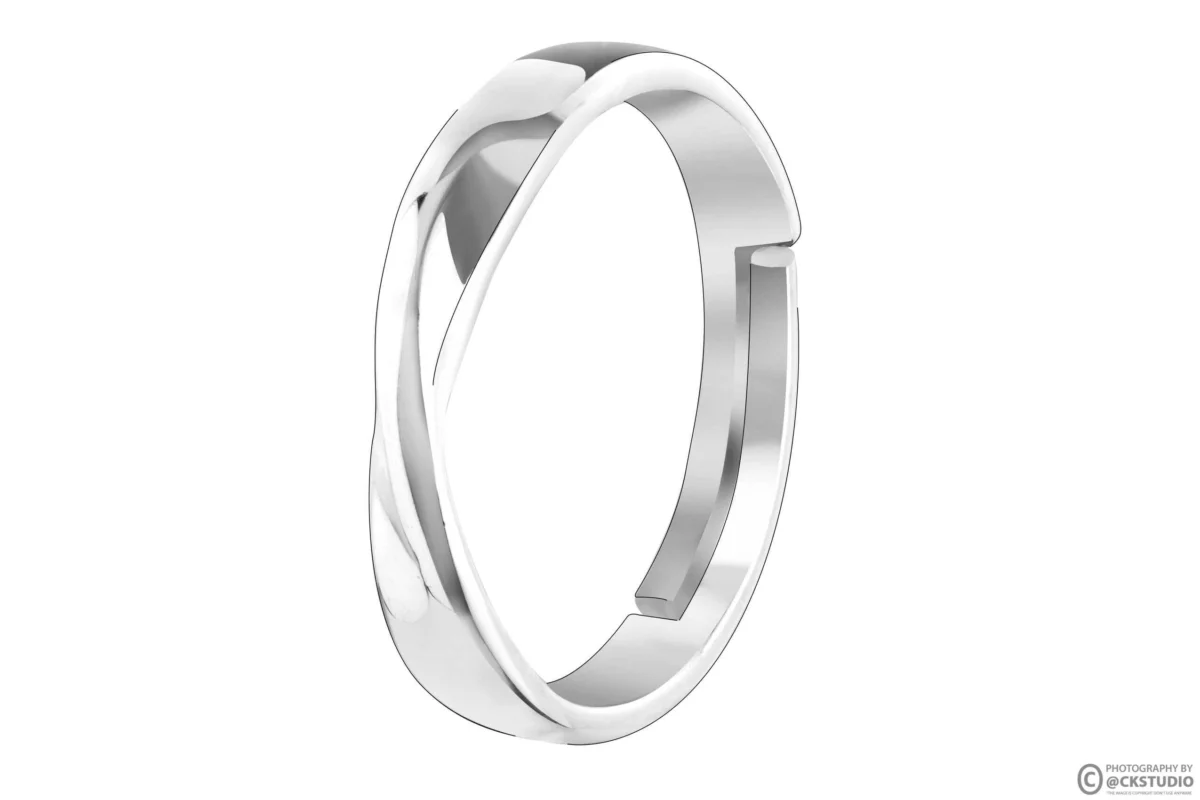
For most brands, the main image is where the listing is won or lost. Shoppers see it at about 100 pixels wide in search results, so a ring that fills only half the frame turns into a grey dot. If your current images were taken on a phone against a sheet of paper, professional jewellery photography on a calibrated macro set fixes fill, sharpness and background in one pass, before you spend on ads.
One practical note on the 85% rule: it describes the product’s share of the frame, so long pieces such as a necklace are measured on the longer edge. The rule does not ask you to stretch or crop the piece; it asks you to compose tightly at the time of shooting.
Jewellery is small, reflective and judged on detail the eye cannot see at thumbnail size. A shirt photo shows colour and fit at a glance; a ring photo has to prove stone clarity, metal finish and real size, which needs extra close-ups and a scale reference.
Three properties make jewellery harder than most e-commerce categories. First, scale: the shopper cannot tell a 4 mm stud from an 8 mm stud on a white background, so size has to be shown, not stated. Second, reflection: polished gold and silver act as mirrors and pick up the camera, the photographer and the ceiling. Third, colour: yellow gold, rose gold and 18-carat white gold sit close to each other, and a warm white balance can turn one into another.
That is why Amazon jewellery photography needs more planning than the generic seven-image template. The main image proves what the piece is. The secondary images prove how big it is, how it is made, what the metal and stones really look like, and how it sits when worn. Each image should answer one buyer question, and no two images should answer the same one.
From the studio floor
Our jewellery set starts with a 100mm macro lens on a full-frame mirrorless body, f/11 to f/16 for depth, ISO 100 and the camera tethered to a calibrated monitor. Rings and studs sit on a white acrylic riser 30 cm from a white sweep, so the background can be lit separately and clipped to pure white without spilling onto the metal. Every SKU gets a grey card frame at the start of its set for the white balance reference.
In Amazon jewellery photography, different jewellery types also fail in different ways. Rings fail on reflection and on the band disappearing at the back. Earrings fail on symmetry. Necklaces fail on frame fill, because a long chain leaves the pendant small. Bangles fail on perspective when they are shot from too close. The next section takes the three biggest sub-categories one by one.
Fashion jewellery and fine jewellery also need different priorities. A ₹499 oxidised jhumka sells on design and colour, so the on-model image does most of the work. A hallmarked gold ring sells on trust, so the purity close-up and the true metal colour carry more weight than styling.
Shoot each type in the position that shows its most important feature: rings upright at three-quarter view, earrings as a symmetrical pair, and necklaces laid in a controlled shape or on a form in secondary images. Keep the same angle set for every SKU in a collection.
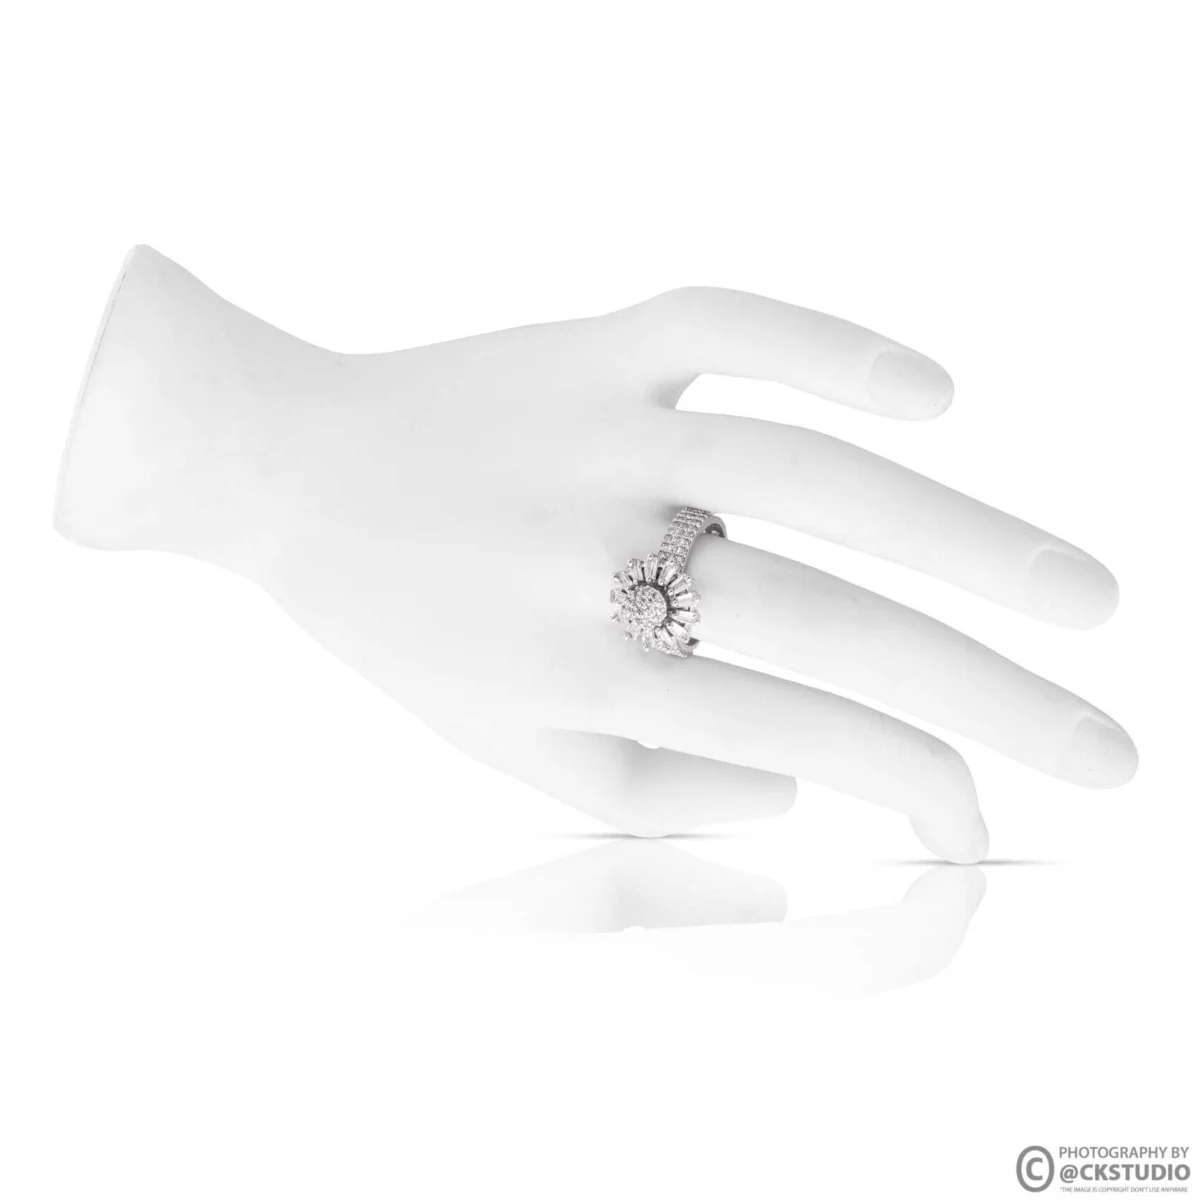
A ring main image works best upright, the head turned about 30 degrees towards the camera so the stone and one side of the shank are both visible. Hold it with a small dab of clear museum putty hidden behind the band, then clean the contact point in retouching. Secondary angles: a straight top view of the setting, a side profile to show the gallery and stone height, and an on-hand or hand-form shot for scale.
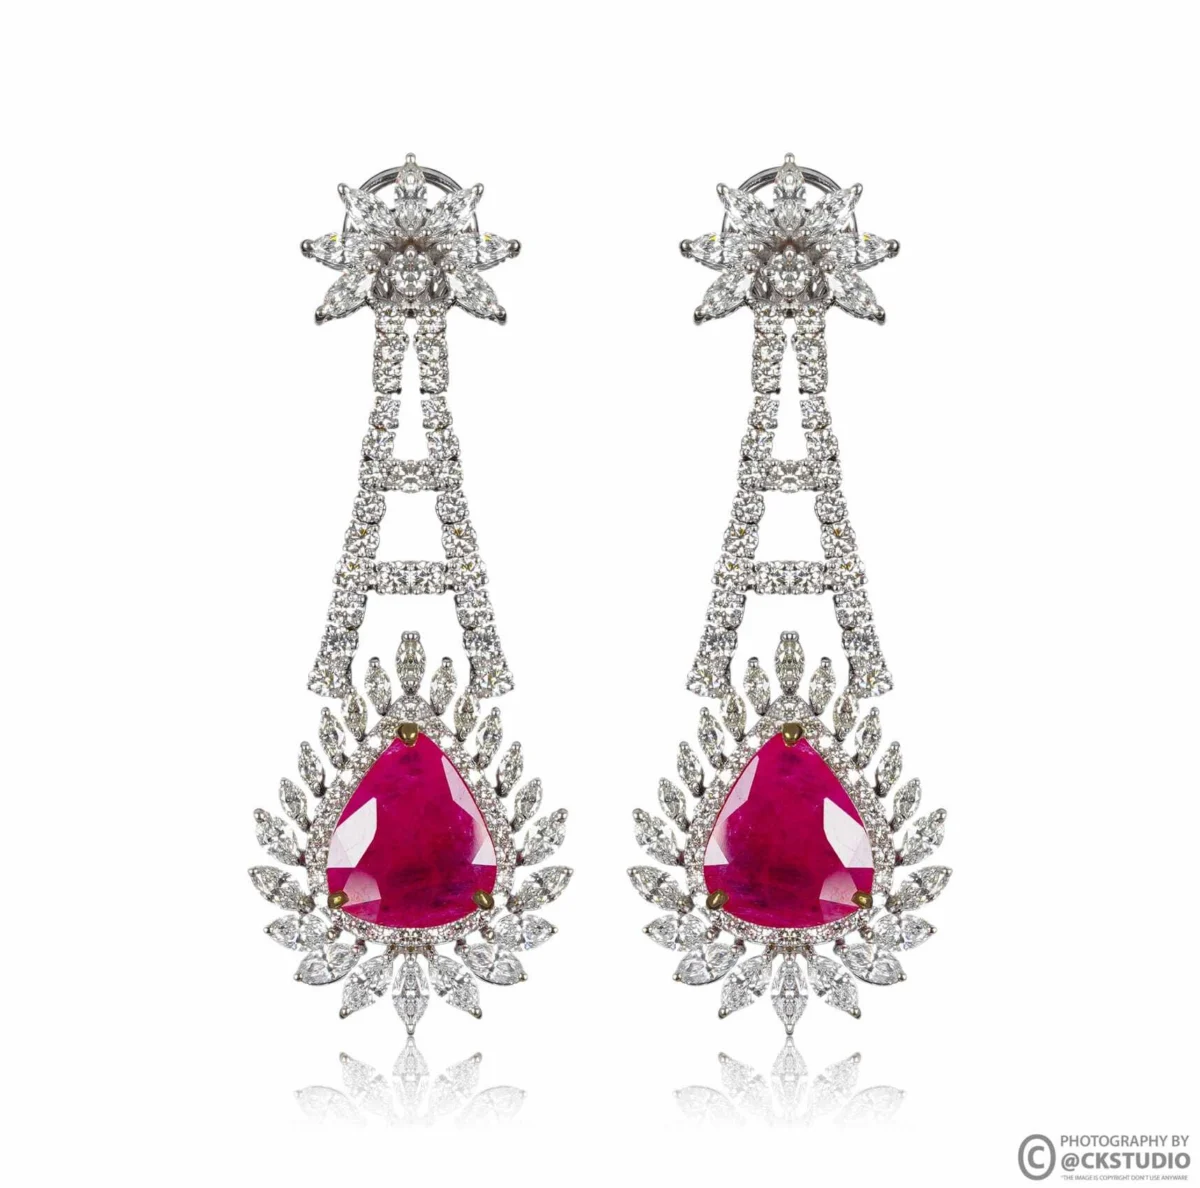
Earrings are sold as a pair, so we photograph them as a pair: both pieces in one frame, mirrored, at the same height and the same angle. Drops and jhumkas hang from a clear acrylic bar so their natural fall shows; studs lie flat or stand on clear pins. Uneven spacing between the two earrings is the first thing a quality reviewer and a shopper both notice.
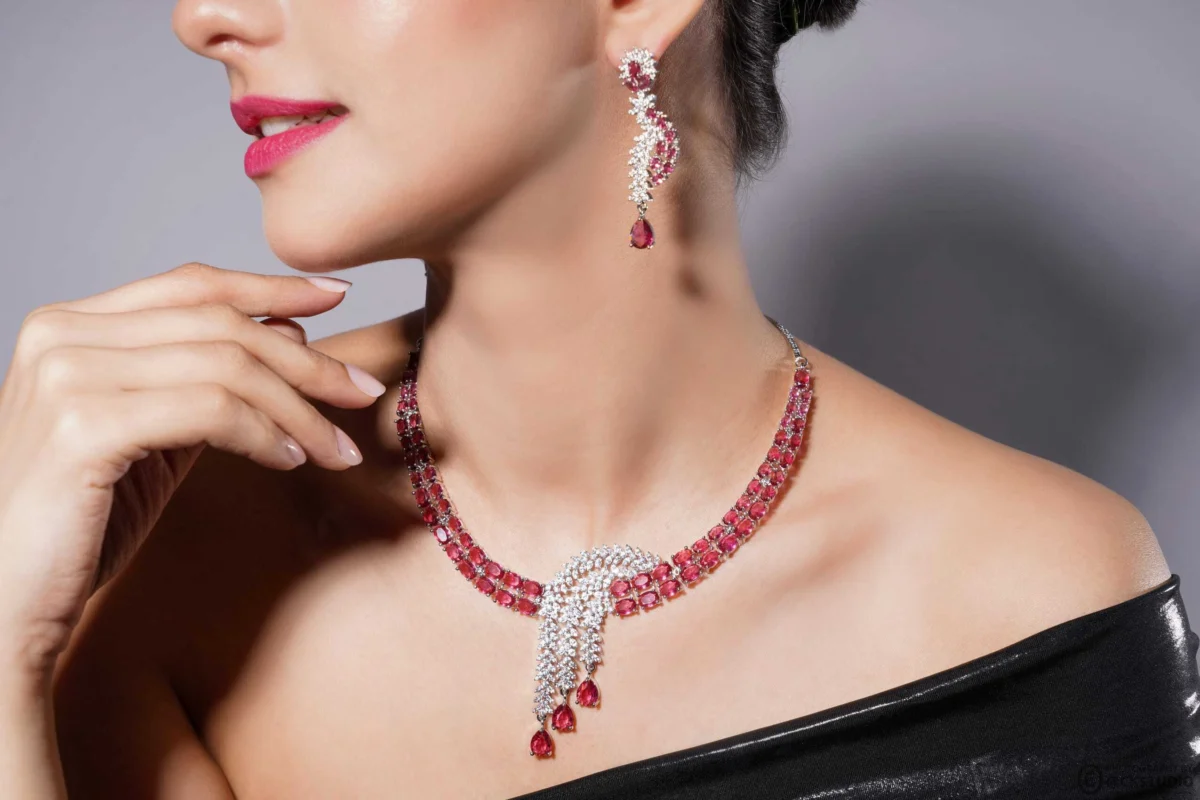
A necklace main image is a framing problem. Lay the chain in a soft U or V shape so the pendant sits in the lower third, and frame on the pendant plus enough chain to show the style. A full-length shot of a 45 cm chain shrinks the pendant to a few pixels. Show the clasp, the chain links and the pendant bail in secondary close-ups instead.
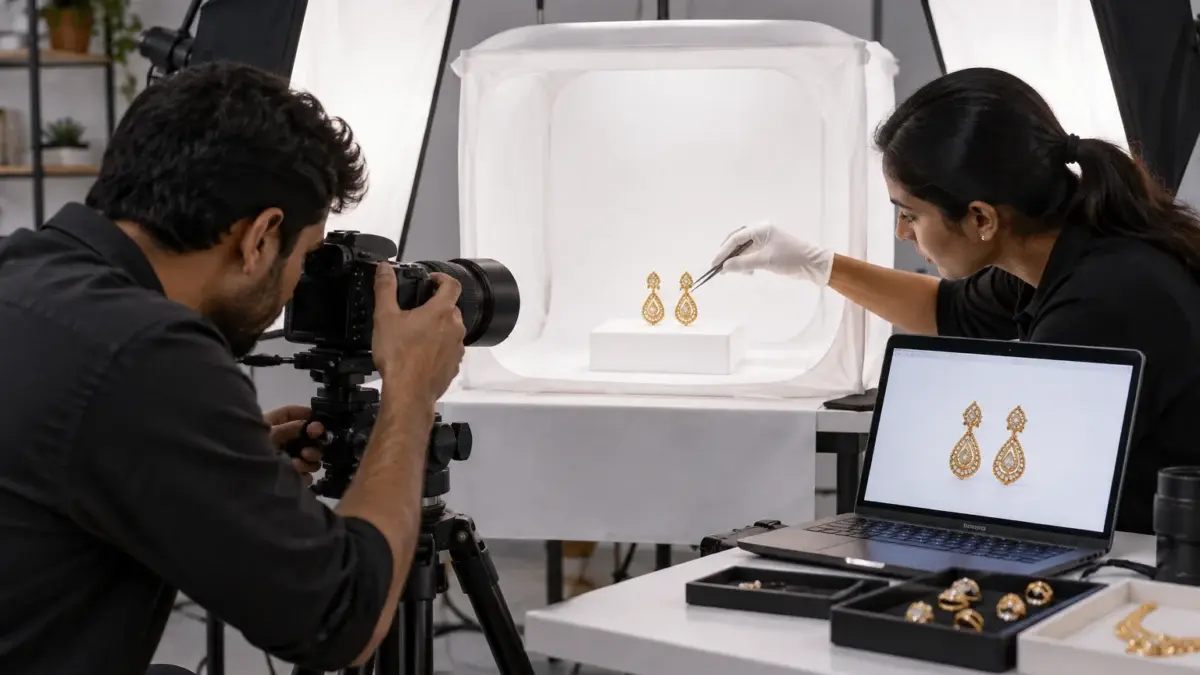
The video below shows how a jewellery shoot runs for marketplace listings, from positioning a piece to checking the frame on the tethered screen.
Light the background and the product separately. The sweep is lit to pure white on its own, while the jewellery is lit with large diffused sources and a narrow strip light that draw clean highlights on the metal and make stones sparkle without blowing out.
In Amazon jewellery photography, the common shortcut is to overexpose the whole frame until the background turns white. That also burns out the highlights on polished gold and turns diamonds into flat white shapes. The better approach is two lighting zones: one for the backdrop, measured until it reads 255 in the camera’s highlight warning, and one for the piece, kept a stop or more below so the metal keeps its gradient.
From the studio floor
For polished gold we use two strip softboxes at 45 degrees left and right, a large diffusion panel overhead and white foam cards close to the piece to fill the metal. Diamonds and cubic zirconia get a small hard light from above for fire. For highly polished pieces we shoot 3 to 5 frames at different focus points and stack them, so the stone and the back of the band are both sharp at f/11.
On the Ckstudio set, gemstones get a different touch from metal. Coloured stones such as rubies and emeralds go dark if lit only from the front, so a small reflector below the riser pushes light back up through the stone. Pearls need the softest light on the set, because a hard source flattens their lustre into a white spot.
The behind-the-scenes clip below is from a marketplace accessory shoot rather than jewellery, but it shows the same reflection control with strip lights and the tethered check before every frame is approved.
Shadows are allowed on the main image as long as the background stays white. A soft, short grounding shadow under a ring helps it sit on the page instead of floating. Long, hard or coloured shadows look like a dirty background on a phone screen and invite a reviewer flag.
Use the secondary slots to answer the buyer’s next questions in order: other angles, a close-up of the setting, a scale or on-model shot, the hallmark or purity stamp, packaging if it is included, and a lifestyle image. Each slot should prove one thing.
Secondary images may include models, props, backgrounds and text callouts, so this is where size, styling and trust are built. The order matters as much as the content; our guide to the best 7-photo sequence for Amazon listings explains the logic, and the table below adapts it for jewellery.
| Slot | Rings | Earrings | Necklaces |
|---|---|---|---|
| 1 Main | Three-quarter upright | Pair, front | Laid U-shape, pendant low |
| 2 Angle | Top view of setting | Side profile of one piece | Pendant close-up |
| 3 Detail | Side profile, stone height | Back and post or hook | Clasp and chain links |
| 4 Scale | On hand or hand form | On ear, side view | On neck, chest-up crop |
| 5 Trust | Hallmark inside band | Purity stamp on post | Hallmark on clasp tag |
| 6 Lifestyle | Styled with an outfit | Model, three-quarter | Model with matching earrings |
For gold, the purity mark is a real selling point in India. According to the Bureau of Indian Standards hallmarking overview, hallmarked gold jewellery now carries a six-digit alphanumeric HUID code that is laser-marked by an assaying and hallmarking centre, and buyers can verify it in the BIS CARE app. A sharp macro of the BIS mark, purity grade and HUID inside a band or on a clasp tag answers the trust question before it is asked.
At Ckstudio we shoot that close-up at 1:1 macro with raking light from one side, which lifts the engraved characters out of the polished surface. Never add the mark as a graphic; it has to be visible on the piece itself.
Here is a quick look at how a full jewellery shelf reads when every piece follows the same angle and lighting standard.
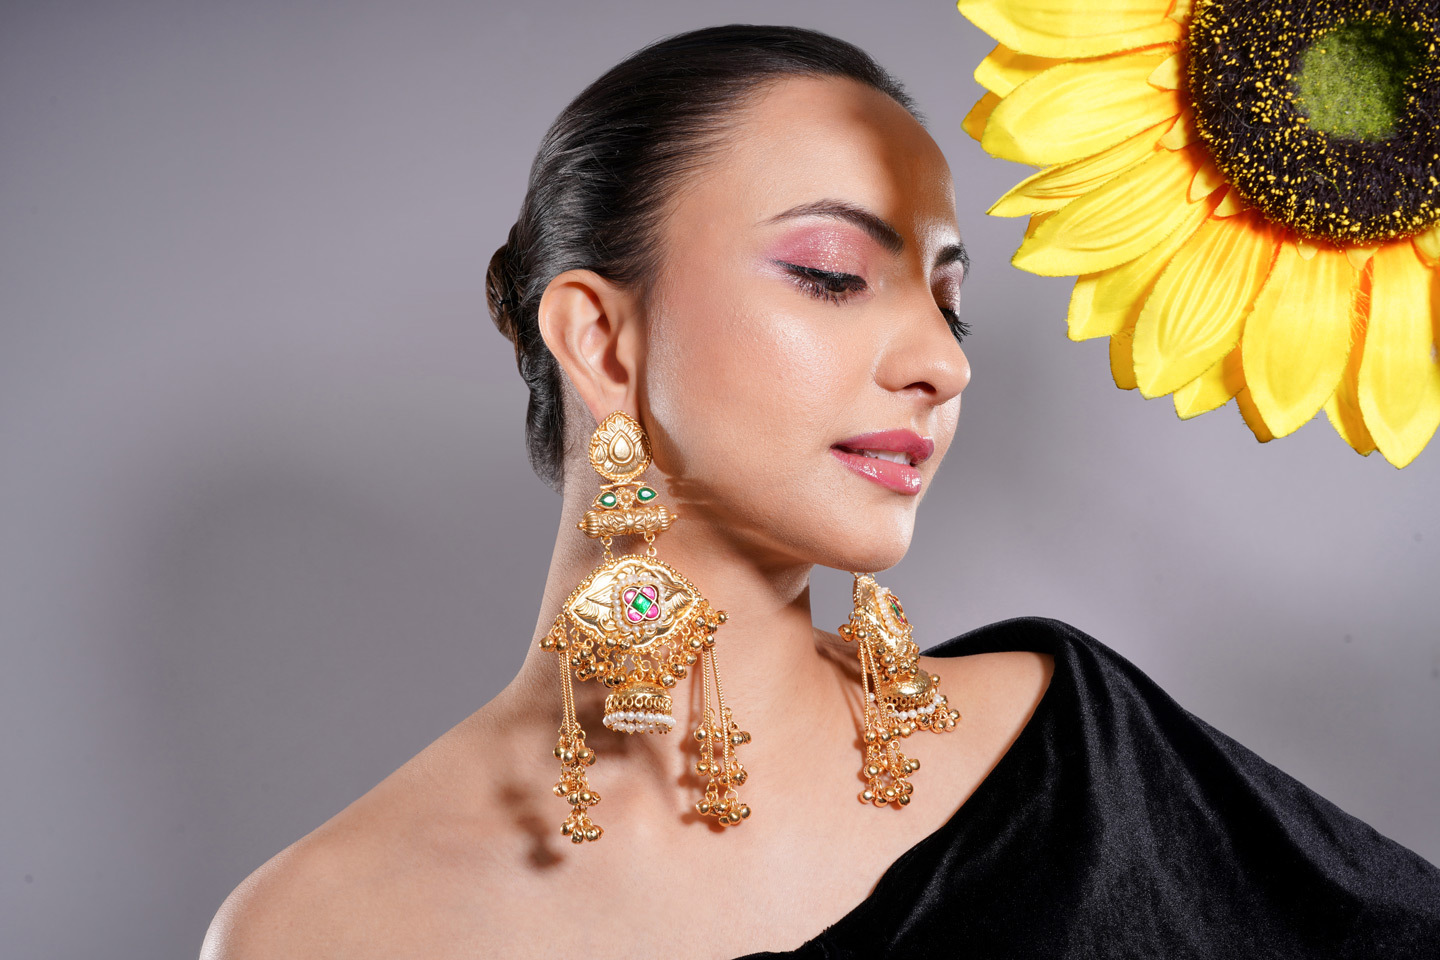
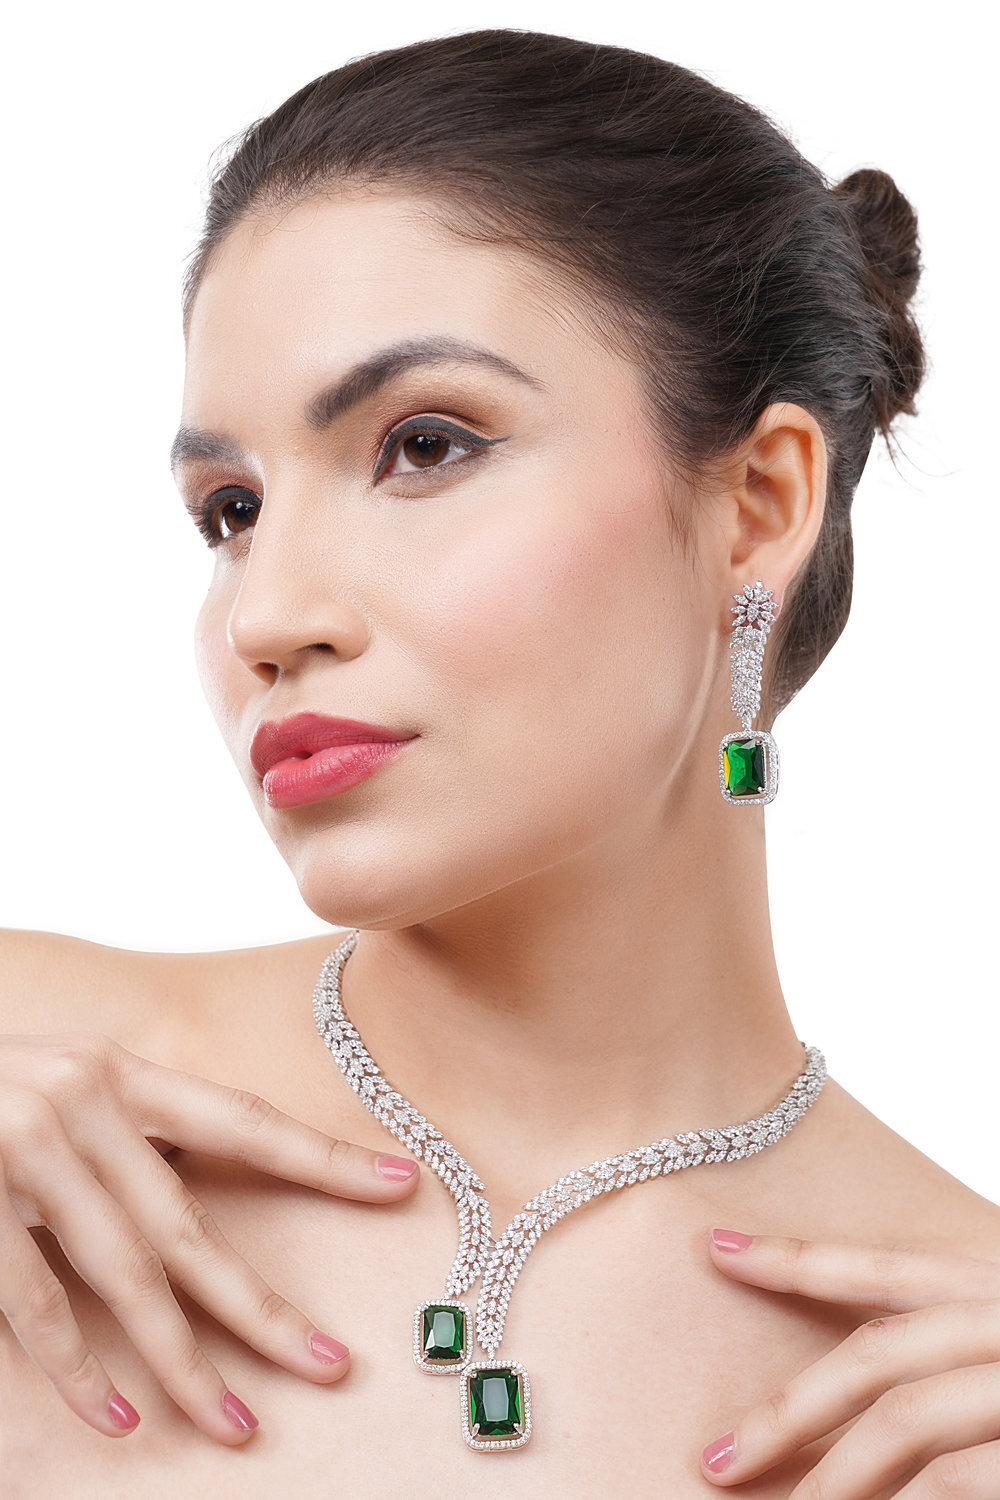
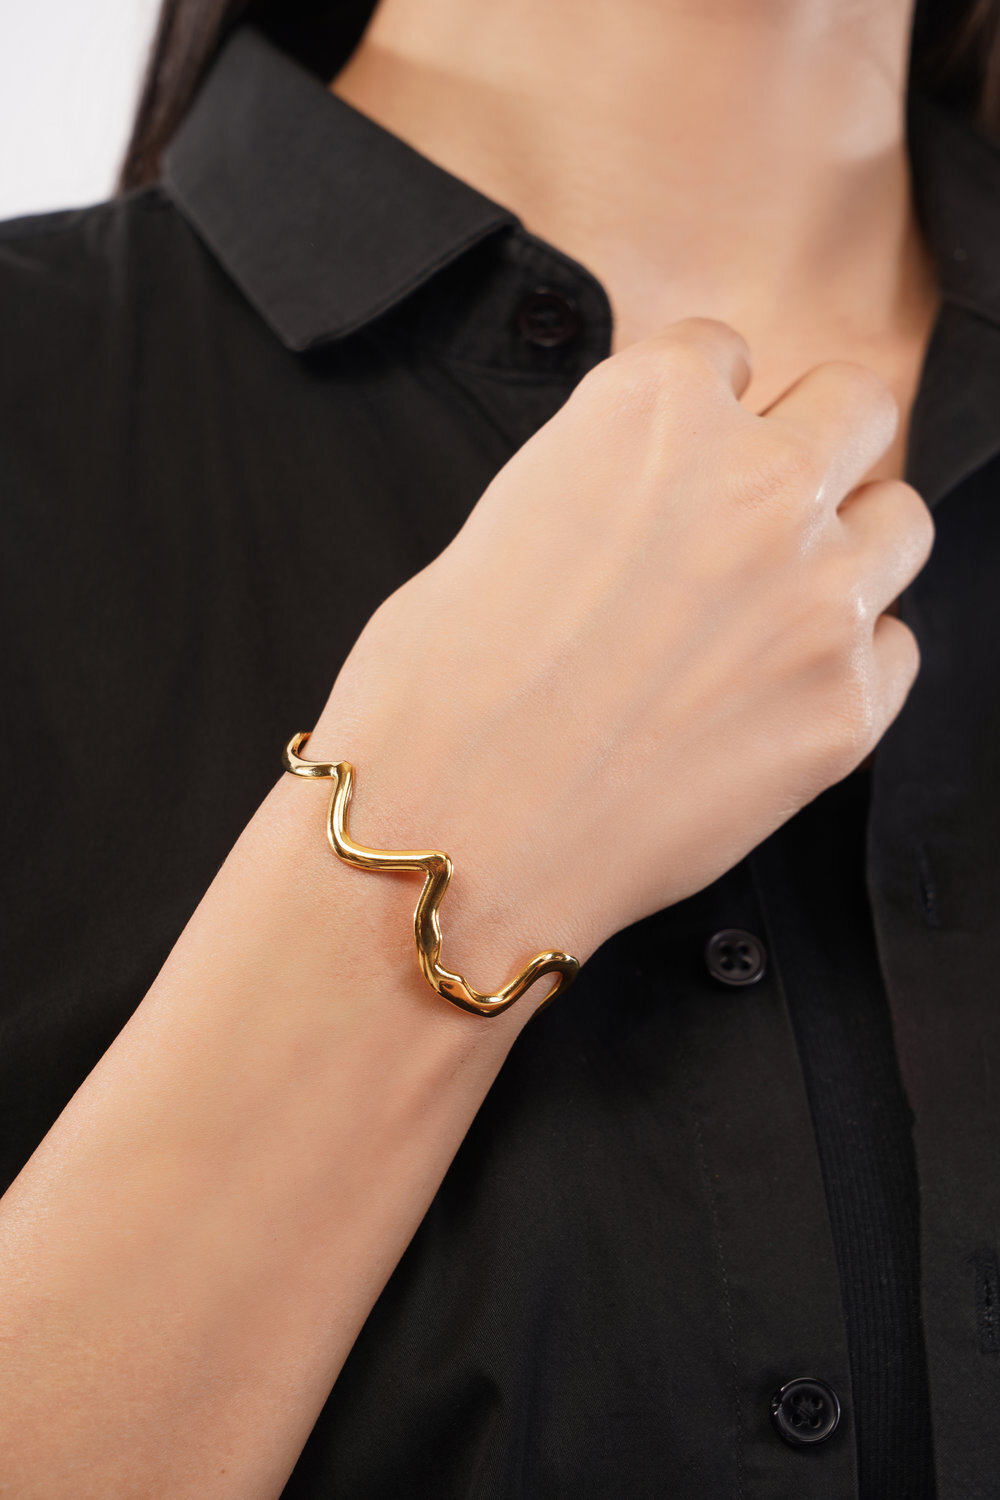
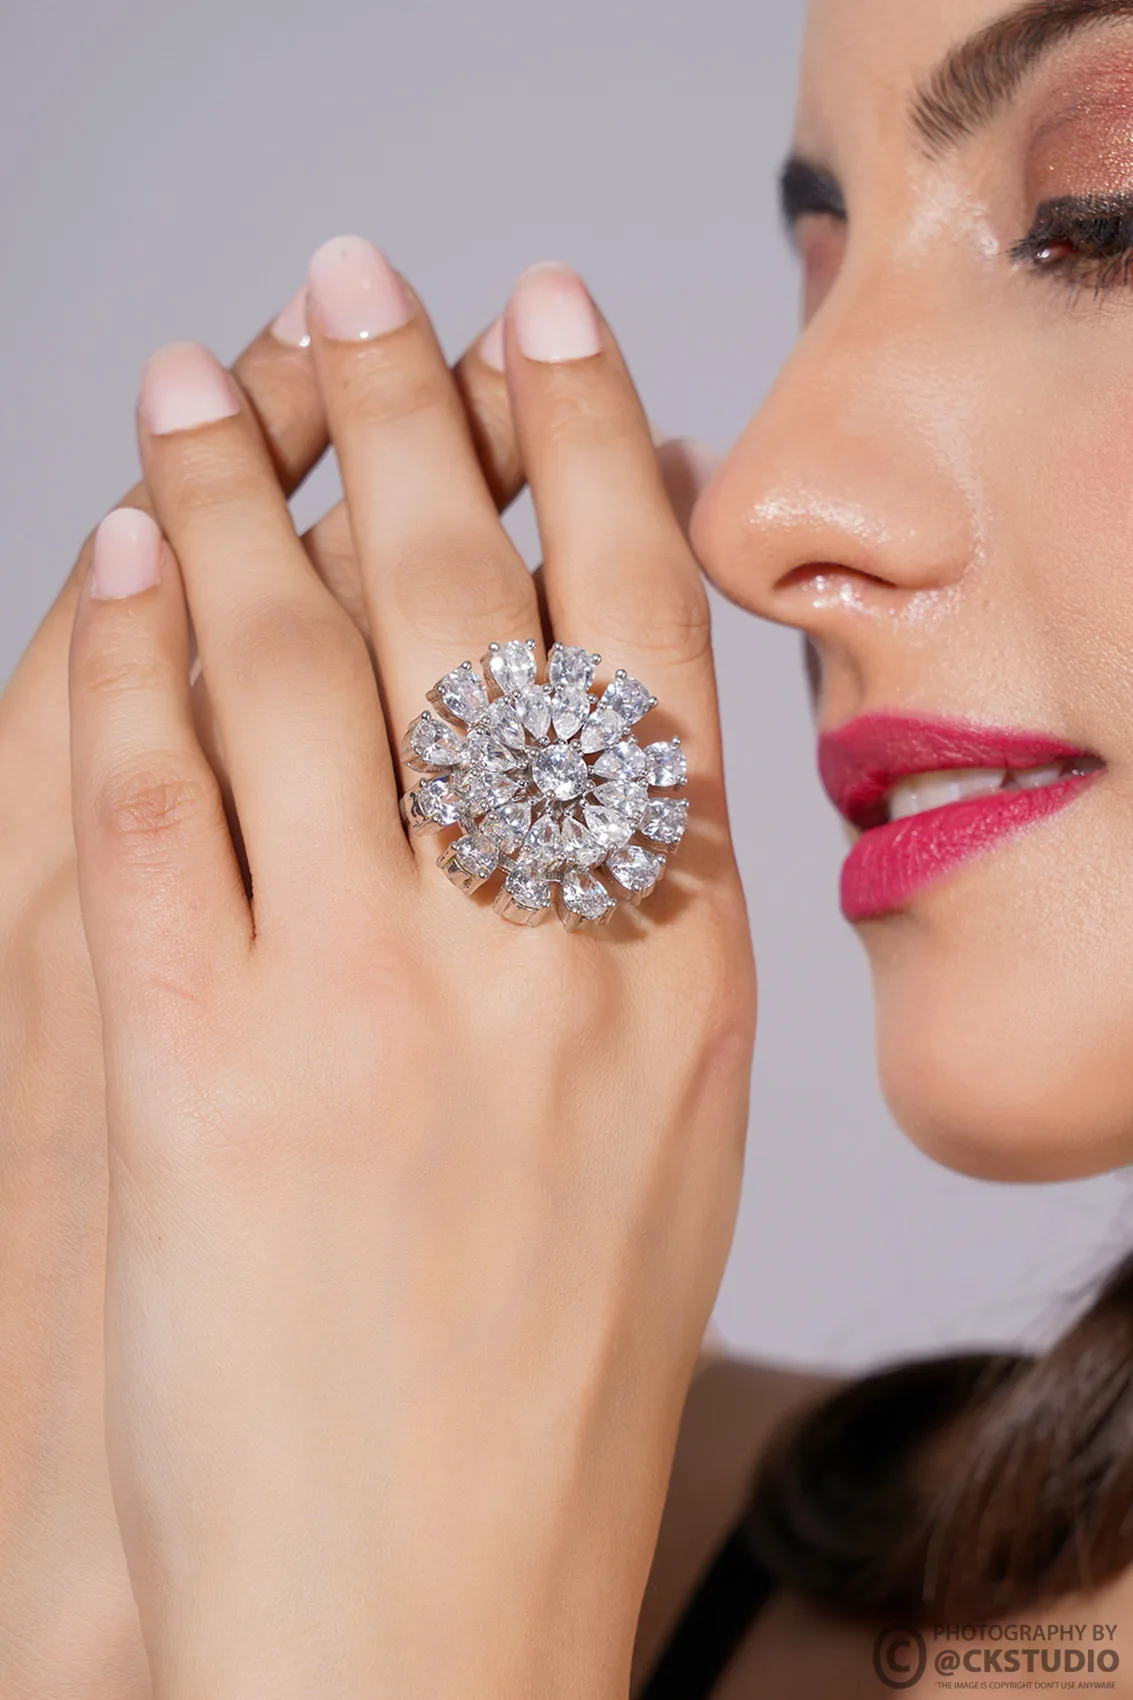
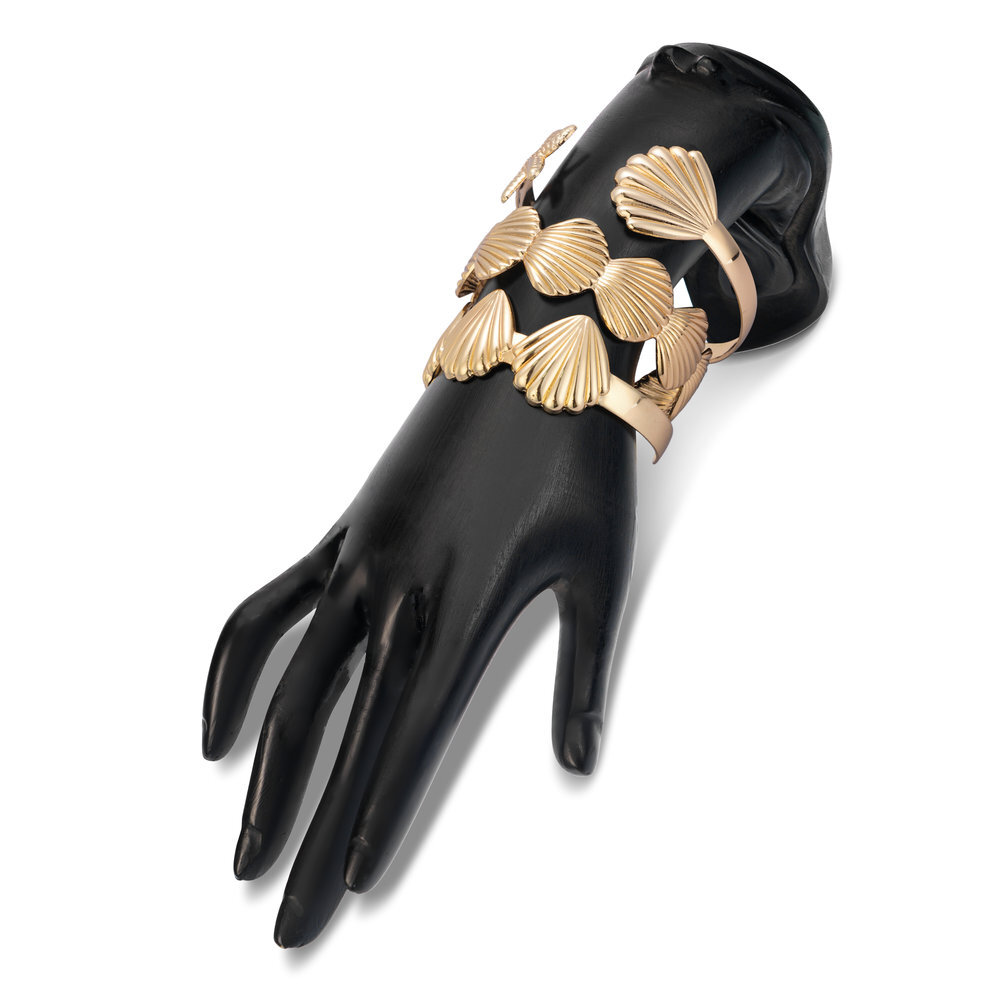
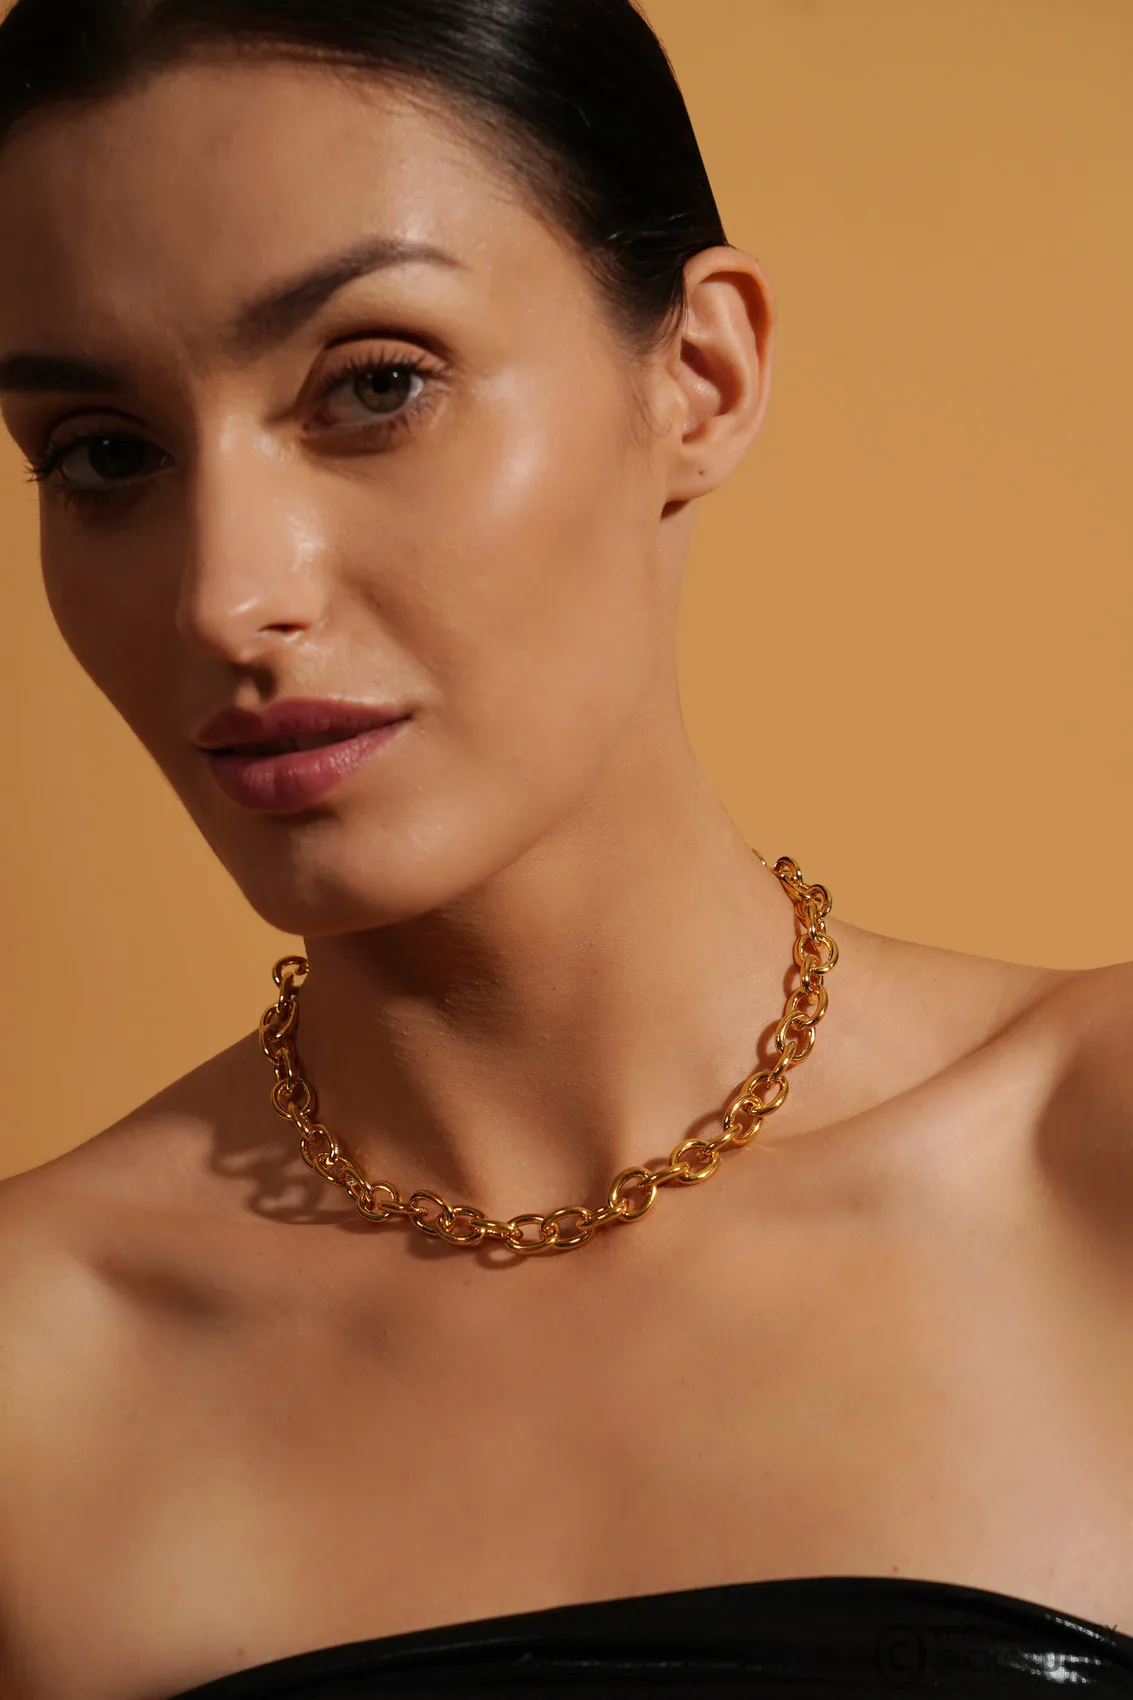
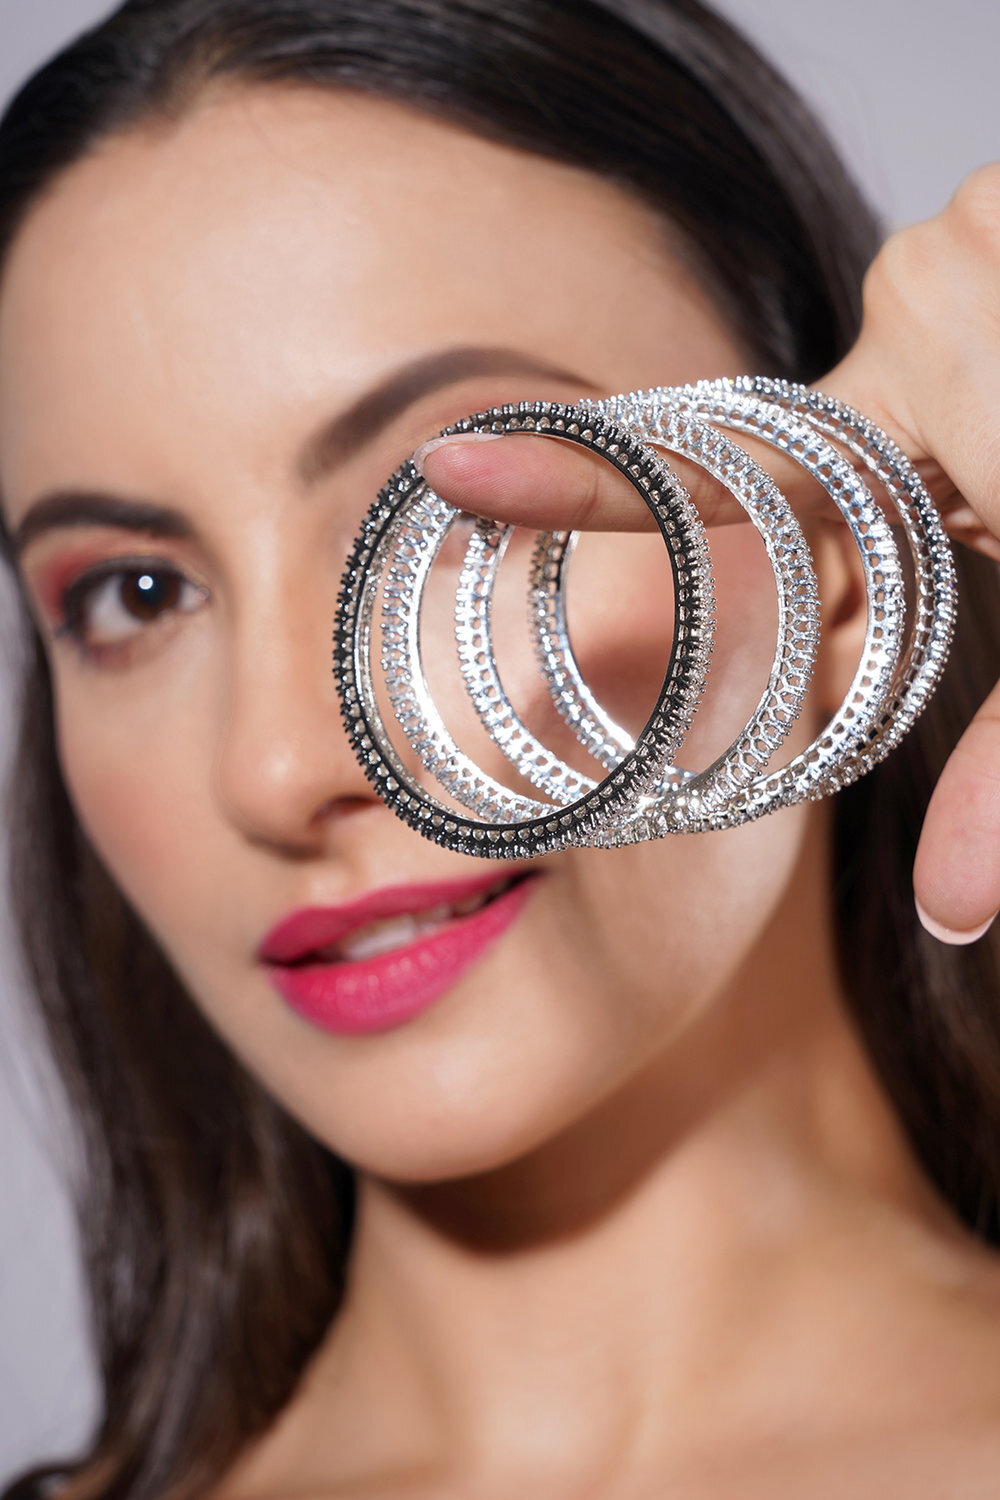
Retouching should remove dust, scratches, putty and stray reflections, and set the background to pure white, but never change the stone colour, the metal tone or the size of the piece. The final file has to match the product the buyer unboxes.
Jewellery picks up every speck, and Amazon jewellery photography is judged at full zoom. A clean ring under a macro lens still shows lint, fingerprints and polishing marks that the eye never sees. Retouching for marketplace jewellery is therefore a cleaning job first: dust and scratch removal, cleaning the support point, evening out a distracting reflection, and clipping the background to 255. It is not the place to make a 9-carat piece look like 22-carat gold.

From the studio floor
Our QC pass checks five things on every jewellery file at 100% zoom: background reads 255 on all four corners, no dust left on stones or metal, the support putty is gone, the metal tone matches the physical piece under a 5000K viewing lamp, and the export is sRGB JPEG at 2,000 px on the long edge, usually under 1 MB. A file that fails any one check goes back to the retoucher, not to the client.
Colour is the most common source of returns in jewellery. Rose gold that turns orange, or white gold that looks like steel, leads to “not as shown” complaints and hits the rating that sits right next to your images. If your files already exist but look dull or dusty, careful jewellery photo retouching can clean them without changing the product, which is cheaper than a full reshoot.
Amazon also asks sellers to keep images truthful about what is included. Do not composite a matching chain into a pendant-only listing, and do not retouch a lab-grown stone to look like a different cut. Accuracy protects the listing far longer than a slightly prettier photo.
Most rejected or underperforming jewellery listings fail on the same handful of issues: off-white backgrounds, small products in a big frame, single earrings, props in the main image and colour shifts. Each has a simple fix at the shoot or edit stage.
Several of these issues are covered in more depth in our jewellery photography checklist, which you can print and keep next to the set. Run it before an upload, not after a rejection.
One more mistake deserves its own paragraph: mixing styles within a collection. If ten rings are shot upright and five lying flat, the search results page looks like five different sellers. Amazon jewellery photography works best when one angle standard, one shadow style and one crop are locked for the whole catalogue and reused for every new launch.
Finally, do not assume AI tools solve these problems. Generated or heavily composited jewellery often changes stone counts, prong shapes and chain patterns. That creates a mismatch between image and product, the exact problem the rules are written to prevent.
Ckstudio plans by SKU and angle before anyone touches a camera: group pieces by type and metal, fix the angle set for each group, prepare and clean every piece, then shoot, retouch and QC in batches. Planning is what keeps 40 SKUs looking like one brand.
Example scenario
Example: a fashion jewellery seller launches a 40-SKU collection on Amazon: 15 rings, 15 earring pairs and 10 necklaces. With 3 product angles per SKU, that is 120 product images, plus on-model images for the hero pieces. At an illustrative rate of ₹79 to ₹115 per angle, the product images would come to roughly ₹9,480 to ₹13,800 before on-model work. The numbers are an example for planning, not a quote.
For budgeting, the approved Ckstudio rate for jewellery product photography is below. It covers rings and earrings shot on white with editing, the same work this guide describes.
| Shoot type | Images | Turnaround | Price |
|---|---|---|---|
| Jewellery (ring, earring) | 2–3 angles | 4–5 days | ₹79–115 / angle (₹240–350 / per sku) |
Final quotes depend on SKU count, angles and retouching — call or WhatsApp +91-8700258773.
If your catalogue also includes other categories, such as watches, bags or home products, a single shoot plan saves time. When a range has to go live across many ASINs at once, Amazon listing photography planned around the marketplace’s image slots keeps every product page consistent. You can also share your SKU sheet by email at [email protected] for a shot plan.
For a clean, compliant main image we recommend shooting the piece on its own on pure white and keeping on-model images for the secondary slots. Check the jewellery style guide in Seller Central for your category, because it holds the current category-specific instructions.
Amazon needs at least 1,000 pixels on the longest side for zoom. For jewellery we export at 2,000 pixels or more as sRGB JPEG, so stone settings and engraving stay sharp when shoppers zoom in.
Show them as a matched pair in the main image, mirrored and level, because the buyer is purchasing a pair. A close-up of a single earring works well as a secondary image to show the back, post or hook.
Yes, as a real macro photograph in a secondary image, not as a text overlay. For gold, a clear shot of the BIS mark, purity grade and six-digit HUID on the piece builds trust with buyers.
A soft, short grounding shadow is fine as long as the background itself stays pure white. Long, hard or coloured shadows make the background look dirty at thumbnail size and should be avoided.
Images must accurately show the product being sold. AI tools often change stone counts, prongs and chain patterns, which creates a mismatch with the real piece, so real photographs remain the safer choice for jewellery.
Amazon jewellery photography rewards discipline more than flair: a pure white main image, a tight frame, matched pairs, honest colour and a secondary set that answers size and trust questions. Get those right and the same files work on Flipkart and Myntra with only minor crops.
If you would like Prince and the Ckstudio team to review your current jewellery images against these rules, call +91-8700258773, send them on WhatsApp at +91-8700258773, or reach us on +91-8700258773 between 10 am and 7 pm.
Next step: if a jewellery ASIN has already been flagged or hidden, work through the reasons Amazon suppresses listings and how to fix each one.
Rings, earrings, necklaces and bangles shot on calibrated macro sets, retouched for accuracy and exported to marketplace specs. Share your SKU list and we will send an angle plan.
Call Prince: +91-8700258773