Fashion Photography Services
E-commerce Photography
A practical, shoot-ready checklist of angles, styling and lighting that helps marketplace listings pass review and convert better.
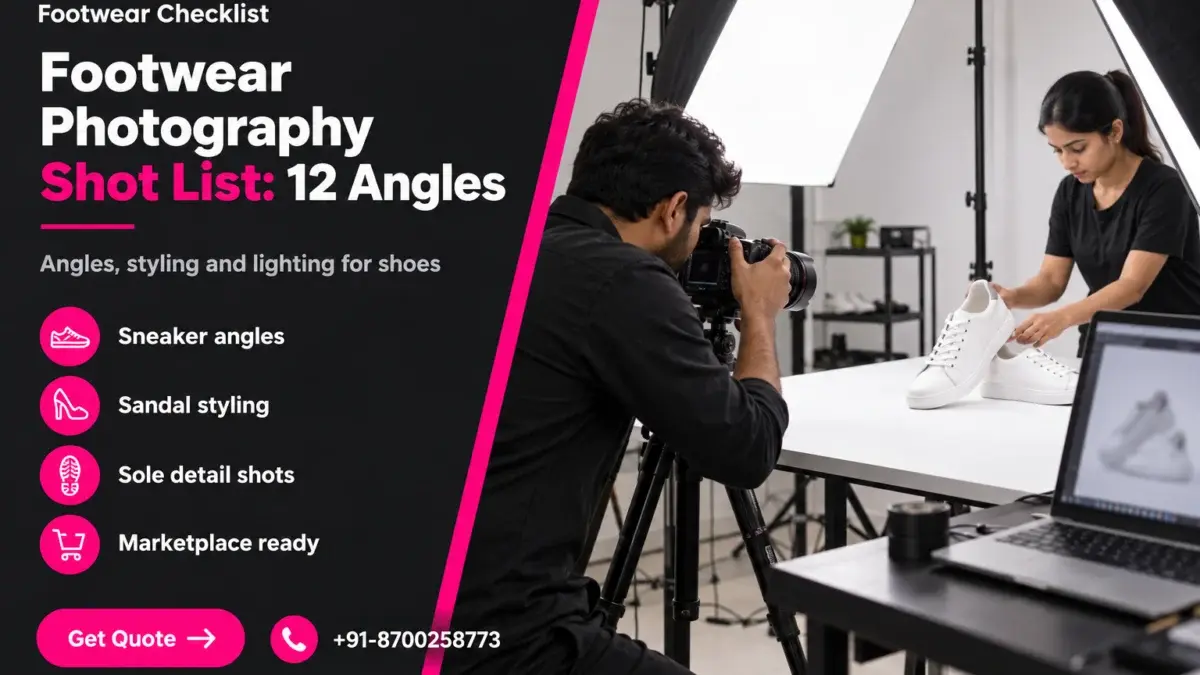
A footwear photography shot list is the single document that decides whether a shoe shoot finishes in one clean day or turns into three rounds of reshoots. If you sell sneakers, sandals, loafers or heels online, this guide gives you the exact twelve shots, the styling rules and the lighting logic we follow at Ckstudio, so your listings look consistent from the first SKU to the five-hundredth.
Most sellers start a shoe shoot by simply placing a pair on a table and clicking until it looks fine. That approach works for one pair, but it collapses the moment you have forty colourways. A written shot list fixes this because it turns photography into a repeatable production process, which is exactly how professional ecommerce studios keep marketplace images uniform across large catalogues.
In this guide
A footwear photography shot list is a fixed set of angles, detail shots and styling frames captured for every shoe in your catalogue. It matters because shoppers cannot touch a shoe online, so consistent, complete images are the only way to answer questions about shape, sole, fit and finish before they add to cart.
Think of the shot list as a contract between the photographer, the stylist and the seller. Everyone knows in advance how many frames each pair needs, which of them are mandatory for the marketplace and which are optional extras for your own website or social media. When the contract is clear, the studio can plan lighting once, lock the camera position and work through stacks of shoes at speed.
A good footwear photography shot list also protects your budget. Without one, sellers often over-shoot angles they never upload and still miss the one frame, usually the outsole or the heel, that a marketplace reviewer or a cautious buyer wanted to see. Planning the frames beforehand removes both problems, and it is the reason our ecommerce photography services always begin with a shot plan instead of a camera.
If you are still deciding how many images each listing really needs, our breakdown of the 8-image framework for high-converting listings is a useful companion, because the footwear list below plugs straight into that framework.
Marketplaces expect a clean, evenly lit main image of the entire shoe on a plain background, followed by additional angles that show the shoe honestly. The exact pixel rules, category limits and background colours change from time to time, so always confirm them in your own seller account before the shoot.
For Amazon, the main image is typically the strictest frame: the product must fill most of the canvas, sit on a pure white background and avoid props, text or badges. You can read the current wording of these rules inside Amazon Seller Central India, and our detailed Amazon product photography guide explains how to translate them into studio practice.
Flipkart and Myntra add their own preferences on ratios, backgrounds and the number of images per listing. The seller documentation lives in Flipkart Seller Hub, and we have summarised the practical side in our posts on Flipkart image size, ratio and background rules and Myntra photography guidelines. Treat those documents as the source of truth and this shot list as the production plan that satisfies them.
Our teams shoot for marketplace sellers every week through dedicated Amazon photography, Flipkart photography and Myntra photography workflows, and the pattern is consistent: listings built from a complete shot list get fewer rejections and need fewer reshoots.
The twelve essential shots are the hero three-quarter view, outer side, inner side, front, back, top-down, sole, insole, close-up detail, pair view, lifestyle or on-foot frame and a scale or packaging frame. Together they let a buyer inspect the shoe from every direction without ever holding it.
These first six frames form the backbone of the list. Capture them on a clean background with identical camera height and distance for every SKU, so the thumbnails look uniform when they sit side by side in search results.
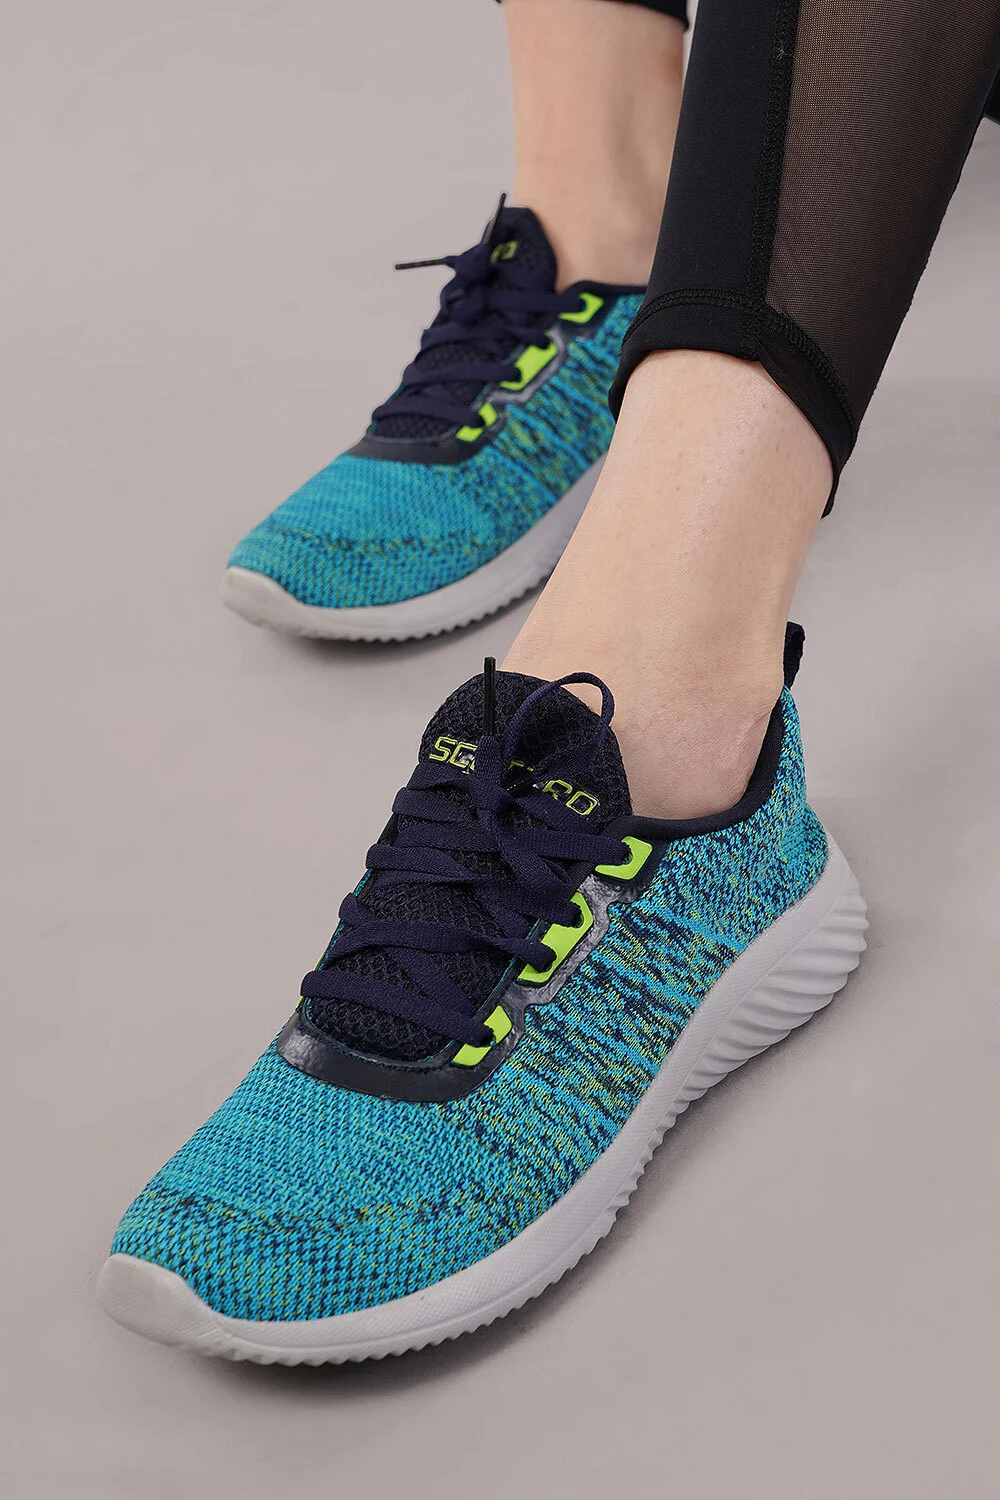
The remaining frames answer the questions that usually trigger returns: how does the sole grip, how does the lining feel and how well is the shoe finished? Capture them with the same lighting direction as the hero so the set still looks like one story.
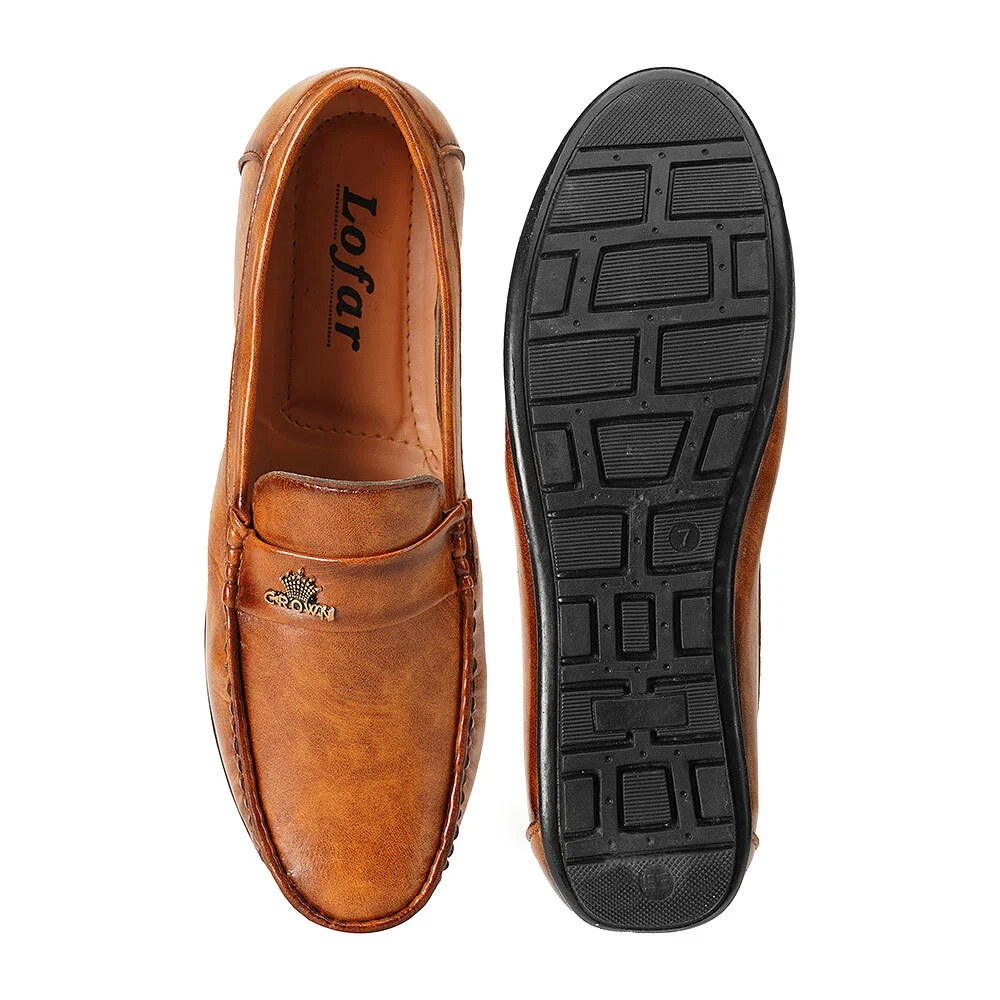
The last two shots move beyond the plain catalogue. They are optional on some marketplaces but often decisive on your own store, on Instagram and in advertising, where context helps shoppers imagine wearing the shoe.
You can remember the list as a simple sequence: hero, outer, inner, front, back, top, sole, insole, detail, pair, lifestyle, scale. Print it, stick it on the studio wall and tick each frame as the SKU moves through. That is the entire footwear photography shot list in one line, and it is the same sequence our photographers follow on every pair.
Every shoe type shares the core frames but needs a few extra or different ones. Sneakers need sole and lacing detail, sandals need strap and footbed shots, formal shoes need leather finish and heel frames, and heels need height and platform angles.
Use the table below to adapt your footwear photography shot list without rewriting it each time. Treat it as a starting point and add or drop frames based on the marketplace and the price point of the product.
| Shoe type | Must-have frames | Extra frame worth adding | Styling note |
|---|---|---|---|
| Sneakers | Hero, side, back, top, sole | Tongue and lacing close-up | Lace the shoe neatly and stuff the toe box |
| Sandals and slippers | Hero, top-down, sole, strap detail | Footbed texture macro | Keep straps flat and buckles aligned |
| Formal and leather shoes | Hero, side, front, sole, insole | Toe cap and welt detail | Control reflections on polished leather |
| Heels and ballerinas | Hero, side, back, top, heel height | On-foot or on-model frame | Show arch and heel tip clearly |
| Kids and school shoes | Hero, pair, sole, closure detail | Velcro or buckle close-up | Use soft light and avoid harsh shadows |
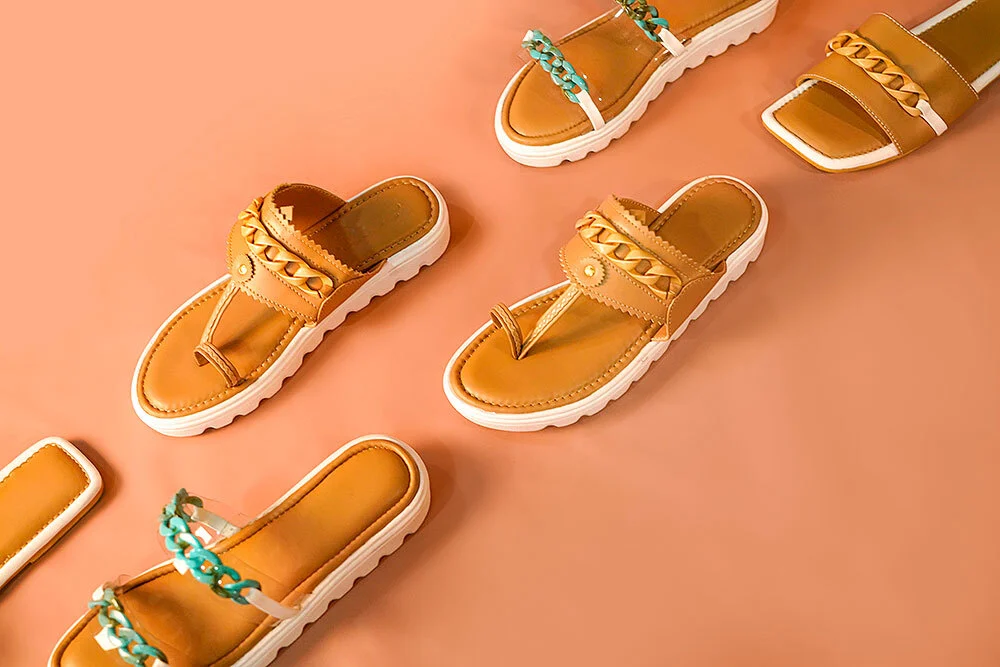
Sandals deserve special attention because their value sits in the straps and the footbed. A flat lay of several colourways, like the one below, is excellent for a category page, while a single clean top-down frame per colour serves the listing itself. Our flat lay photography team often shoots both in one session to save time.
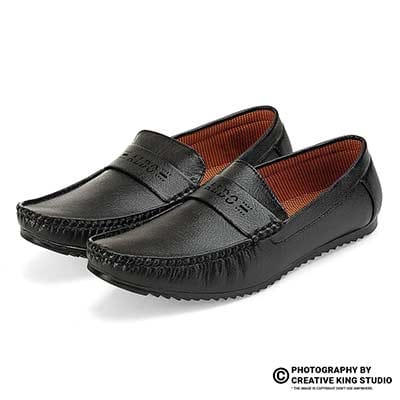
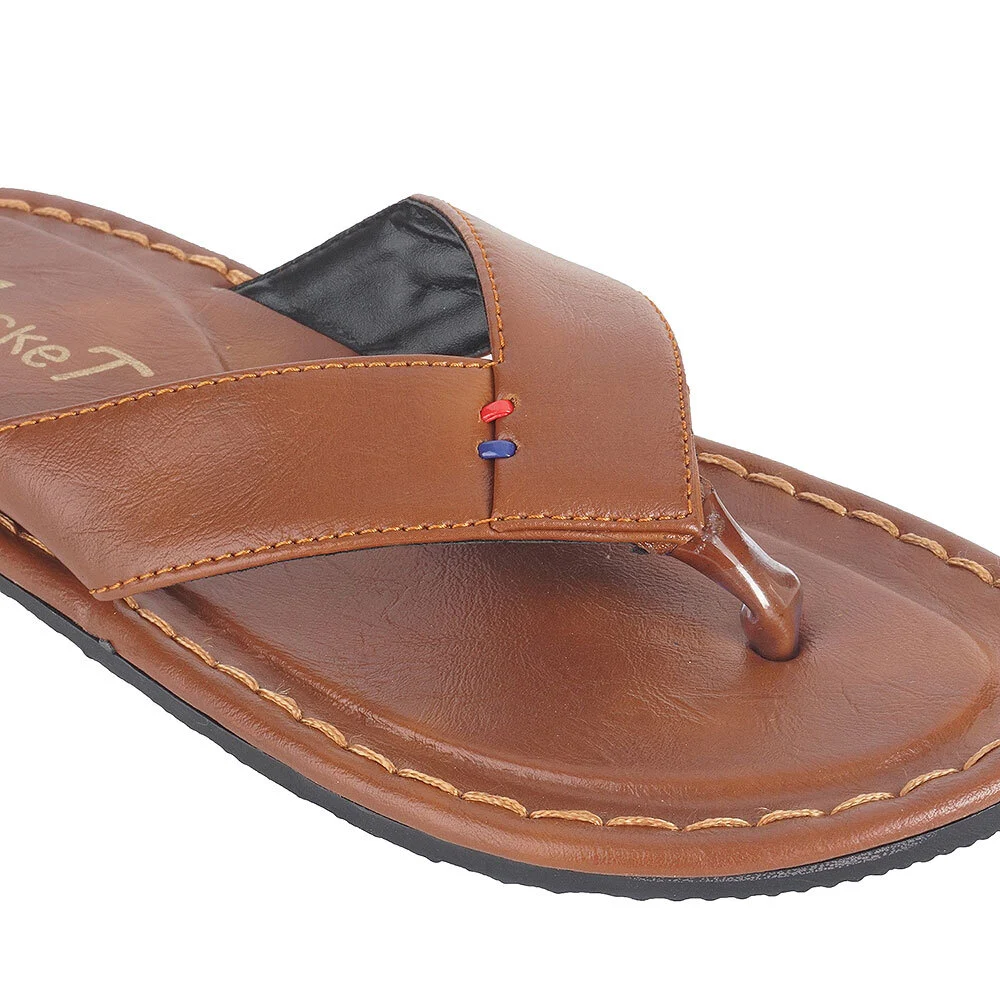
Men’s slippers and floaters need the opposite treatment: a tight, high-resolution close-up that proves the stitching and sole quality. Shoppers in this category compare many near-identical products, so visible craftsmanship becomes the deciding factor.
Use large, soft, diffused light from both sides and slightly above, a plain seamless surface and a subtle grounding shadow. Style every pair the same way: stuffed toe box, neat laces or straps, and the same camera height for the whole batch.
Lighting is where most home setups fail. A single bright lamp creates hard shadows under the sole and harsh highlights on glossy uppers. In our studio we use large softboxes on both sides with a strip light to control edge reflections, which gives smooth gradients across leather, mesh and rubber without blowing out the whites. For the exact camera and light kit we rely on across product categories, see our overview in the product photography guide for Indian brands.
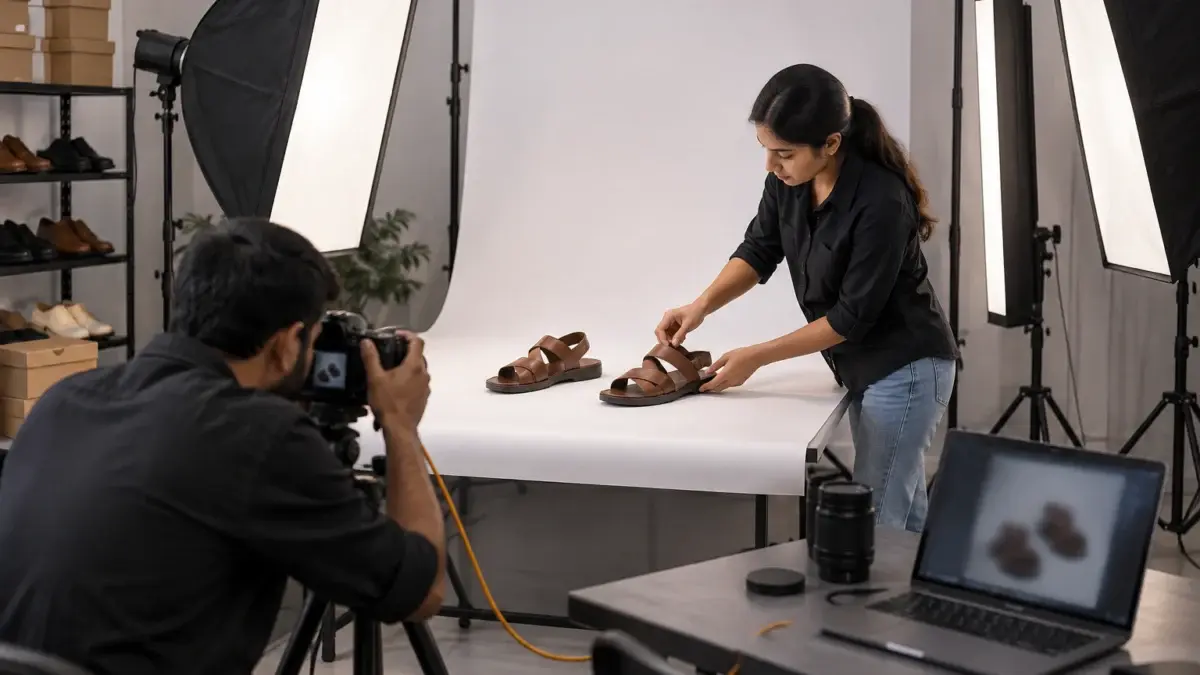
Fix the camera on a tripod and mark the shoe position on the table with tape. A mid-range telephoto lens reduces distortion and keeps the toe from looking oversized, which is the most common visual error in phone-shot shoe photos. Once the height is set, only the shoe rotates, never the camera, so every SKU lines up in the marketplace grid.
A white sweep gives the cleanest result for main images, while a light grey or coloured sweep suits secondary and lifestyle frames. Keep a soft contact shadow so the shoe does not float, and use a colour reference card at the start of each batch. Accurate colour is one of the biggest drivers of fewer returns, a point we cover in our guide to reducing returns with better product images.
Seeing the process helps more than reading about it. The short clip below was shot in our studio during a marketplace production day and shows how lighting, positioning and capture flow together for small accessories, which is the same rhythm used for shoes.
Clean the shoes, remove tags and protective films, stuff the toe box with tissue, lace them neatly and check that both shoes of the pair match. Preparation takes minutes per pair, yet it removes most of the retouching work later.
Here is the pre-shoot checklist we use, which you can copy straight into your own workflow:
For apparel-heavy brands that also sell clothing, the same discipline applies to garments; our guide to preparing garments for a model photoshoot shows how styling prep reduces retouching across an entire catalogue.
The costliest mistakes are inconsistent angles, missing sole or inner views, harsh reflections, wrong colours and over-retouched images that do not match the real shoe. Each of them raises returns, damages trust or triggers marketplace rejection.
When we audit seller catalogues, the same errors appear again and again. Most are easy to fix once the team follows a written footwear photography shot list rather than improvising on the day.
Careful post-production fixes small flaws without changing the product. Our image editing and retouching team cleans dust, balances colour and standardises shadows while keeping every stitch and texture true to the real shoe. If you are wondering whether artificial generation can replace the shoot, read our balanced comparison of AI ecommerce photography and professional shoots before deciding.
Batch the work by shoe colour and angle, not by individual SKU. Lock lights and camera, shoot every pair for one angle, then move to the next angle. Use tethered capture, a naming convention and a quality check before export.
Bulk shoots reward discipline. Instead of moving the camera and lights for each pair, keep the setup fixed and rotate the product. Photographing all hero frames first, then all side frames, dramatically reduces setup time and guarantees matching shadows across the batch. A tethered laptop lets the stylist and photographer review each frame instantly, so a closed eye in a lifestyle shot or a crooked lace is corrected on the spot.
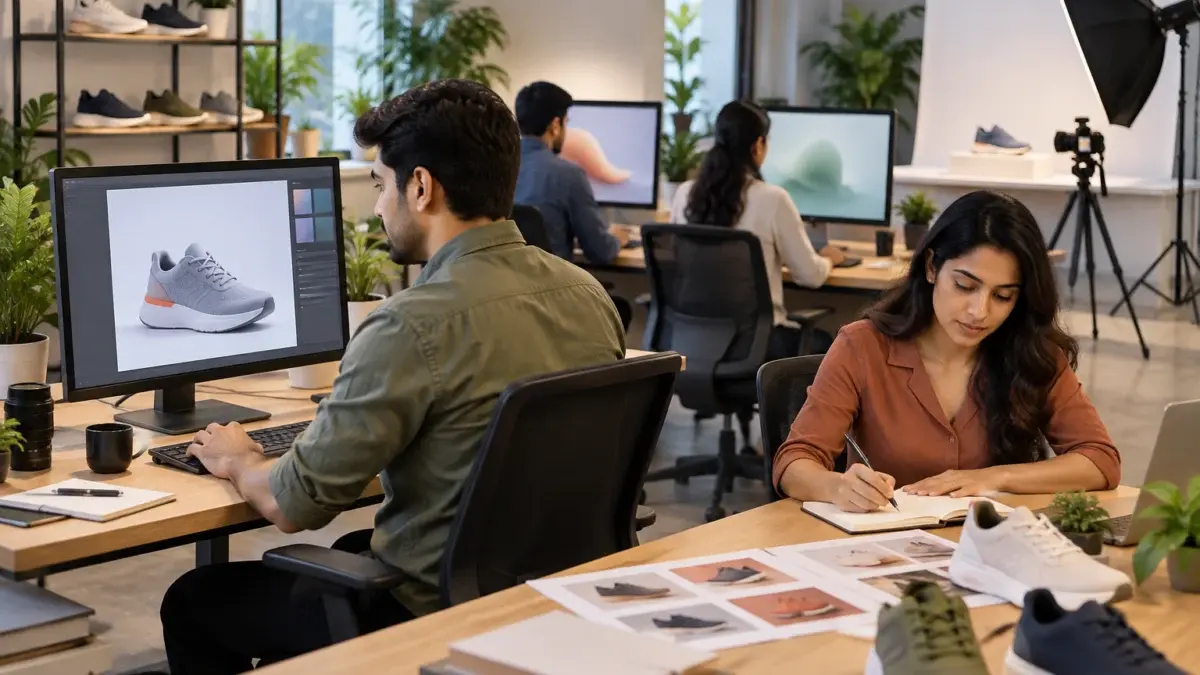
Naming matters more than most sellers expect. A simple pattern such as brand, model, colour and angle number keeps files sortable and makes bulk upload sheets painless. The same discipline helps when you scale; our post on scaling from 50 to 500 SKUs and our guide to ecommerce image optimization go deeper on file size, formats and consistency.
Studios that handle footwear at volume also track a short quality checklist: correct angle count, matching left and right shoes, clean sole, accurate colour and a marketplace-safe crop. Video is increasingly part of the same plan. The clip below shows a cosmetic product shoot, but the production flow, from set preparation to final review, mirrors what a footwear batch looks like on a busy day, and our product video production team can add short reels to your shoe listings.
If your brand also sells innerwear or garments, a comparable shot-planning approach is covered in our lingerie photography shot list, and you can browse finished work in the Ckstudio portfolio to see how consistent catalogues look in practice.
Footwear photography at Ckstudio is priced per angle or per SKU, and the approved rate card is shown below. The final quote depends on SKU count, number of angles and the retouching level you need.
Because the cost of a shoot depends on how many frames you ask for, a clear footwear photography shot list is also the easiest way to control your budget. Decide the mandatory frames per marketplace, then add optional lifestyle frames only for the hero products.
| Shoot type | Images | Turnaround | Price |
|---|---|---|---|
| Footwear | 4–5 angles | 5 days | ₹49–69 / angle (₹250–350 / per sku) |
Final quotes depend on SKU count, angles and retouching — call or WhatsApp +91-8700258773. You can also compare packages and see examples on our footwear photography page, or read our ecommerce photography pricing guide for the wider picture.
Confirm marketplace rules, finalise the twelve frames, prepare the shoes, fix the camera and lights, batch by angle, review tethered, retouch lightly and export with clear file names. Follow this order and the shoot becomes predictable.
Following these eight steps will make your next footwear photography shot list faster to execute and easier to scale, whether you shoot in-house or hire a studio. For ecommerce brands using e-commerce platforms beyond marketplaces, such as Shopify or Instagram, the same twelve frames adapt neatly, with the lifestyle frame taking the lead.
Most marketplace listings work well with five to eight images, while the full list has twelve frames. Choose the mandatory ones for the marketplace and keep lifestyle or scale frames for your website and social media.
The three-quarter hero view is usually the best main image because it shows length, toe shape and height together. Always confirm the marketplace background and framing rules before finalising it.
Yes. Sandals need strong top-down, strap detail and footbed frames, because their value sits in straps, buckles and cushioning rather than in the side silhouette alone.
You can for a few products, but consistent lighting, a tripod and colour accuracy are hard to maintain. For catalogues with many SKUs a studio workflow saves time and gives more reliable marketplace results.
The shoot day depends on SKU count and angles. Delivery after retouching is usually a matter of days; the Ckstudio rate card lists about five days for footwear, and your quote will confirm the timeline.
Call or WhatsApp +91-8700258773 or email [email protected] with your SKU count and marketplaces, and the team will share a quote.
Prince and the Ckstudio team plan every shoot around a clear shot list, so you get consistent, marketplace-ready images without reshoots. Studio hours are 10 am to 7 pm, and you can reach us on +91-8700258773, on WhatsApp or at [email protected].
Call Prince: +91-8700258773