Fashion Photography Services
E-commerce Photography
Your account is approved. Here is exactly what to do in Seller Central before the first style goes live, in the order that avoids a second QC round.
Your first AJIO seller portal login is the moment approval turns into work. The brand evaluation is done, the supplier profile is accepted, and now an empty Seller Central account is waiting for styles. What you do in the next two weeks decides whether your first catalogue passes QC in one round or bounces back row by row.
This guide is the practical follow-up to our AJIO seller hub, which covers registration, business models and the full image spec. Here we stay on one job: the first catalogue setup after account approval. It is written by Prince and the catalogue team at Ckstudio, a product and fashion photography studio that has shot marketplace catalogues for brands selling on AJIO, Myntra and Amazon since 2015.
In this guide
After approval you sign in to AJIO Seller Central at seller.ajio.com, where the dashboard opens on an account with no live styles. Nothing is listed until you download a category template, fill it, attach images and pass Auto QC and Manual QC.
Sellers search for this step in several ways: ajio seller central login, ajio vendor portal login or simply the AJIO seller portal login. They all lead to the same place, the official AJIO Seller Central portal. Registration itself happens earlier on the Reliance supplier portal, and one supplier profile covers AJIO, JioMart and Reliance Digital, so the business name you see after login should match your GST certificate exactly. That detail matters more on a curated e-commerce store than on an open marketplace.
On the first day, the AJIO seller dashboard is less about orders and more about catalogue tools. The part you will use most is the Products menu, then Catalog, where category templates are downloaded and uploads are submitted. The second part you will live in is Upload History, which shows each sheet you send, its processing state and any rejected rows.
Treat the first session as an audit rather than a sprint. Check that the legal name, GSTIN, pickup address and bank details shown match your documents, because a mismatch found after styles go live is far harder to unwind. Note who on your team will hold the login, and keep it with one catalogue owner instead of sharing it across freelancers.
Approval opens the door, it does not build the shelf. AJIO curates its catalogue closer to a fashion label’s own site than to a general marketplace, so every style still has to clear its checks. There is also no A+ style module builder: the product page is assembled from the attributes, image angles, swatch and size data you submit. In other words, your template and your images are the rich content.
That changes how you plan. On marketplaces with a separate enhanced-content tool you can launch with basic images and polish later. On AJIO, a weak first image or a missing attribute sits on the listing grid from the first day, so the setup work below is worth doing properly before the first upload, not after the first rejection.
AJIO checks every upload twice, about five days of Auto QC followed by about five business days of Manual QC. A row rejected for a missing EAN or a mis-sized image restarts that clock, so the order you prepare things in decides how fast you launch.
One failed image holds back the whole style, and a style code that is too long fails the row before anyone looks at the photos. Sellers who shoot first and fill templates later often discover the template wanted five frames per colour and a swatch crop they never captured. Working in the right order removes those surprises.
Steps 1 to 6 are desk work you can start the day after your AJIO seller portal login and finish in a few days. Step 7 is the production step that most sellers underestimate, and steps 8 to 10 are where a disciplined team saves a full QC cycle. The sections below walk through each block with the rule behind it.
If you are reading this before approval, the ajio seller account approval stage itself is covered on the hub, including the brand evaluation and how it shapes your business model. Come back here once the first login works.
Inside Seller Central, open Products, then Catalog, and download a separate template for each category you sell. Fill every starred column, take values from the dropdowns instead of typing them, and keep one sheet per category so a single error does not block unrelated styles.
The AJIO catalogue template is a spreadsheet with mandatory columns marked by a star. Most of those columns accept only dropdown values: fabric, fit, pattern, sleeve length, neck type, occasion and similar attributes. These values drive the filters shoppers use, so a kurta tagged with the wrong sleeve value simply does not appear when a buyer filters for three-quarter sleeves.
Before filling 200 rows, fill three. Upload a tiny test batch of your best-prepared styles so you learn how the template behaves with your data. Errors from three rows are easy to read; errors from 200 rows are a weekend.
This is also the point where image planning becomes concrete. The template tells you how many image fields each style takes, which in turn sets your shot list. If your team does not have a studio set up for the 1:1.25 frame, our ecommerce photoshoot service plans the shot list directly from your filled template, so every image field has a file waiting for it.
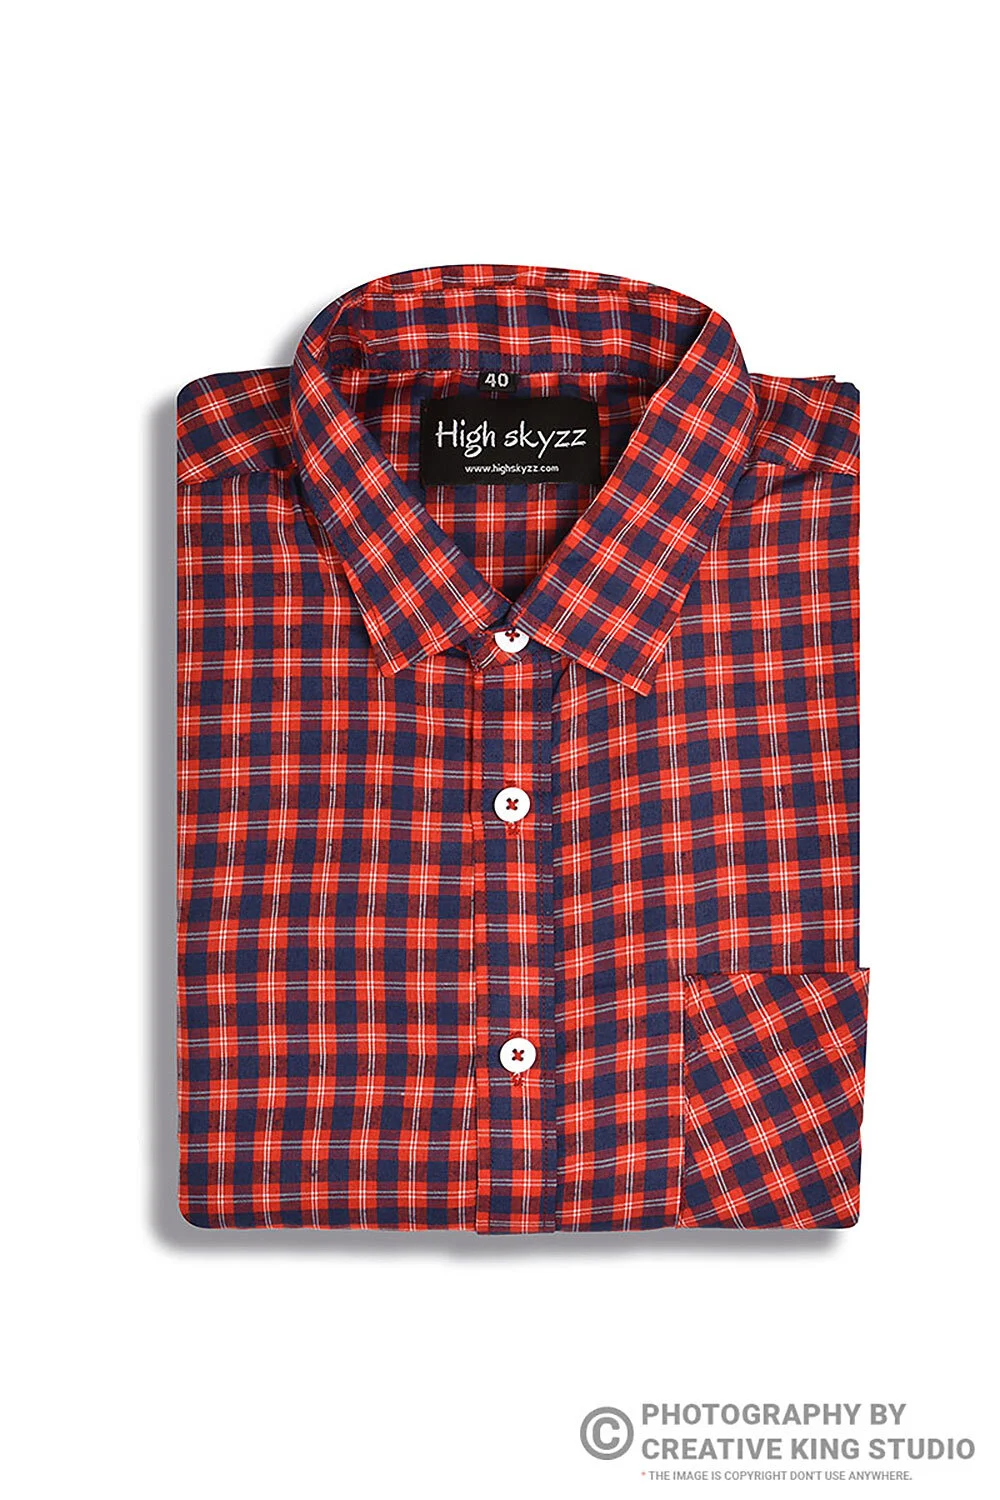
Create style codes of 18 characters or fewer, assign an EAN to every size of every style, and build the size chart from measured garments rather than a generic chart. These three fields cause more first-upload rejections than images do.
AJIO’s own error resolution guidance lists a few habits that save a QC round: style codes kept to 18 characters, the EAN column filled for every size, and attributes picked from dropdowns. They sound clerical, but a style code that runs to 22 characters fails every row it touches, including rows whose photos are perfect.
| Field | What AJIO expects | Typical first-time mistake |
|---|---|---|
| Style code | 18 characters or fewer, unique per style | Long codes copied from an ERP with colour and season appended |
| EAN | One per size, every size | One EAN entered for the whole style |
| Size chart | Measured values entered in the template | A generic S to XXL chart that does not match the garment |
| Attributes | Dropdown values only | Typed values with extra spaces or spelling variants |
| Colour | Matches the photographed garment | Supplier colour name that differs from the actual shade |
A simple pattern works: two letters for the category, two for the season, three digits for the design and two for the colour, such as KU-AW-014-RS. It stays short, sorts cleanly in a spreadsheet and reads easily on a hanger tag in the studio. Write the same code on the hanger tag, the shot list and the file name, and matching images to rows becomes mechanical.
Example scenario
Example: a label launching 40 kurta styles in 3 colours and 5 sizes has 120 colour-variants and 600 size rows. Each colour-variant needs its own front, side, back, detail and swatch frame, which is 600 images, while each of the 600 size rows needs its own EAN. Building codes and EANs before the shoot means the photographer can name files by style code on set, and the upload team never has to guess which file belongs to which row. These numbers are illustrative only.
Measure two pieces per size from the production batch, not the sample, and record chest, waist, length and sleeve in the units the template asks for. Returns for fit are expensive on any fashion marketplace, and a measured chart is the cheapest defence. At Ckstudio we ask brands for this measuring sheet before the shoot day, because it tells the stylist which size sample to put on the model. Keep the measuring sheet with the style code so the same numbers feed the template and your own website if you sell direct as well.
Once codes, EANs and measurements are locked, the catalogue is ready for production. Only then book the shoot, because a changed colour name or a dropped size after the shoot means renaming files by hand.
AJIO wants portrait images at a 1:1.25 ratio, above 1000 px on both sides, between 200 KB and 1 MB, in JPEG or PNG on a light background. The garment should fill 80 to 85 percent of the frame, and text, watermarks, price tags and repeated images are rejected.
These values come from AJIO’s published image guidelines as documented in the AJIO image guidelines on Fynd, the platform documentation many AJIO sellers use for listing management. They are also summarised with examples on our hub. Check them against your category template, because some categories ask for extra angles. Re-read the template after every AJIO seller portal login session where you notice a changed column, since the downloaded sheet is the version QC applies.
| Rule | AJIO requirement | How to check it before upload |
|---|---|---|
| Aspect ratio | 1:1.25 portrait | Export at 1600 × 2000 px so the ratio is exact |
| Pixel size | Above 1000 px on both sides | Sort the folder by dimensions and look for outliers |
| File weight | 200 KB to 1 MB per image | Sort by size; recompress anything above 1 MB |
| Format and resolution | JPEG or PNG, 72 dpi | Batch export with one preset |
| Background | Any light colour, white included | Keep one tone across the whole batch |
| Fill | 80–85% on main angles, 100% on the detail shot | Crop overlay check on every frame |
| Apparel angles | Front, side, back and detail are mandatory | Count frames per style code before export |
| Not allowed | Brand URLs, promotional text, price tags, watermarks, duplicates | Visual scan of the contact sheet |
Two rules catch new sellers most often. First, a mannequin, ghost mannequin or pack shot cannot be the first image for apparel. Second, creases and folds get flagged, so every garment needs pressing before it is shot. The older guidance some sellers still follow, including our own beginner notes on Ajio image specs, predates the current 1:1.25 frame, so treat the hub table as the reference.
From the studio floor
For AJIO apparel we frame in camera for 4:5, shoot tethered so the crop overlay sits on the laptop screen, and export every file at 1600 × 2000 px, sRGB, 72 dpi JPEG. The export preset targets about 600 to 800 KB, which keeps detail in embroidery and stays well inside the 1 MB ceiling. Any file that lands under 200 KB, usually a plain light-coloured top, gets re-exported at a higher quality setting rather than upscaled.
The short reel below is a real Ckstudio marketplace shoot. It shows the tethered review, the light control and the re-checks between frames that keep a batch consistent, which is the same discipline AJIO’s Manual QC rewards.
If your files are already shot and just need resizing, the free bulk image resizer handles the 1600 × 2000 px step. File weight and fill are harder to fix after the fact; a frame shot too loose cannot be cropped tighter without losing resolution.
For apparel, a cropped front view on a model should lead the listing, followed by side, back and detail frames. Flat lays and ghost mannequin shots fill later gallery slots, and the detail macro fills 100 percent of the frame to answer fabric questions.
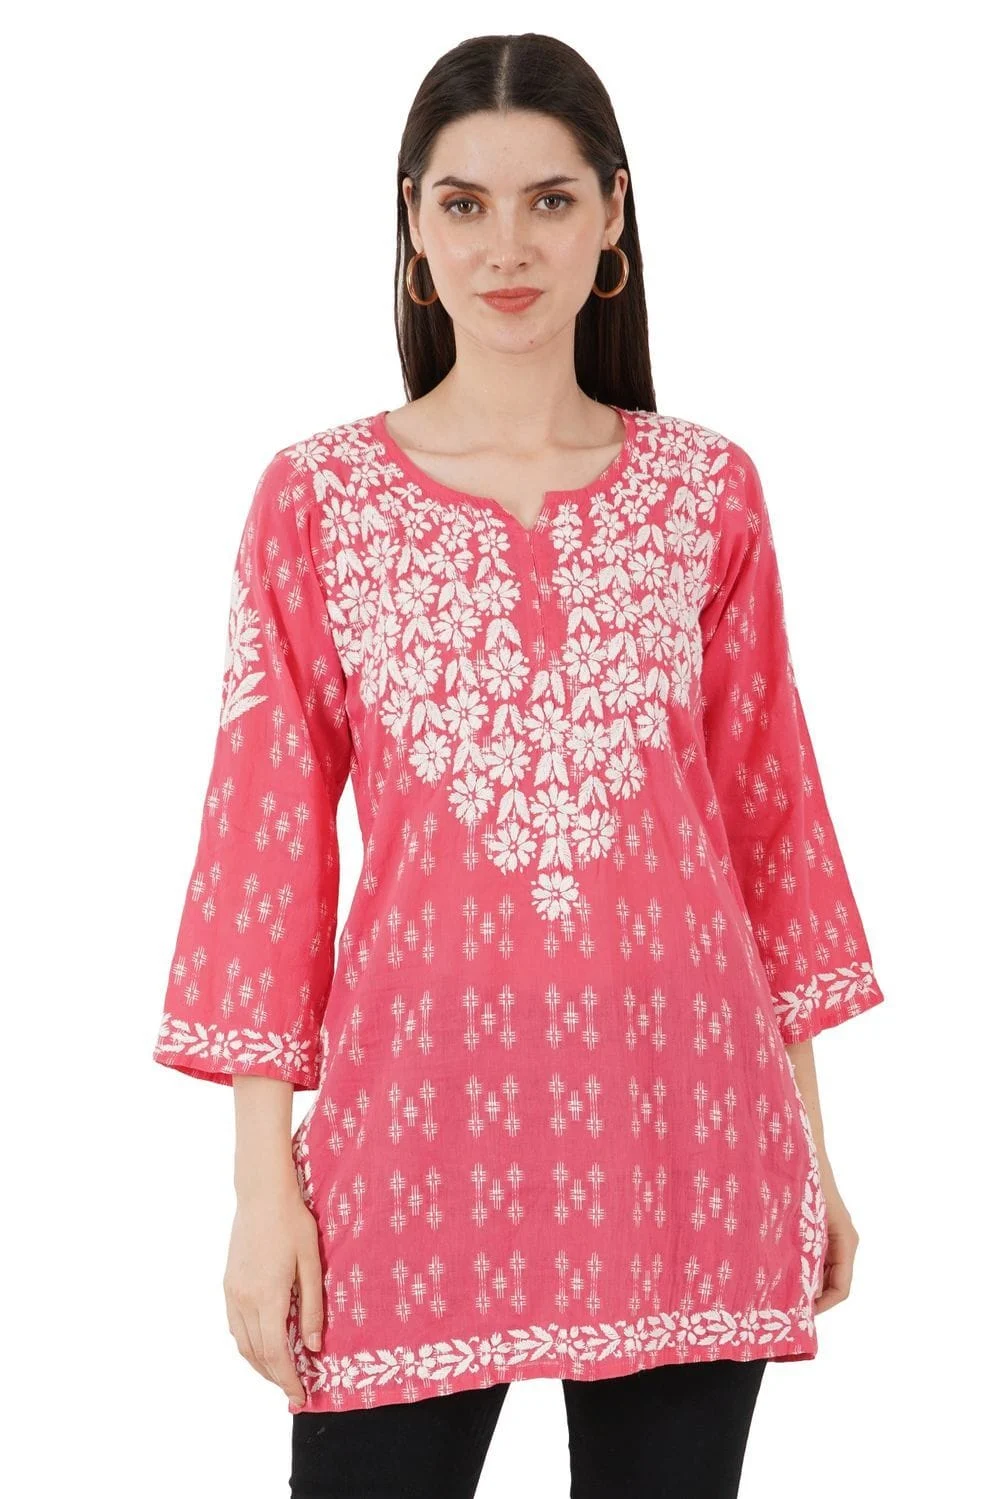
Your AJIO first product listing is judged in the grid before anyone opens it. For topwear and bottomwear the first image is cropped so the garment fills 80 to 85 percent of the frame, and cropping the head from the base of the nose is allowed. That makes the on-model front the natural lead image, and it is the slot worth the most production effort.
| Format | Can it lead the listing? | Best use on AJIO |
|---|---|---|
| On-model, cropped front | Yes, the default for apparel | First image, then side and back |
| Flat lay | Depends on category | Kidswear, accessories, extra gallery frames |
| Ghost mannequin | No, not in first position | Structure and fit after the on-model angles |
| Detail macro | No | Fabric, print or embroidery at 100% fill |
| Product on light background | Yes, for footwear, bags, accessories | Lead image with a natural shadow |
If your launch is mostly kurtas, dresses and co-ords, the lead image has to be on a model, and inconsistent poses across a catalogue look messy in the grid. A planned on-model photoshoot with one model per size range and a fixed pose sequence solves both the first-image rule and grid consistency in one session.
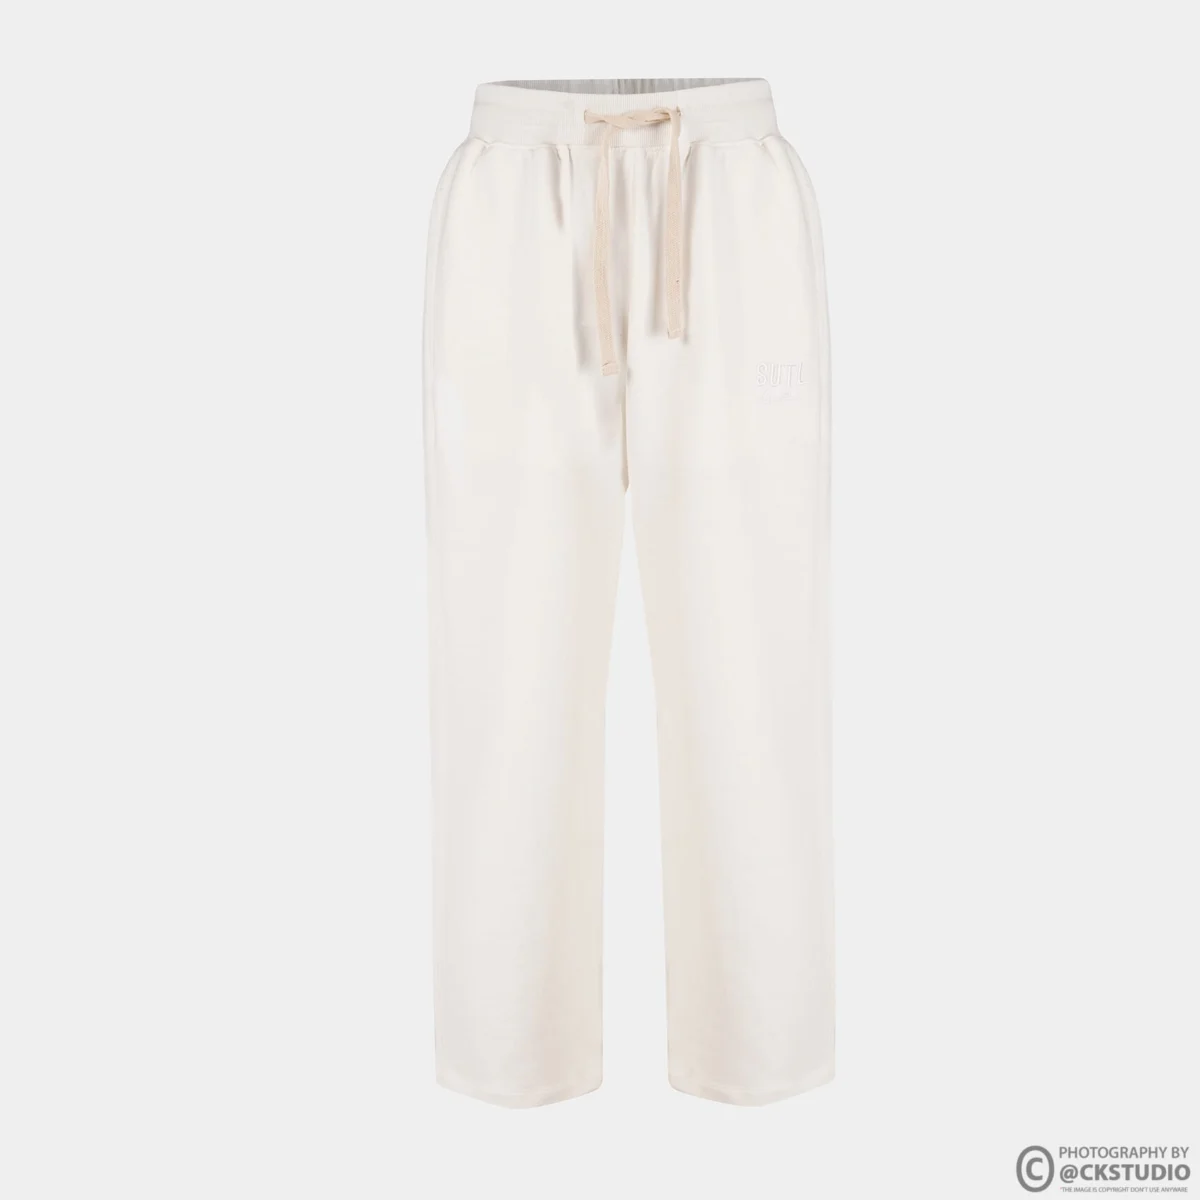
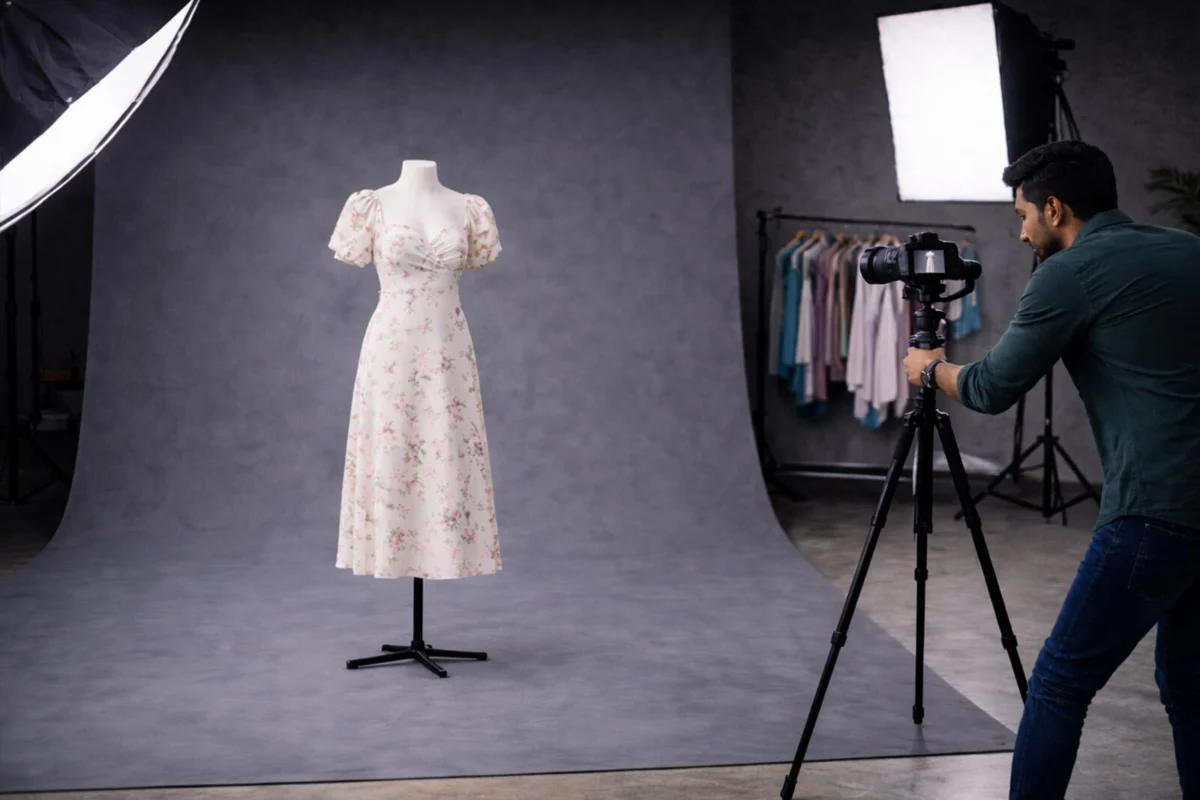
For the gallery slots after the model frames, an invisible mannequin shoot for apparel listings shows structure, neckline and fit cleanly, which is useful for shirts, jackets and bottomwear where a buyer wants to see the shape without styling.
This apparel reel from a Ckstudio marketplace shoot shows how a single t-shirt is covered from front, side and movement angles in one continuous setup, the same coverage the AJIO gallery and its video slot expect.
From the studio floor
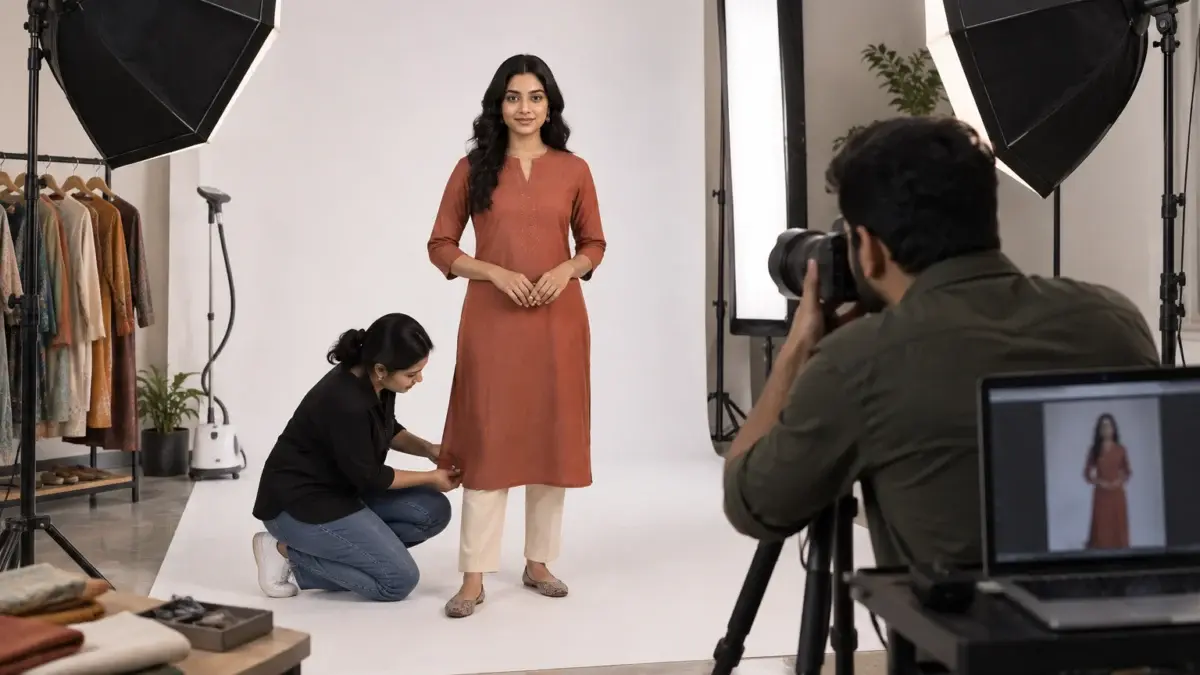
Every garment is steamed on the rail, then tagged on the hanger with its style code and colour before it reaches the set. On a standard apparel set we light with two octaboxes at roughly 45 degrees and one strip softbox behind for edge separation, and shoot five frames per colour: front, side, back, detail and a flat swatch crop. The shot list is printed in style-code order so the file names match the template rows without renaming.
Upload the filled template from the Catalog section with image links or a zip, exactly as the sheet asks, then follow it under Upload History. Expect around five days of Auto QC and five business days of Manual QC, and re-upload only the rows that come back rejected.
Image links must come from Amazon S3, Google Drive or Dropbox and must not be password protected; where the template asks for a zip, upload a zip instead. A link that opens a sign-in page for the checker is the same as no image, and the row fails. Test three links in a private browser window before you upload the whole sheet.
AJIO Upload History lists each sheet with its status. When rows are rejected they come back with reasons, and that list is your work queue. Fix only those rows in a copy of the original sheet and upload them again, rather than resending the whole catalogue, which would push every passed style back through the queue.

From the studio floor
Before any batch leaves the studio, one person who did not shoot it runs the QC pass: a 4:5 crop overlay on every frame to confirm 80 to 85 percent fill, a sort by file size to catch anything outside 200 KB to 1 MB, and a contact-sheet scan for creases, lint and stray clips. A colour-checker frame shot at the start of each session is used to hold the same white balance across the whole batch.
If a batch keeps failing on the same reason, the problem sits upstream, and that is where the Ckstudio team looks first. Repeated crease flags point to garment preparation, and our notes on getting garments shoot-ready cover steaming, pinning and lint control in detail.
Most first-catalogue rejections come from a short list: long style codes, missing EANs, typed attributes, the wrong first image, creased garments, off-ratio files and locked image links. Each has a simple fix if you catch it before upload.
Run this list once per sheet. It takes about twenty minutes and it is the cheapest QC round you will ever pass. For help planning shot lists, write to [email protected] with your category and style count.
The AJIO seller portal login is at seller.ajio.com, which opens AJIO Seller Central. Registration happens earlier on the Reliance supplier portal, and the login is used once the supplier profile and brand evaluation are approved.
Sellers use both phrases for the same Seller Central account at seller.ajio.com, where catalogue templates, uploads and Upload History live. Your supplier registration details stay on the Reliance supplier portal.
Audit the account details against your documents, then download one catalogue template per category from Products and Catalog. Build style codes, EANs and size charts before you book the shoot.
Plan for about five days of Auto QC and a further five business days of Manual QC. Rejected rows come back with reasons in Upload History, and only those rows need to be fixed and uploaded again.
Portrait images at 1:1.25, above 1000 px on both sides, between 200 KB and 1 MB, in JPEG or PNG on a light background. Exporting at 1600 × 2000 px keeps the ratio exact.
No. For apparel, mannequin, ghost mannequin and pack shots cannot be in the first position. Lead with a cropped on-model front and use ghost mannequin frames later in the gallery.
A clean first catalogue after the AJIO seller portal login is mostly order and discipline: data before the shoot, the right frame on set, and a QC pass before the sheet goes up. Ckstudio plans AJIO shoots around the template you have already filled, so each style code arrives with its full set of frames, named and sized. Call or WhatsApp +91-8700258773 or message +91-8700258773 on WhatsApp to talk through your launch styles with Prince.
Next step: once your template and codes are ready, book ecommerce product photography planned around AJIO’s frame.
Send your category template and style count, and Ckstudio will return a shot list built for AJIO’s 1:1.25 frame. Reach the team on +91-8700258773, on WhatsApp or at [email protected], 10 am to 7 pm.
Call Prince: +91-8700258773