


Fashion Photography Services



E-commerce Photography
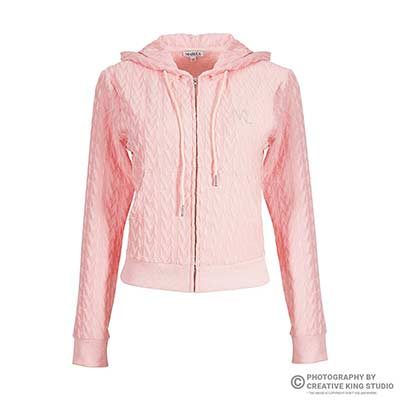
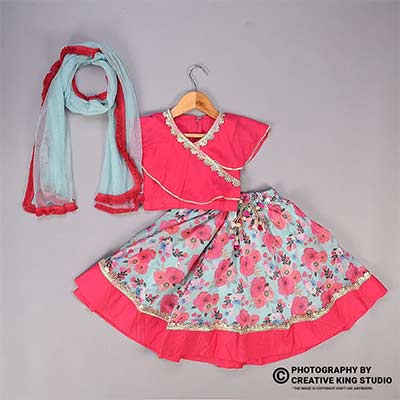
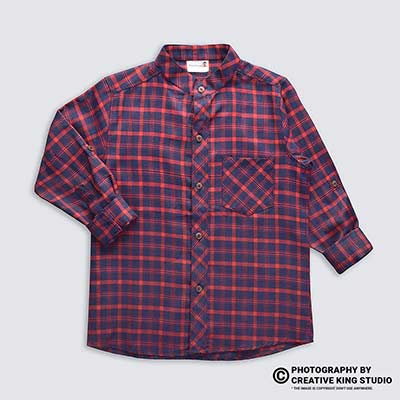
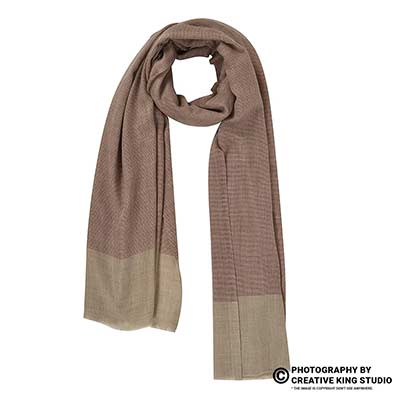
A practical pre-upload checklist for white background, product size, file rules and category exceptions.

If you sell in India, the amazon main image requirements decide whether your listing is searchable or suppressed, and they are stricter than most sellers expect. This pre-upload checklist from Prince at Ckstudio walks you through the white background, product size, file rules and category exceptions for 2026–27.
You will learn what Amazon accepts, what it rejects and how to fix a failed image fast. It is written for sellers, D2C brands and catalogue managers who want clean ecommerce images that pass on the first upload.
In this guide
The amazon main image requirements come down to a pure white background, the product filling most of the frame, no text, logos or props, and a sharp file of at least 1000 pixels on the longest side. Amazon checks these rules automatically, so a small slip can hide your listing.
The main image is the first thing a shopper sees in search results and on the product page. Because it carries so much weight, Amazon treats the main image as the strictest slot in a listing. Sellers who study the amazon main image requirements before shooting save themselves from suppression, delays and repeat uploads. You can always confirm the latest wording for your category inside Amazon Seller Central India, since category style guides change from time to time.
At Ckstudio, we shoot Amazon catalogues every week, and the same handful of mistakes cause most main image problems. This guide turns those lessons into a clear checklist you can run through before every upload. If you want the full workflow from first shot to live listing, our Amazon product photography guide for 2026 covers the bigger picture, while this post stays focused on the main image alone.
Treat these as the baseline for every category. Some categories, such as apparel and jewellery, add extra rules on top, and we cover those further down. For a wider view of how the main image fits the other slots, read our guide on the best seven-photo sequence for Amazon listings.
Amazon suppresses a main image when it breaks a visible rule, such as an off-white background, added text, props, or a product that is too small in the frame. The result is a hidden or restricted listing until you upload a compliant image.
Suppression usually appears without much warning. A listing that was live yesterday can show a missing image or lose its search visibility today. The most common triggers are an off-white or grey background, a product that fills too little of the frame, extra items that are not part of the sale, and any overlay such as a sale badge or a brand logo. Sellers often add these elements to stand out, but the amazon image background rules are built to keep search results clean and comparable.
Another frequent cause is a mismatch between the image and the listing. If the photo shows a three-piece set but the title sells one piece, the image can be flagged. The same applies to lifestyle scenes, mannequins in clothing categories and blurry, low-resolution files. Our deep dive on Amazon listing rejection and suppressed ASIN fixes explains how to read the notice, find the failing slot and re-upload quickly.
The cost of suppression is real. Every day a listing is hidden is a day of lost orders and wasted ad spend. That is why a short pre-upload checklist is worth more than any retouching trick after the fact.
Shoot on a seamless white backdrop, light it evenly and expose so the background reads as pure white, then confirm the value in editing. The goal is a clean white without clipping the product edges or leaving a grey cast.
A pure white background is the heart of the amazon main image white background rule. In practice there are two parts to it: lighting the backdrop correctly in the studio and verifying the result in post-production. If you rely only on editing to fix a grey background, edges can look cut out and shadows can disappear, which makes the product look flat.

Place the product on a white sweep or acrylic table and light the background separately from the product. Two softboxes on the backdrop push it towards white, while a large softbox and a reflector shape the product itself. This separation lets you hold detail on dark products without turning the background grey. Our Amazon product photography services team uses exactly this approach for white background catalogue work.
Ckstudio keeps a small, natural shadow under the product so it does not float. Amazon allows soft grounding shadows as long as the background stays clearly white and the product is not distorted. Avoid heavy reflections, floor lines and any visible edge of the sweep.
Open the final file in an editor and sample the background in several corners with the eyedropper. You want values at or very close to 255 for red, green and blue. If a corner reads 245 or lower, the background can look off-white on certain screens. For batches, an action or a bulk process helps, and our image editing and retouching team can clean large SKU sets consistently.
The product should fill about 85 percent of the frame, with the whole item visible and centred. Too small a product wastes the zoom feature, while cropping any part of it breaks the rule that the full product must be shown.
Many sellers lose clicks because the product looks tiny in a large white canvas. Amazon expects the item to take up most of the frame, which also helps shoppers see detail in search thumbnails. As a working rule, aim for the longest edge of the product to reach roughly 85 percent of the image width or height, then centre it with even margins.
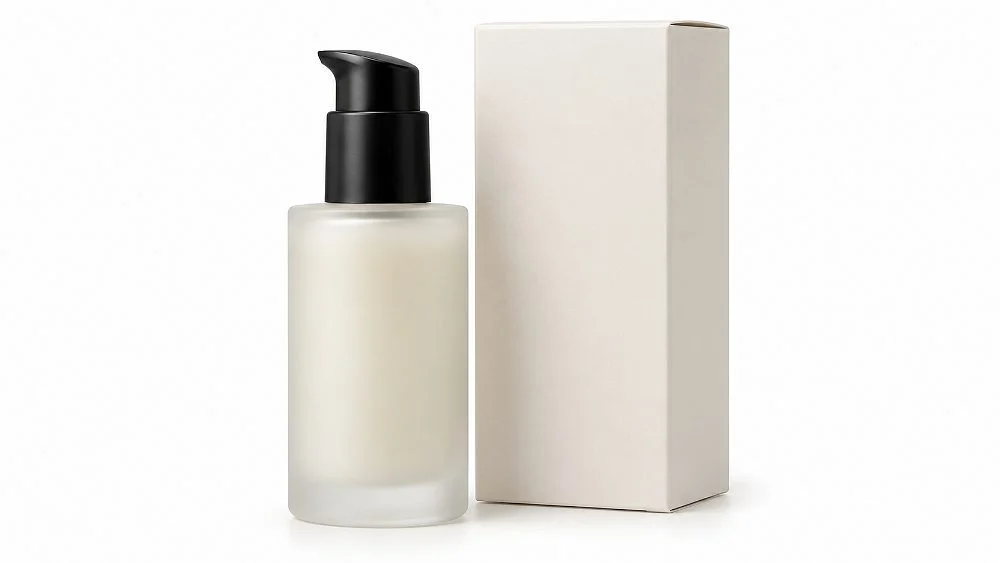
Square images of 1000 by 1000 pixels or more are the easiest to compose, because they suit both tall and wide products. For tall items such as bottles and tubes, leave a little breathing room at the top and bottom. For wide items such as laptop sleeves, leave space on the sides. Never crop away a cap, handle, strap or corner just to hit the percentage.
When a product comes with its own retail carton, such as the example above, showing the carton beside the product is generally fine because it is part of what the customer receives. Always match the image to what is actually in the box, and keep related guidance from our ecommerce image optimization guide in mind for size and compression.
Amazon does not allow text, logos, watermarks, badges, borders, colour backgrounds, props that are not sold, or multiple products that confuse the listing. The main image must show only the actual product on white.
Knowing what to leave out is half of meeting the amazon hero image rules. Marketing elements belong in the secondary images, A+ content and brand story, not in the first slot. If you want a callout, a size chart or a feature graphic, use our Amazon product infographic design service for slots two onwards, and keep the main image clean.
A related risk is showing accessories that are not included. If a camera bag appears with lenses inside, a shopper may assume the lenses are part of the purchase. In that case, keep the lenses out or sell them as a bundle. We explain how this connects to returns in our post on how to reduce returns with better product images.
Use at least 1000 pixels on the longest side to enable zoom, save as JPEG, PNG or TIFF in RGB, and keep the file sharp and free of compression artefacts. Larger files up to the category limit give shoppers better zoom detail.
The amazon product image size rule is simple, but sellers often misread it. Amazon sets a minimum of 1000 pixels on the longest side for the zoom feature, and many sellers aim higher, around 2000 pixels, so fine texture such as fabric weave or engraving stays crisp. Always follow the limits shown in Sell on Amazon India and the style guide for your category, because the exact maximum and file size can differ.
Colour mode matters too. Export in sRGB so colours look consistent on phones and laptops. CMYK files can look dull or shift hue. Keep file names clean, descriptive and free of spaces or special characters, and avoid heavy compression that adds blocky artefacts around edges.
This routine takes minutes once it becomes habit, and it removes most technical rejections. For bulk catalogues, our ecommerce photography services include consistent sizing across every SKU.
Most categories follow the same white background rule, but apparel, jewellery, footwear and a few others have extra expectations about angle, model use and how the item is displayed. Always check your category style guide before shooting.
Amazon publishes category-specific style guides, and they refine the general rules. The right approach is to shoot to the stricter category standard from the start. Below are the patterns we see most often across Indian ecommerce and e-commerce catalogues.
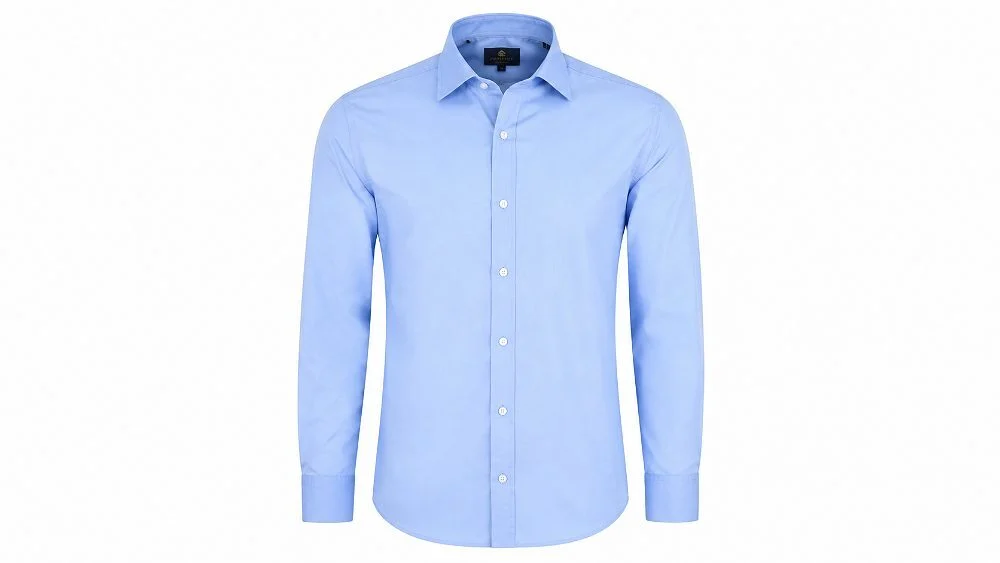
Clothing main images usually need to show the garment alone on white, neatly shaped, without wrinkles and with collars, cuffs and hems visible. Depending on the category, a ghost mannequin, flat lay or a model may be accepted, but a visible mannequin is commonly not. Our ghost mannequin photography gives a full three-dimensional shape without the mannequin, and our garment photoshoot setup covers steaming, pinning and consistent framing. For model-led catalogues, see our fashion photography work.
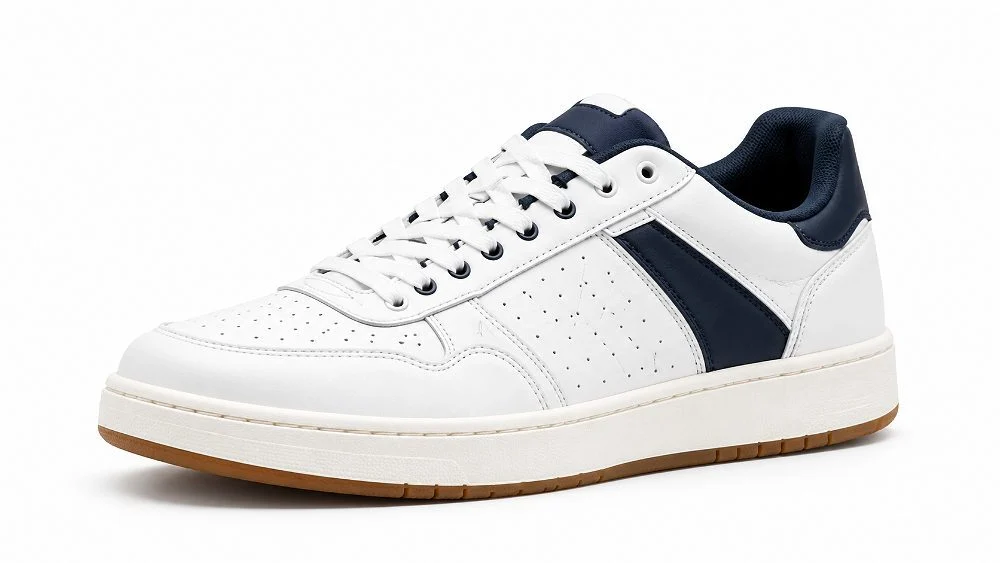
Shoes are typically shown as a single item in a clean three-quarter or side profile, with the full sole line in view. Our footwear photography workflow keeps stitching and sole detail sharp. Bags need their handles arranged and their shape stuffed neatly, which is where handbag photography experience helps. Flat items photographed from above can also use flat lay photography when the category allows it.
Jewellery demands macro detail and controlled reflections, so our jewellery photography setup uses diffusion and focus stacking. Cosmetics need legible packaging and clean caps, which is the focus of our beauty and cosmetic photography. Gadgets need accurate colour, visible ports and clean screens, and electronic product photography takes care of reflections. When a product benefits from rotation, 360 degree product photography supports interactive views in later slots.
Plan the shot, set up a white sweep with separate background lighting, shoot tethered, review the framing against the 85 percent rule, then edit lightly and export. A repeatable process keeps every SKU consistent.
A reliable process matters more than any single trick. Studios such as Ckstudio that deliver hundreds of SKUs a week follow the same sequence every time, and so can an in-house team. Here is the workflow we use at Ckstudio, adapted so you can follow it with a modest setup.

The video below shows a real marketplace production day in our studio, which makes the lighting and handling steps easier to picture.
If you prefer to hand this off, our Amazon photography team can shoot, edit and deliver compliant main images in marketplace-ready sizes. You can also browse recent work in our Ckstudio portfolio of marketplace shoots before deciding.
Retouching cleans dust, evens the white background and corrects colour, but it must never change the shape, features or finish of the product. Over-editing leads to returns and can breach Amazon’s accuracy expectations.
Good retouching is invisible. It removes stray dust, trims edges, balances the white point and fixes colour so the product looks the way it does in a customer’s hands. Bad retouching smooths texture, changes proportions or paints in details that are not there. Amazon asks that images represent the product accurately, and customers punish any gap with returns and poor reviews.

A practical rule is to retouch for cleanliness, not for improvement. Keep fabric weave, leather grain and metal finish intact. Use a colour reference card in the shot and compare the final file against the physical item. Our post on AI Amazon photography versus studio photography explains why generated images often fail this accuracy test, and why real photography stays safer for main images.

Quality control is the last gate. A second person should check every file against a written checklist, as the team above does before a batch goes to the seller. For high volumes, we also run the same review across product retouching and image editing jobs so the look stays consistent from the first SKU to the last.
Run these 11 checks on every file before you upload: white background, 85 percent fill, whole product visible, no text, no props, size, format, sharpness, colour accuracy, category rules and a final thumbnail preview. Fixing issues here costs minutes instead of days.
This checklist pulls every point above into one place. Print it, pin it to your studio wall or paste it into your listing tracker. It works for solo sellers and for agencies handling many brands. When you combine it with the shot order from our Amazon catalogue listing workflow guide, it covers the full image stage of a launch.
| # | Check | What to confirm |
|---|---|---|
| 1 | Pure white background | Corners read at or near RGB 255, no grey cast or gradient |
| 2 | Product fills the frame | About 85 percent of the canvas, centred |
| 3 | Whole product visible | No cropped edges, caps, straps or corners |
| 4 | No text or graphics | No badges, stickers, arrows, watermarks or overlays |
| 5 | No unsold props | Only items included in the purchase appear |
| 6 | Resolution | At least 1000 pixels on the longest side, ideally 2000 |
| 7 | Format and colour | JPEG, PNG or TIFF in sRGB |
| 8 | Sharpness | Focus on key details, no motion blur or heavy compression |
| 9 | Colour accuracy | Matches the physical product under neutral light |
| 10 | Category rules | Model, mannequin and angle rules checked in the style guide |
| 11 | Thumbnail preview | Product still reads clearly at small search size |
If a file fails even one row, fix it before uploading. A quick reshoot or edit is cheaper than a suppressed listing, especially during busy sale periods when every hour of visibility counts.
Check the notice in Seller Central, identify which rule the image breaks, fix or reshoot it, and upload the corrected file. Most suppressions clear soon after a compliant main image is accepted.
If your listing is already hidden, stay calm and work methodically. Open the Fix Your Products or Account Health area in Seller Central, read the exact message and match it against the checklist above. In most cases the culprit is the background, the product size or a stray overlay.
Correct only what the notice points to, because changing everything at once makes it hard to learn what worked. Upload the new main image, wait for processing and confirm the listing is searchable again. Keep a record of the old and new files so your team can see the difference. If the problem repeats across many SKUs, the cause is usually your process, not a single file, which is a good moment to standardise the setup or move the shoot to a studio.
Create a short written standard for your brand: canvas size, margin, white value, file naming and who signs off. Share it with every photographer and designer who touches your catalogue. Then audit a sample of live listings every month. For a broader seller view, our Amazon photography services guide explains how brands plan imaging across a whole catalogue.
Hire a studio when you have many SKUs, reflective or complex products, or repeated suppressions. A professional setup brings consistent lighting, clean white backgrounds and a quality check that is hard to match at home.
Not every seller needs a studio on day one. A single simple product can be shot well with a light tent and patience. The tipping point comes with volume, tricky materials or a brand that needs every listing to look the same. Glass, jewellery, shiny steel and black electronics are especially hard to light, because reflections and dark tones fight the white background.
At Ckstudio, Prince and the team shoot Amazon main images, secondary images and infographics as one connected workflow. That means the main image, the angles and the A+ visuals share the same lighting and colour. If you plan richer content, our Amazon A+ photography guide shows how the main image connects to the rest of the listing.
Ready to talk through your SKUs? Call +91-8700258773 or send a message on WhatsApp on +91-8700258773. You can also write to [email protected] with a few sample products, and our team will suggest a plan that fits your catalogue. You can also reach us through the contact page.
The main image needs a pure white background, the product filling about 85 percent of the frame, no text, logos, props or badges, and at least 1000 pixels on the longest side. Always confirm your category style guide in Seller Central.
Yes. Amazon expects a pure white background, which is RGB 255, 255, 255. An off-white or grey background can trigger suppression, so sample the corners of your final file before uploading.
Use at least 1000 pixels on the longest side to enable zoom, and many sellers export around 2000 pixels for sharper detail. Save in sRGB as JPEG or PNG and keep within the limits shown for your category.
No. Text, logos, watermarks, badges and borders are not allowed on the main image unless a mark is physically part of the product or its packaging. Use secondary images and A+ content for callouts.
The usual reasons are an off-white background, a product that fills too little of the frame, added text or props, or a low-quality file. Check the notice in Seller Central, fix the failing rule and upload a compliant image.
Generated images often distort fine detail and can misrepresent the product, which leads to returns and policy risk. A real studio photograph, like the ones Ckstudio shoots, stays the safest choice for the main image, as explained in our comparison of AI and studio photography.
Share your product list and we will plan white background shots that follow the amazon main image requirements, from lighting to export. Reach Prince on +91-8700258773 or WhatsApp on +91-8700258773, or email [email protected].
Get Amazon Photography Quote