Fashion Photography Services

E-commerce Photography
How to stuff, style and light a handbag so it looks on screen exactly the way it feels in the buyer’s hand.
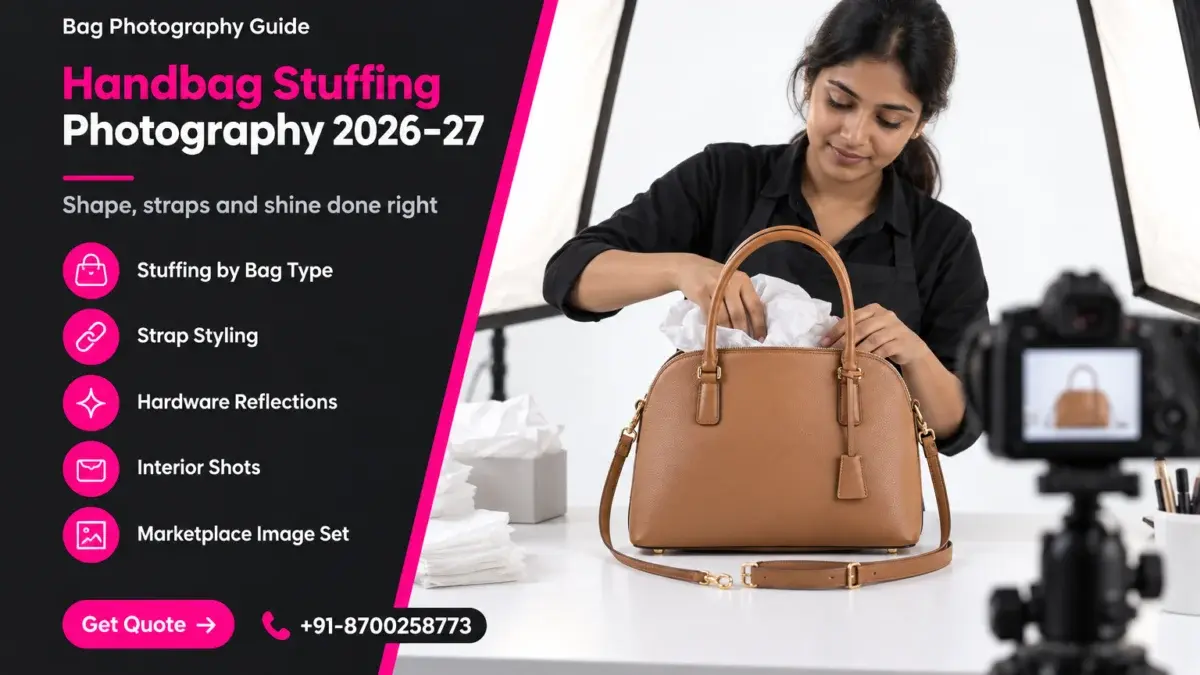
Handbag stuffing photography is the prep work that decides whether a bag looks full, upright and true to size on screen, or slumps into a shapeless lump the moment it sits on the product table. An empty handbag rarely photographs the way it looks on a shop shelf, and a badly stuffed one looks worse: bulging panels, strained seams and a zip that will not lie flat. This guide walks through the materials, the strap styling and the lighting decisions that fix those problems before the shutter fires.
It is written for handbag and accessory brands and marketplace bag sellers who keep getting the same feedback from buyers: “looks smaller than the photo” or “shape is different”. Everything here comes from the way Ckstudio preps bags for its handbag product photography work, so if the shape problem is already costing you returns, you will see exactly where the fix starts. Prince and the team have refined this prep over years of catalogue shoots, and none of it needs expensive kit.
In this guide
Handbag stuffing photography means filling a bag with hidden, neutral support so it holds the shape a buyer will see in real life. Without that support, gravity pulls the panels inward, the top line sags and the camera records a bag that looks cheaper and smaller than it is.
A handbag in a shop is propped up by its tissue packing, the shelf behind it and the buyer’s own expectation. On a white sweep under studio light, none of that context exists. The lens sees only the silhouette, and a silhouette with a dented front panel or a caved-in top reads as poor quality, even when the leather is excellent. Online shoppers cannot squeeze the bag, so the outline in the photo is doing the job that touch does in a store.
There is also a size problem. A bag that collapses by even a couple of centimetres looks noticeably shorter in a straight-on catalogue frame, and buyers compare the photo against the listed dimensions. When the product that arrives looks bigger or a different shape, the seller often gets a return reason like “not as shown”, which is a listing problem, not a product problem.
The opposite mistake is just as common. Over-stuffing pushes soft leather into a rounded balloon, stretches the stitching lines, makes the zip track wave, and turns a slouchy hobo into a rigid box it was never designed to be. The goal of handbag stuffing photography is not “as full as possible” but “as the designer intended” — firm enough to hold its lines, relaxed enough to keep its character.
Getting this right on the first frame also saves retouching. Fixing a dent in post means warping leather grain and stitch lines, which is slow and often looks fake at zoom. A few minutes of prep at the table is cheaper and more honest than an hour of liquify work later.
Acid-free white tissue is the default for almost every bag, combined with a firmer core where the bag needs structure. The core changes by bag type: foam board for flat bases, air pillows for volume, and soft fibre fill for slouchy shapes.
The right material is invisible, does not mark the lining, does not crackle against the panels and can be shaped by hand. Newspaper fails the first test because ink transfers onto pale linings. Plastic carry bags fail the second because they crinkle into visible ridges and build static that attracts dust. Towels and clothes add lint and uneven lumps. That is why the answer to how to stuff a handbag for photography always starts with clean white tissue.
| Bag type | Core support | Top layer | Watch out for |
|---|---|---|---|
| Structured tote, satchel | Foam-board base cut to the inner footprint, air pillows above | Acid-free tissue against the panels | Base board showing through thin linings |
| Top-handle and box bags | Rolled tissue tubes along the inner walls | One flat tissue sheet at the mouth | Corners rounding off if packed too hard |
| Hobo, slouchy shoulder bag | Fibre fill inside a thin muslin pouch | Loose tissue to soften pressure points | Turning the slouch into a rigid box |
| Crossbody and sling | Small air pillow or folded tissue block | Tissue to flatten the front panel | Front pocket bulging outward |
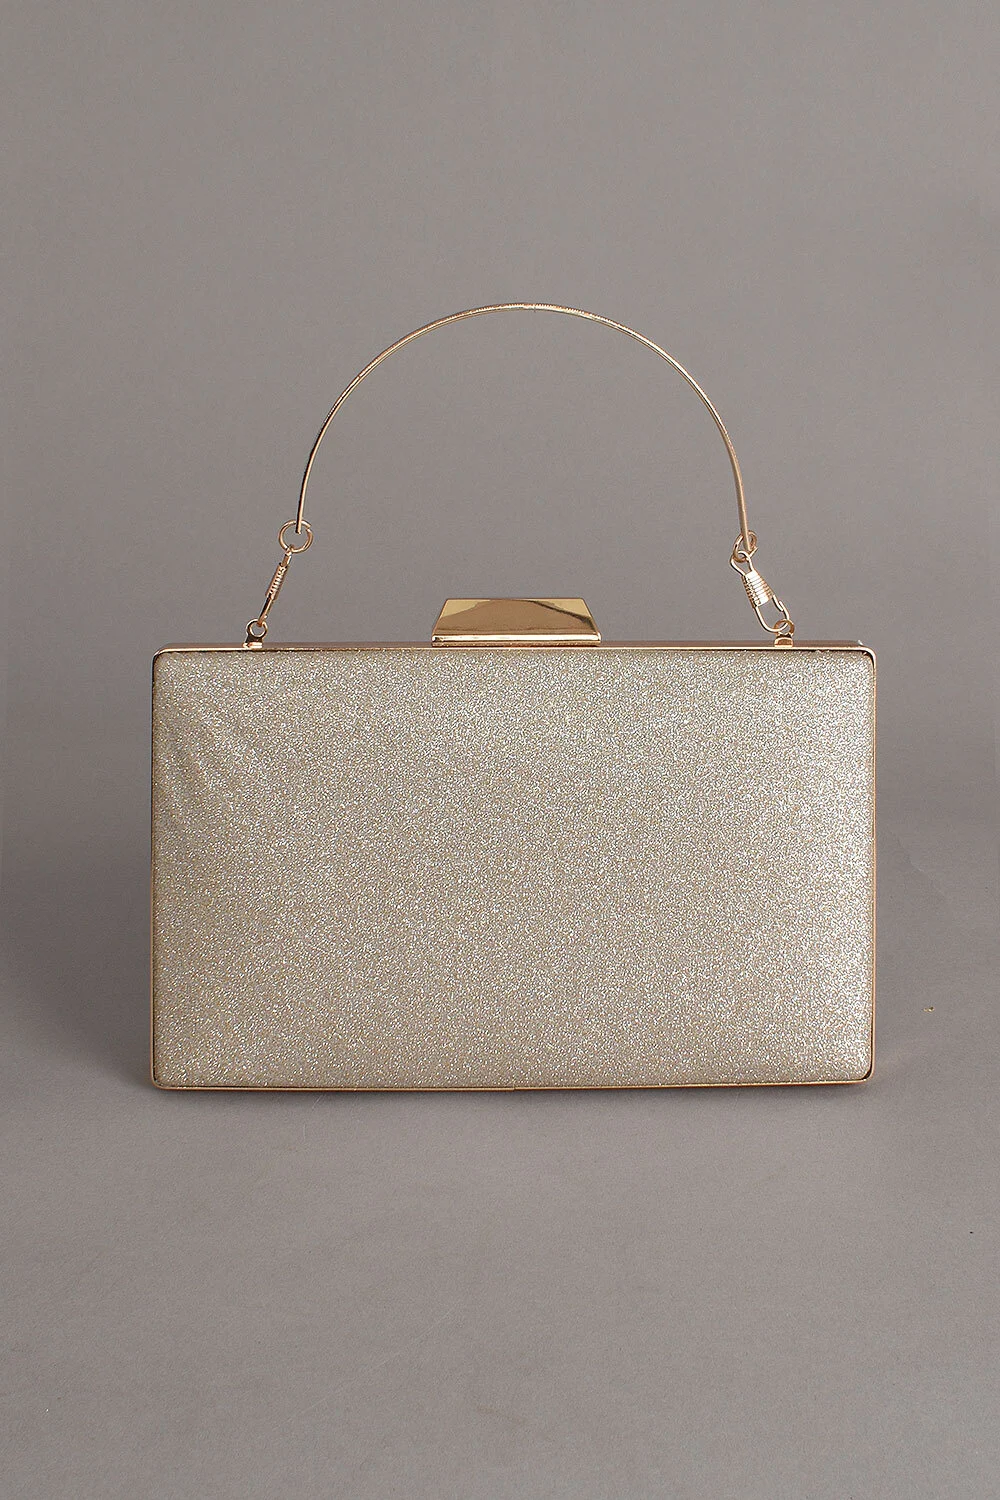
| Clutch and envelope | Thin card insert cut slightly undersize | Single tissue sheet | Clasp not closing naturally |
| Bucket and drawstring | Cylinder of rolled card or tissue | Tissue cap so the opening sits round | Drawstring gathers looking uneven |
From the studio floor
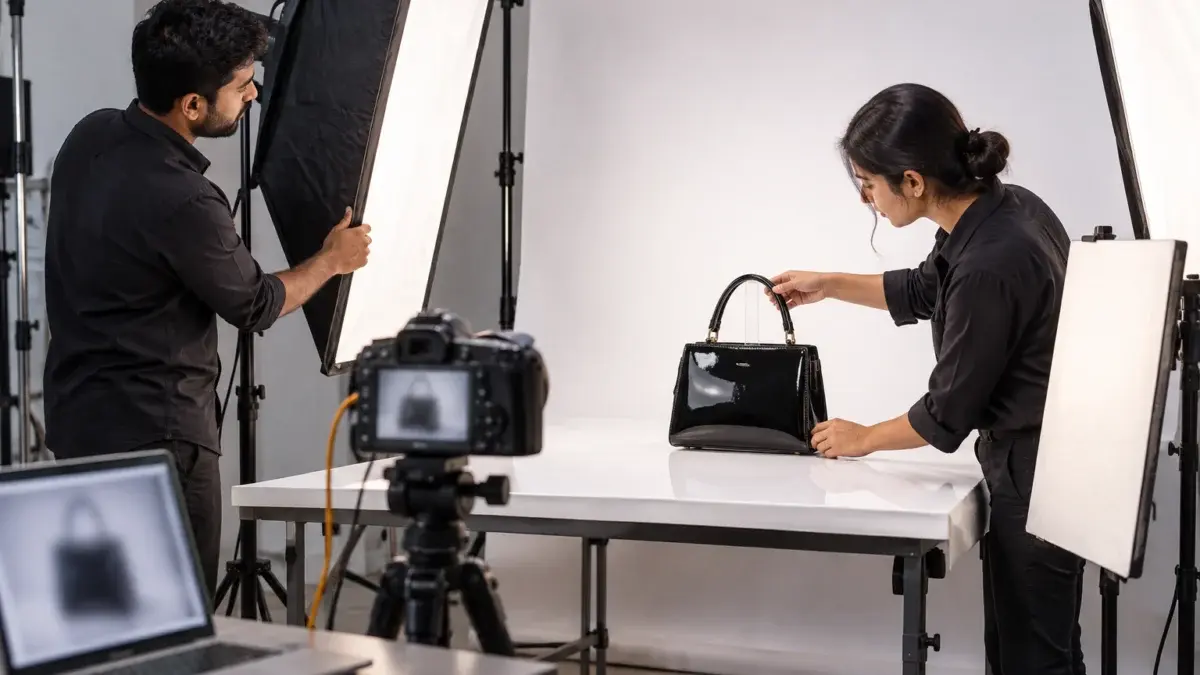
For a structured tote, the Ckstudio set-up starts with a 5 mm foam board cut about 1 cm smaller than the inner base, so it never presses against the seams. Two or three air pillows go above it, then acid-free tissue against each wall. We light with two strip softboxes at roughly 45 degrees behind the bag and one large octabox in front, shoot at f/11 and ISO 100 on a full-frame body, and check the front panel at 100% on the tethered laptop before moving the strap.
A structured bag should look architectural: flat panels, sharp corners and a level top line. A soft bag should look relaxed but intentional, so the stuffing supports its curve instead of fighting it. Same tissue, opposite goals.
Structured bags (satchels, box bags, many office totes) are built with stiffeners, so the stuffing only has to fill the air gap and keep the panels from bowing inward. The test is a straight edge: the top line should look level in the camera viewfinder, and the front panel should reflect a strip light as one clean band. If the band bends, there is a dent; if it bulges, there is too much tissue in the middle.
Soft bags (hobos, slouchy shoulder bags, many fabric totes) are designed to fold. Here the stuffing is lighter and placed lower, so the bag stands upright while the top still drapes. A muslin pouch of fibre fill is ideal because it compresses evenly and has no hard edges that print through thin leather or canvas.
| Decision | Structured bag | Soft bag |
|---|---|---|
| Stuffing density | Firm, fills to the top line | Light, fills the lower two-thirds |
| Hero angle | Straight-on front, then 45 degrees | 45 degrees first to show the drape |
| Lighting | Strip lights to draw clean edges | Broad soft light to show texture and folds |
| Main risk | Dented panels and rounded corners | Looking stiff and boxy |
| Quick check | Top line level in the viewfinder grid | Bag stands alone without tipping |
For structured pieces, the camera height matters as much as the stuffing. Shooting from slightly above the bag’s centre exaggerates the top opening and makes the base look narrow. Ckstudio keeps the lens at the vertical midpoint of the bag for the front view, with a longer focal length to avoid wide-angle distortion, so a 30 cm tote looks like a 30 cm tote.
Example scenario
Example: a brand sends a 30-SKU drop made up of 12 structured totes, 10 slouchy hobos and 8 clutches. Grouping by structure lets the team cut foam bases for all 12 totes in one go, prepare one shared set of fibre pouches for the hobos and reuse card inserts across the clutches. Shooting in those three blocks means the lights move twice instead of thirty times. The numbers here are illustrative; the principle of batching by shape is what saves the day.
Handles should stand upright or fall in a deliberate curve, never flop onto the bag’s front panel. Long straps are either arranged in a clean arc behind the bag or shot separately, so they show length and hardware without hiding the body.
Handbag strap styling is where many seller photos lose clarity, even after the handbag stuffing photography prep is done well. A top handle lying across the front hides the flap and the logo plate. A crossbody strap piled in a heap beside the bag looks messy and makes buyers unsure how long it actually is. Straps are a buying feature, especially on convertible bags, so they deserve the same care as the body.
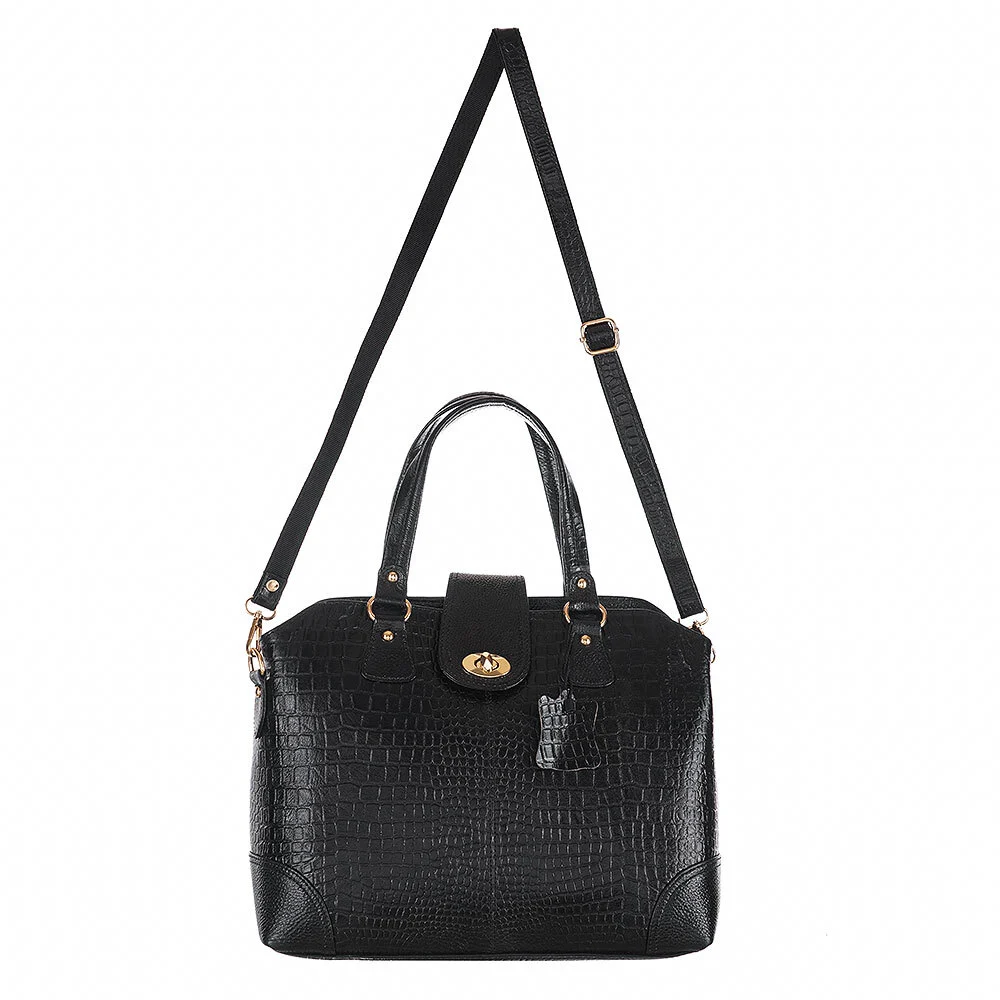
Strap texture and stitching also come through far better in motion. The short reel below shows how a handbag’s handle, hardware and close-up texture can be presented together with a model, which is useful when a still frame cannot show how the strap drops.
One more rule: keep the strap styling identical across every colour variant of the same model. If the black version has an arched strap and the tan version has a draped one, the listing looks like two different products, and buyers flicking through swatches notice it immediately.
Treat glossy surfaces like mirrors: control what they reflect rather than adding more light. Large diffused sources, black flags at the sides and a polarising filter keep patent leather and metal hardware readable instead of blown out.
Patent leather bag reflections are the hardest part of any handbag set because the surface shows every softbox edge, every light stand and sometimes the photographer. The fix is to decide what the bag should reflect. A long strip softbox placed close produces a single, elegant highlight that follows the panel’s curve and actually proves the surface is flat — which is why good stuffing and good lighting work together.
Metal hardware has a different problem: small polished surfaces such as clasps, zip pulls and logo plates pick up the dark studio around them and turn black or grey. White cards placed just out of frame give the metal something bright to reflect, while black cards on the sides add contrast so edges stay defined.
From the studio floor
On glossy black bags, Ckstudio runs a 100mm macro lens for hardware details and a circular polariser on the main lens for the body. Two Godox SK400II heads fire through strip softboxes about 60 cm from the bag, with 1 m black flags on both sides to carve the edges. Every bag gets a dry microfibre wipe and an air blower pass before each angle, and hardware is handled only with cotton gloves.
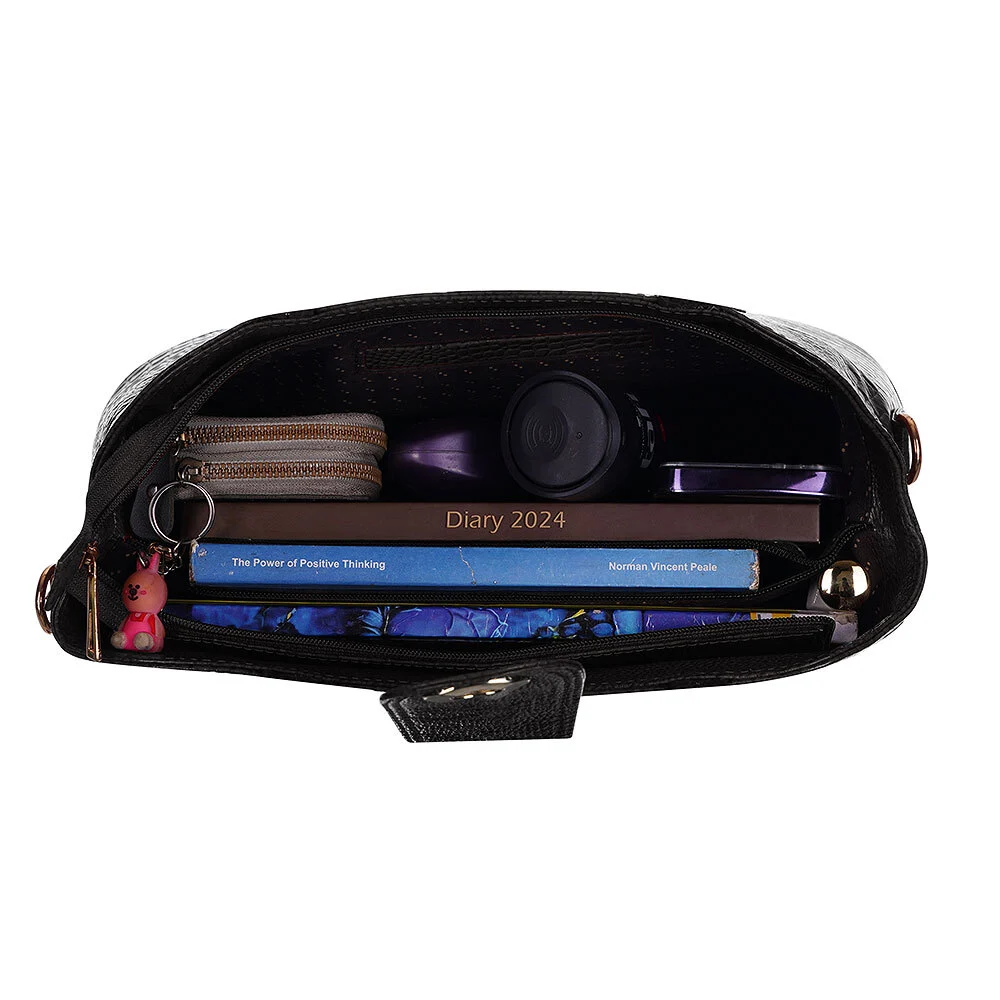
A bag interior shot should show the lining, pockets and usable space, with the stuffing removed or hidden below a flat tissue layer. A scale shot, usually on a model or beside everyday items, shows how big the bag really is.
After shape, the two questions buyers ask most are “what fits inside?” and “how big is it on me?”. A strong bag interior shot is taken top-down with the opening held wide by a small hidden clamp, so the lining colour, zip pocket and phone slot are all visible. If the bag needs stuffing to keep its walls up, cover it with one flat white tissue sheet so the interior reads as empty space, not packing material.
Scale is just as important. Many seller returns in the bag category come from size surprise, and a model shot fixes that with no words at all. Our guide on how to reduce returns with better product images explains why buyers trust a person-for-scale photo more than a dimension chart.
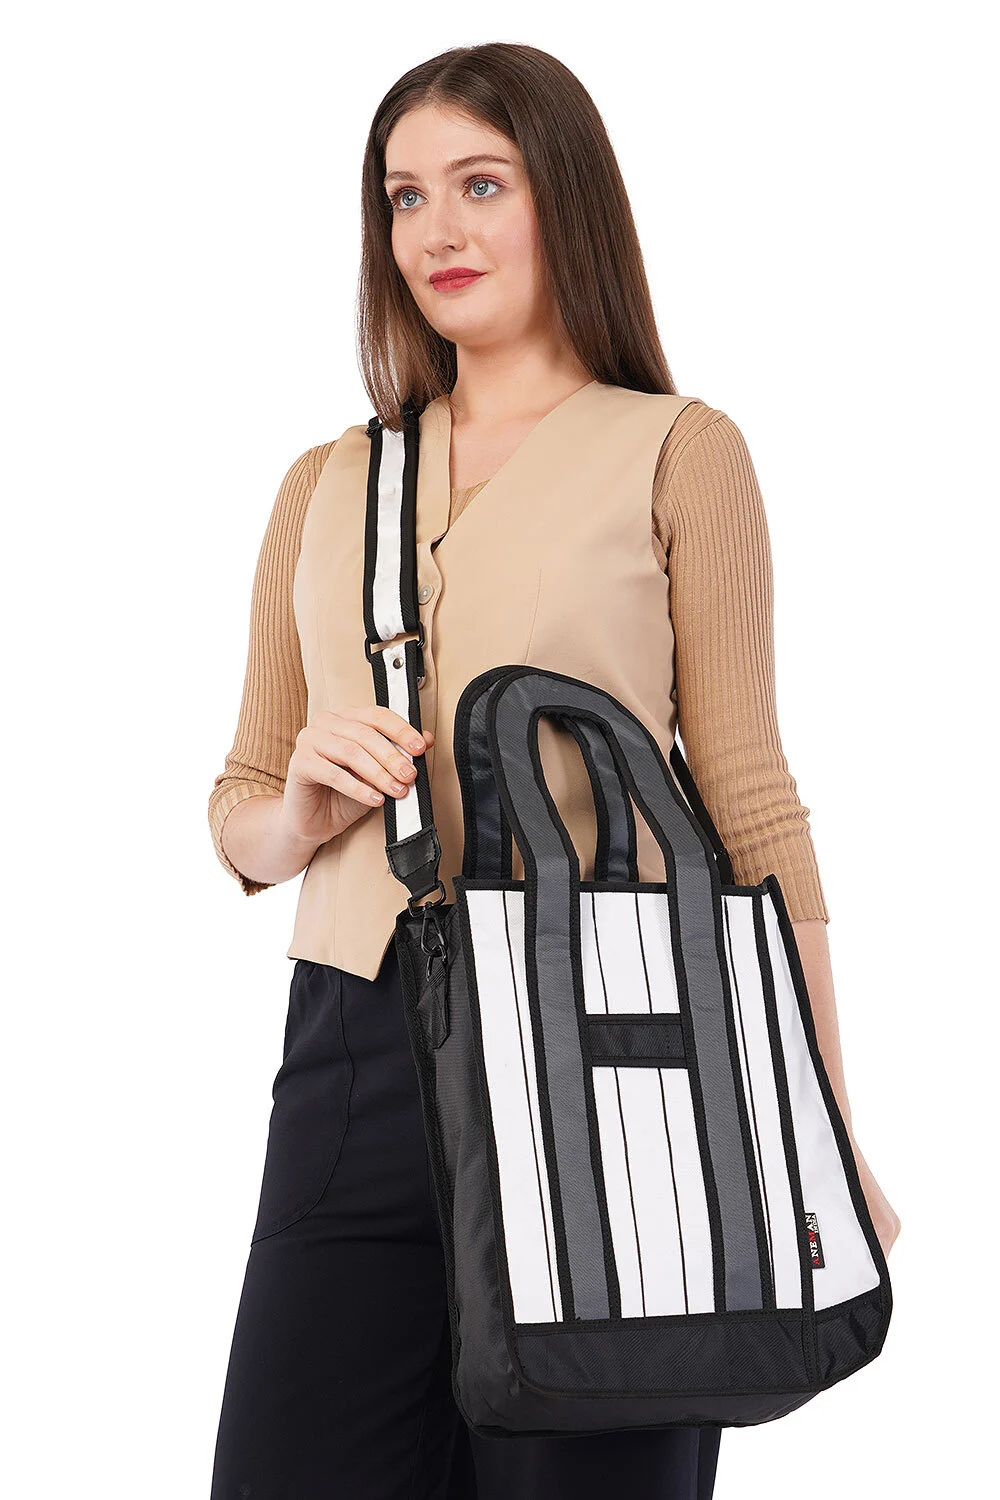
Texture and fit also show up well in a short product reel. The video below, shot for a laptop bag, demonstrates how slow movement reveals material grain and how the bag sits when carried — the same approach works for larger handbags and totes.
Use neutral everyday objects such as a phone with a blank screen, a plain diary, sunglasses or a water bottle. Avoid branded items and anything that could be mistaken for part of the sale. In handbag stuffing photography for e-commerce listings, keep these props out of the main image entirely; they belong only in secondary frames.
Amazon publishes clear main-image rules: a pure white background, the product filling most of the frame and nothing but the product shown. Flipkart and Myntra apply category-level image guidelines inside their seller tools, so a clean white or neutral main image plus a consistent angle set is the safe baseline.
For handbag marketplace images, the main image is where handbag stuffing photography matters most, because it is the thumbnail shoppers compare in search results. Amazon’s own product image requirements on Seller Central set out the key rules below. Our Amazon main image checklist goes through each of them in more depth.
| Main image rule (Amazon) | What it means for a handbag | Source |
|---|---|---|
| Pure white background (RGB 255, 255, 255) | No grey sweep, no floor line, no coloured props | Amazon Seller Central image requirements |
| Product fills about 85% of the frame | A collapsed bag shrinks inside that frame; stuffing keeps the fill honest | Amazon Seller Central image requirements |
| Only the product for sale, no text or watermarks | No visible stuffing, stands, tags or added badges | Amazon Seller Central image requirements |
| Whole product in view, not cut off | Straps and handles must stay inside the canvas | Amazon Seller Central image requirements |
| At least 1000 px on the longest side for zoom | Stitching and grain must hold up when buyers zoom in | Amazon Seller Central image requirements |
If your bag listings keep failing that main-image check or look smaller than competing ones, Amazon product photography shot to the marketplace rules fixes the problem at the source instead of in retouching.
Flipkart does not publish one universal public spec for every bag category; sellers see the active image guidelines when they list through the Flipkart Seller Hub. In practice that means a clean, well-lit main image on a white or neutral background, the bag shown completely, and secondary images that cover the angles listed below. Myntra works from category templates in its partner tools, and accessories listings there are reviewed for consistency across a brand’s catalogue, so matching angles and strap styling between variants matters even more.
Batch the bags by structure, prep them all before the first shot, lock the lighting for each batch and run a quality check at 100% zoom before files leave the studio. Consistency across SKUs comes from the process, not from fixing images afterwards.
A single bag can be shaped by feel. Fifty bags need a system, otherwise the totes shot at 11 am will not match the ones shot at 5 pm, and the catalogue will look patchy on a brand store page. This is where a bag shape control photoshoot process pays for itself.
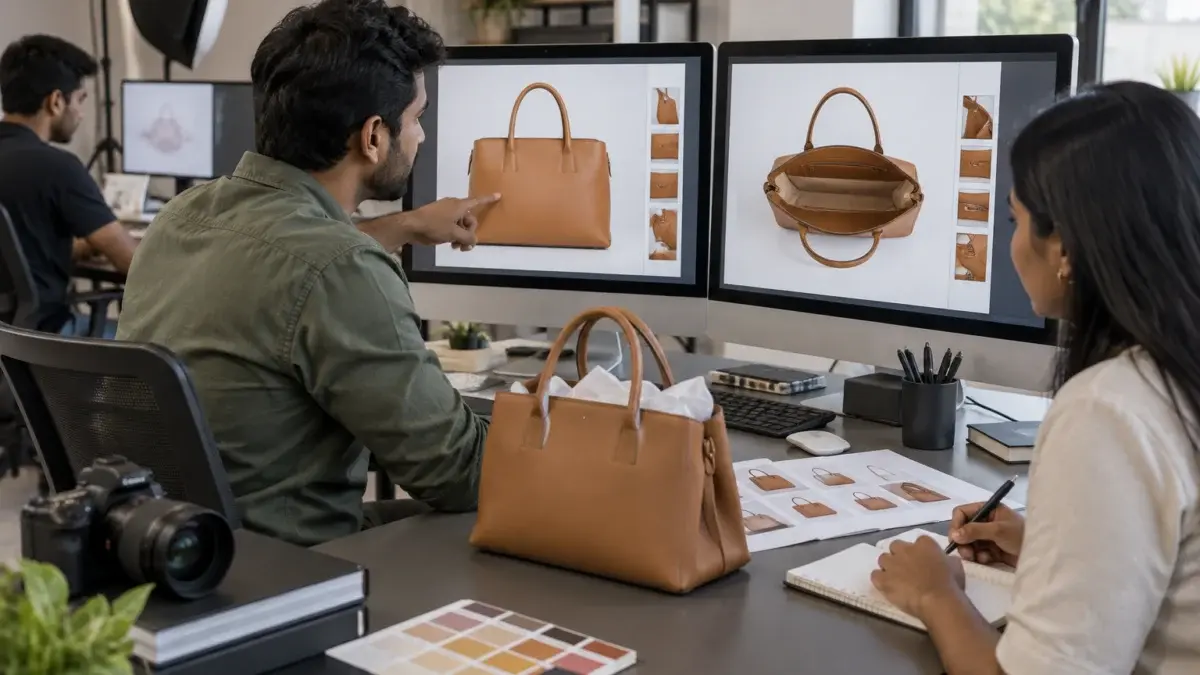
If your catalogue mixes bags with apparel, footwear and accessories and every category keeps drifting in look, running all of it through one set of ecommerce photography services keeps backgrounds, colour and framing consistent across the whole store.
From the studio floor
Before any handbag file is delivered, Ckstudio runs a three-point QC: the front panel reflection is checked for a straight highlight band, the top line is checked against the viewfinder grid, and the white background is sampled at the corners. Files are exported in sRGB at a minimum of 2000 px on the longest side, which leaves headroom above Amazon’s 1000 px zoom threshold, and colour is matched against the physical sample under a daylight-balanced lamp.
Acid-free white tissue is the best all-round material for handbag stuffing photography because it is clean, quiet and easy to shape. Add a foam-board base for structured bags, air pillows for volume, or a fibre-filled muslin pouch for soft bags.
No. Newspaper ink can transfer onto pale linings and the paper creases into hard ridges that print through thin leather. Plastic bags are also a poor choice because they crinkle and attract dust.
Full enough that the front panel is flat and the top line is level, but not so full that seams strain or zips wave. Soft bags need lighter stuffing in the lower two-thirds so they keep their drape.
Place a small clear acrylic block or a bent loop of thin wire inside the handle, fix it with putty, and remove any visible support in retouching. Long straps can be suspended in an arc with clear fishing line.
No. Amazon’s main image rules allow only the product for sale on a pure white background, so stuffing, stands and props must stay hidden or be retouched out. Props for scale belong in secondary images only.
A strong handbag listing usually covers the front, 45-degree, side and back views, an interior shot, a hardware macro and an on-model or scale frame. That set answers shape, size and quality questions before buyers ask them.
Good handbag stuffing photography starts with the bag empty on the table and ends with a front panel that reflects one clean highlight. Pick the right core for the bag type, finish with tissue, arrange the straps on purpose and light the gloss rather than fighting it. If you would like Prince and the Ckstudio team to prep and shoot your next bag drop, call +91-8700258773, message us on WhatsApp at +91-8700258773 or email [email protected] between 10 am and 7 pm.
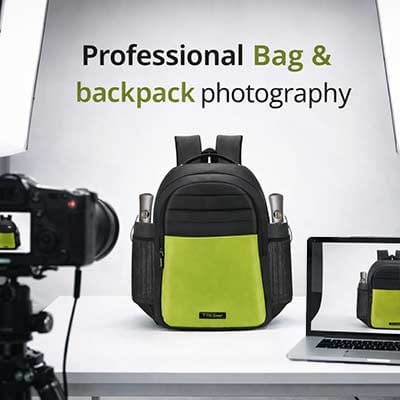
Next step: if your range also includes backpacks, laptop bags or travel duffels, see how the same shape-control approach carries over to backpack photography for marketplace listings.
Ckstudio has been shooting product and fashion catalogues since 2015 for brands selling on Amazon, Flipkart, Myntra and Ajio. Send your SKU list on WhatsApp at +91-8700258773 or email [email protected], and see the work on our bags and handbag photography page.
Call Prince: +91-8700258773