

Fashion Photography Services

E-commerce Photography
How to light glass without hotspots, make serums glow, keep droppers sharp and frosted packs clean, and get labels readable at listing size.
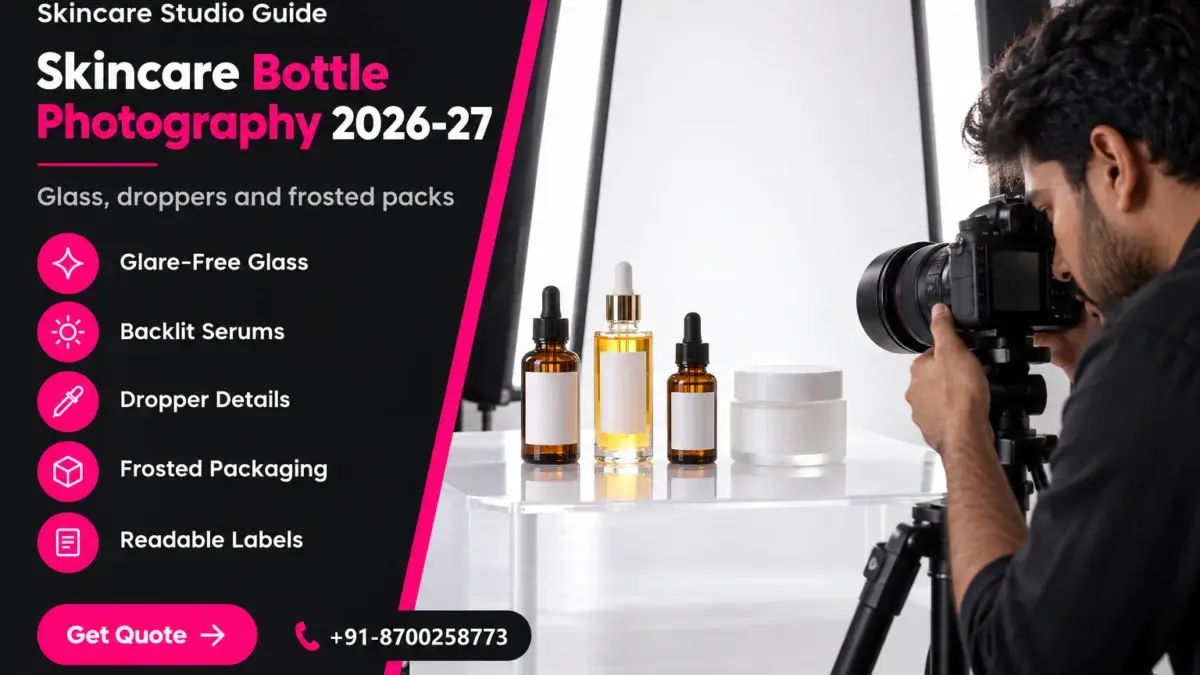
Skincare bottle photography is the craft of photographing serums, oils, toners and creams in glass, acrylic and frosted packaging so that the shape reads cleanly, the liquid looks true and the label stays legible on a phone screen. Glass behaves like a curved mirror, so every light, wall and person in the room tries to appear on the bottle. This guide is part of our beauty and cosmetic product photography work and explains, step by step, how we control that mirror instead of fighting it.
It is written for skincare D2C founders and beauty sellers on Amazon, Flipkart and Nykaa who have seen their own serum bottle photography come back with white streaks across the label, a grey frosted jar or a dropper that looks like a smudge. Prince and the Ckstudio team have shot cosmetic packs since the studio opened in 2015, and the nine fixes below are the ones we actually use on set, in the order we use them.
In this guide
Because glass does not show its own surface; it shows its surroundings. A clear or amber bottle reflects the lights, the ceiling and the camera, and it refracts whatever sits behind it, so the photographer is really lighting the room around the bottle rather than the bottle itself.
A matte cardboard carton has a surface you can light directly: point a softbox at it and it gets brighter. A glass serum bottle works the other way. Its curved shoulders and sides act as tiny mirrors, so a softbox placed in front of it becomes a bright rectangle printed on the glass, usually right across the label. Behind the bottle, the liquid and the glass bend the background like a lens, which is why a messy studio wall turns into a warped stripe inside the product.
That gives you two separate jobs. The first is defining the edges: a viewer understands a transparent shape only through its outline, so the sides of the bottle need either clean white highlights (on a dark background) or crisp dark lines (on a light background). The second is keeping the label and liquid readable while those highlights exist. Most failed skincare images solve one job and break the other, for example perfect edge highlights that run straight through the ingredients panel.
Clear glass shows everything behind it, so background cleanliness matters most. Amber and cobalt glass absorb light, so the liquid inside reads darker and needs more light from behind to show colour. Frosted glass scatters light across its whole surface, which removes sharp reflections but also flattens the shape and can turn white glass a dull grey. Good glass bottle product photography starts by sorting the range into these three groups before a single frame is shot, because each group needs a different lighting plan.
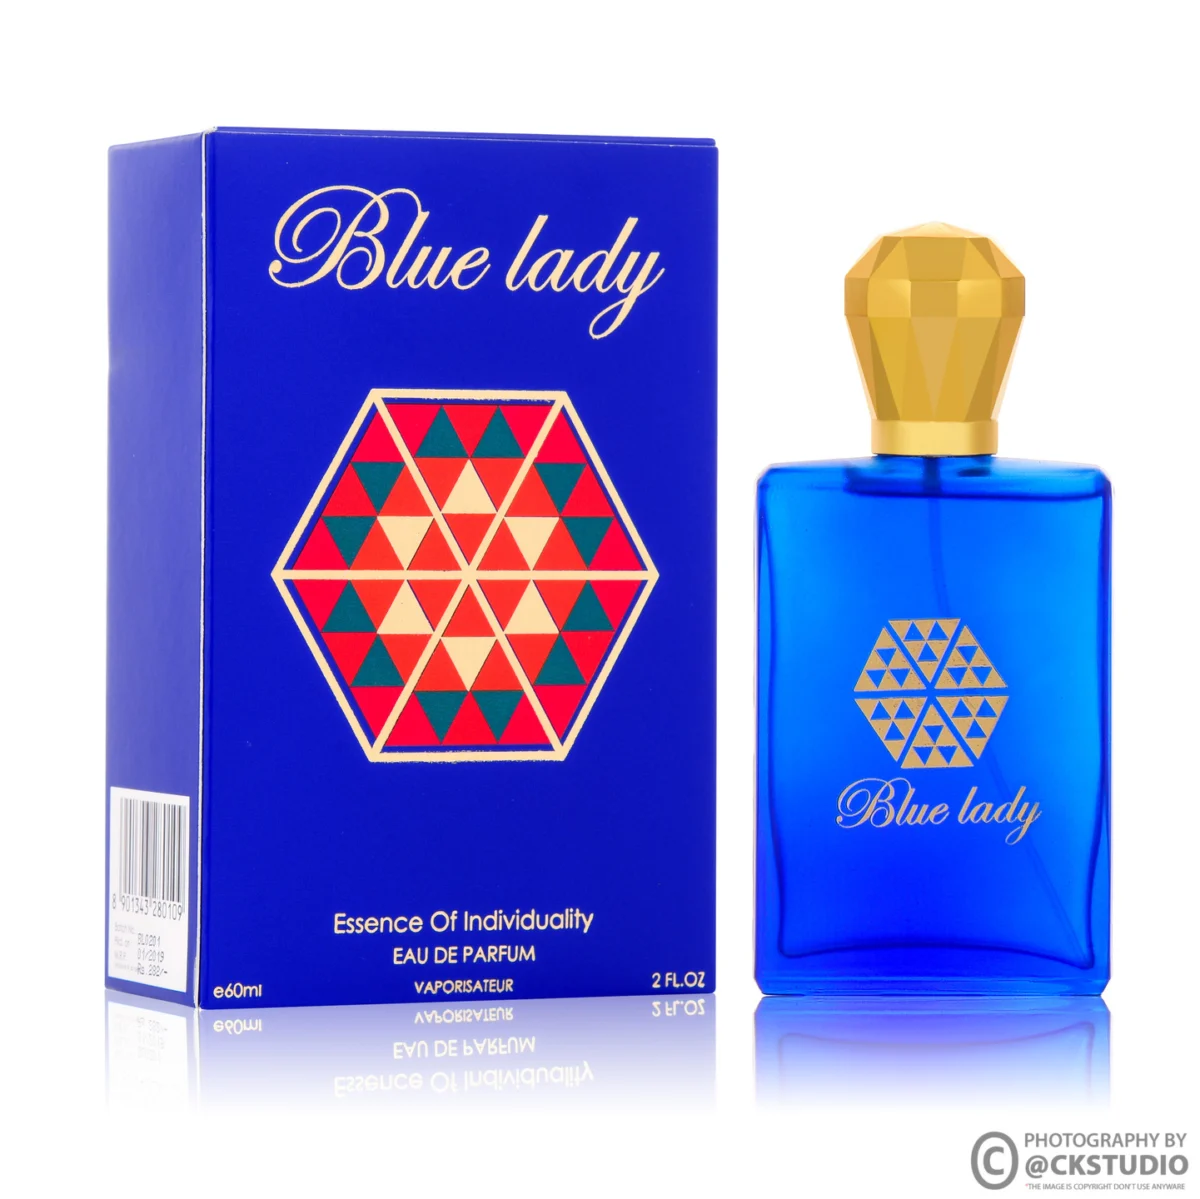
From the studio floor
Before lighting anything at Ckstudio, we place the bottle on the set with every studio light off except the modelling lamps and look at it from the camera position. Whatever we see reflected at that moment, a window, a C-stand, a white shirt, will show up in the final file. We black out the side of the set facing the bottle with black flags or cards, move the camera crew out of the reflection line and only then bring in the first strip softbox. On a 100mm macro lens at f/11, even a grey T-shirt two metres away can print on the shoulder of a clear bottle.
The rest of this guide works through those problems in shooting order: what the marketplace expects, how to light the glass and the label separately, how to make liquids glow, and how to finish the frame so it survives zoom on a listing page.
Amazon publishes the clearest rules: a pure white main image, the product filling most of the frame, no added text or graphics, and files large enough for zoom. Flipkart and Nykaa share their image guidelines through seller onboarding and category templates rather than one public page, so confirm their exact numbers inside your seller panel before a bulk shoot.
Amazon’s product image requirements in Seller Central set the baseline most brands design their masters around. For skincare bottle photography the rules that matter most are the white background, the 85 percent frame fill and the ban on text overlays, because a serum hero image cannot carry callouts such as “with hyaluronic acid” written on top of the photo. Those claims belong on the pack itself or in secondary infographic frames.
Indian cosmetics also carry legal label declarations. The CDSCO cosmetics regulations page covers the Cosmetics Rules, 2020, which set out what a cosmetic label must declare. Your photos do not replace the label, but buyers and catalogue reviewers increasingly expect one frame where the back label can actually be read.
| Requirement | Status | Source | What it means for glass packs |
|---|---|---|---|
| Pure white main image background (RGB 255, 255, 255) | Official | Amazon product image requirements | Backlight the white, not just the bottle, so clear glass does not pick up a grey cast |
| Product fills about 85% of the main image | Official | Amazon product image requirements | Tall droppers and pumps make thin frames; plan the crop before you shoot |
| 1000 px or more on the longest side so zoom works | Official recommendation | Amazon product image requirements | Zoom exposes dust and fingerprints on glass, so clean-up must be done at full size |
| No text, logos or graphics added to the main image | Official | Amazon product image requirements | Ingredient claims go on secondary frames, never over the hero |
| Clean white or neutral hero, product fully in frame | Shared in seller onboarding | Flipkart and Nykaa category templates | Check your own panel; do not assume Amazon’s numbers apply |
| Label declarations on the pack | Official (pack, not image) | Cosmetics Rules, 2020 (CDSCO) | Shoot one readable back-label frame per SKU |
Because Flipkart and Nykaa publish fewer public numbers, we shoot every glass SKU at full sensor resolution and export marketplace sizes at the very end. That way one set of masters can feed an Amazon square crop, a portrait crop for a beauty marketplace and a website hero without reshooting.
Yes. A clear bottle in front of a pure white background disappears unless its edges are drawn with dark lines, so a white-background hero for dropper bottle photography uses black cards just outside the frame to put thin dark outlines on the glass. On coloured or gradient secondary images you can do the opposite and use white strip lights for bright edges.
Use long, narrow strip softboxes at the sides or behind the bottle to create clean vertical edge highlights, and light the label with a small, flagged source from the front so its light falls on the paper but its reflection misses the camera. Shooting the two lights as separate frames and blending them is the most reliable route on round bottles.
The single most useful tool in skincare product shoot lighting is the strip softbox. Because it is tall and narrow, its reflection on a cylindrical bottle becomes a neat vertical line instead of a blob. We place two strips at roughly 45 degrees behind and to each side of the bottle, feathered so only their edge spills forward. That gives the shoulders and sides a crisp line of light that tells the eye “this is glass”.
The label is a different surface. A paper or printed label is mostly matte, so it needs soft light from the front, but any front light also reflects in the glass around the label. The fix is angle: keep the label light high or low enough that its reflection bounces away from the lens, and use a black flag to stop it spilling onto the glass shoulders.
| Packaging | Main light | Edge definition | Label light |
|---|---|---|---|
| Clear glass serum | Backlight through diffusion | Black cards on white background | Small flagged softbox, high angle |
| Amber or cobalt glass | Stronger backlight for liquid colour | White strips at the sides | Front fill plus polariser if needed |
| Frosted glass or acrylic | Large soft source, wrapped | Light falloff, not hard lines | Raking light for embossing |
| Glossy plastic pump bottle | Two strips, side and back | White strips, gradient background | Separate exposure blended in |
A circular polariser on the lens helps with flat reflections on the front of the label, but it cannot remove the reflections on a curved bottle evenly because the angle of light changes across the curve. It is a helper, not a solution. We use it mainly on box panels and flat jar lids, and we rely on light placement for the bottle itself.
The video below shows the same principle on sunglasses, which are as reflective as any serum bottle: watch how the crew shapes reflections with strip lights and cards rather than trying to remove them later in editing.
From the studio floor
For a standard 30 ml clear serum, the Ckstudio set uses two Godox SK400II heads in strip softboxes, about 45 degrees behind the bottle on either side, a third head through a diffusion panel directly behind, and a small softbox above the lens for the label. The camera is tethered, so the team checks every highlight at 100 percent on the laptop. We shoot at ISO 100 and f/11 to f/16 on a 100mm macro so the dropper tip and the label both stay sharp, then take a separate label exposure with the strips switched off.
Put a diffused light source directly behind the bottle, sized just a little larger than the bottle, so light passes through the liquid towards the camera. Then shape it with a white or black card cut to the bottle outline so the glow stays inside the liquid and does not wash out the edges.
Backlighting liquids is what makes a facial oil look golden instead of brown, and a clear toner look fresh instead of grey. Without it, coloured liquid in amber or tinted glass reads almost black in a front-lit photo, and buyers cannot judge the product’s colour or consistency. With too much backlight, though, the glass edges disappear into the glow, so the size and distance of that rear light matter.
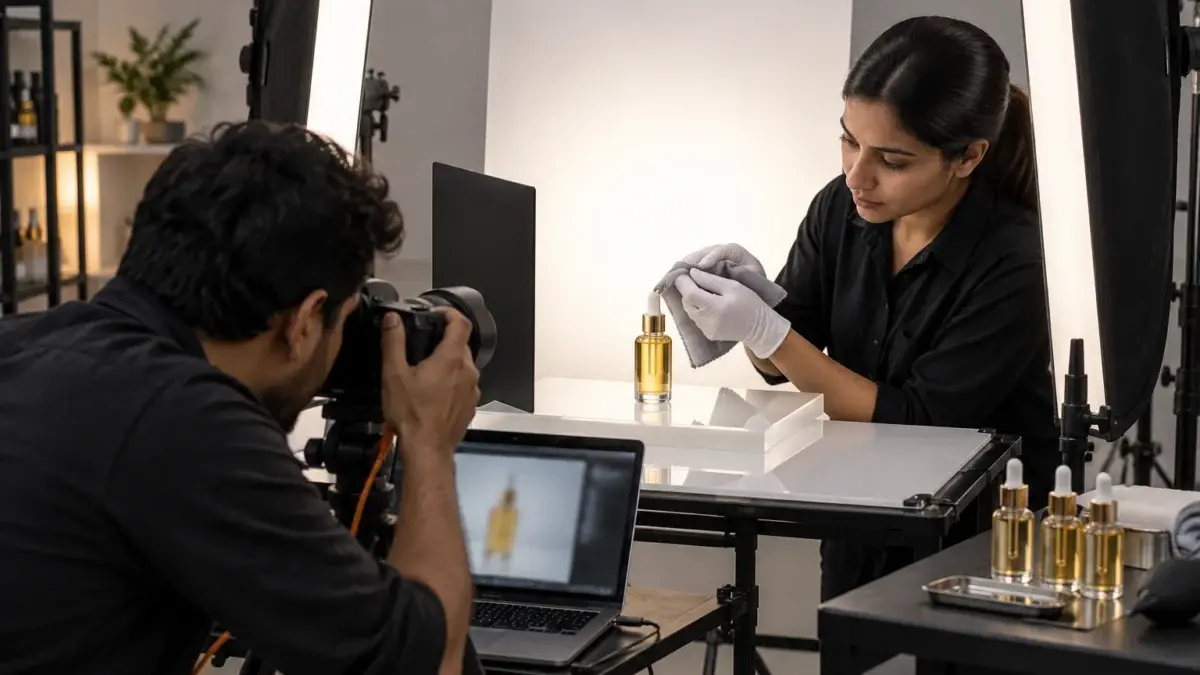
Oils and serums also show viscosity through the way light moves inside them. A slow oil holds a softer gradient; a watery toner is more transparent. If your range includes both, shoot them on the same backlight setting but adjust the rear light power per SKU so the liquids look different from each other, because they are.
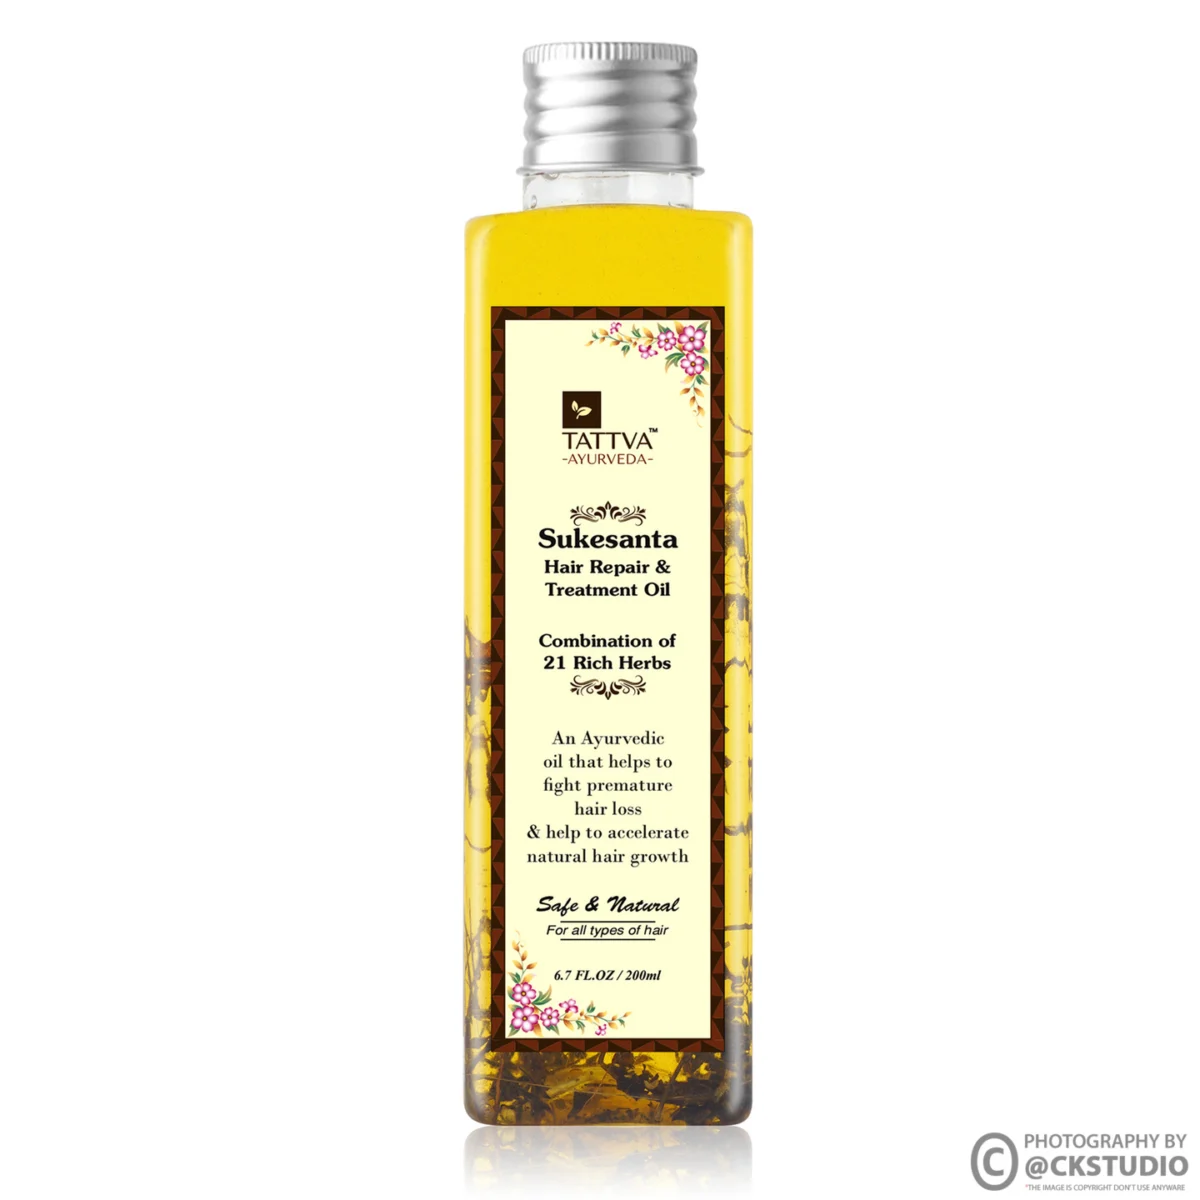
For a full look at how a cosmetic set runs from cleaning to final frame, this behind-the-scenes cosmetic shoot shows the order of work that sits behind a backlit serum image.
Treat the closure as a separate product in skincare bottle photography. Droppers have a glass pipette, a rubber bulb and often a metallic collar, each with different reflectivity, so they need their own highlight, clean focus and sometimes a separate exposure blended into the bottle frame.
Buyers zoom into the dropper because it tells them how the product is dispensed. In dropper bottle photography the common failure is a pipette that vanishes against the background or a gold collar that turns into a white flare. We position the strip lights so the collar catches one controlled highlight, not three, and we rotate the bottle a few degrees until the pipette inside the glass shows as a clean line.
For the main image, inside the bottle, assembled exactly as it ships. For secondary frames, a dropper lifted above the bottle with a single drop forming at the tip explains the texture of the product better than any copy. That shot needs a fast flash duration to freeze the drop, a clean dark or gradient background, and patience: it is normal to take many attempts before one drop hangs in the right place.
Pumps and airless bottles bring a different issue. Their plastic heads often have a glossy finish that reflects like glass but with softer edges, and the pump nozzle should face a consistent direction across the whole range. Caps on jars should be shot both closed for the hero and open for the texture frame, with the cap leaning against the jar so its inner surface is visible.
Example scenario
Imagine a brand launching a 24-SKU range: 10 clear dropper serums, 6 amber face oils, 5 frosted moisturiser jars and 3 pump cleansers. Grouping them by packaging means four lighting setups instead of re-lighting for every SKU. A sensible shot list per serum would be a hero, a back label, a dropper-with-drop texture frame and an angled three-quarter view, which gives 40 frames for the serum group alone. These numbers are illustrative; your own list depends on how many variants share one pack.
The one rule we never break on closures: the gold, silver or rose-gold collar must look like metal, not like plastic painted yellow. That means letting it reflect something dark as well as something bright, so the eye reads contrast and shine together.
Use a large, soft, wrapping light and expose slightly brighter than the meter suggests, because frosted glass and matte acrylic scatter light and tend to look grey. Add a low raking light to reveal embossing or texture, and keep the white balance locked so white packs stay white.
Frosted packaging photography, the matte side of skincare bottle photography, is easier than clear glass in one way, because there are no sharp mirror reflections to manage, and harder in another, because the shape can flatten into a dull block. The surface diffuses light evenly, so the volume of the jar has to come from gradual falloff: brighter on the side facing the main light, slightly darker on the far side. A single large octabox placed to one side, with a white reflector opposite, usually gives that roll of light.
White frosted jars are where many sellers get caught. The camera meter sees a lot of white and underexposes, so the jar turns light grey against a pure white background. We meter from a grey card, then check the pack against the background on the tethered screen; the jar should be very slightly darker than the background, never the same tone, or it will melt into it.
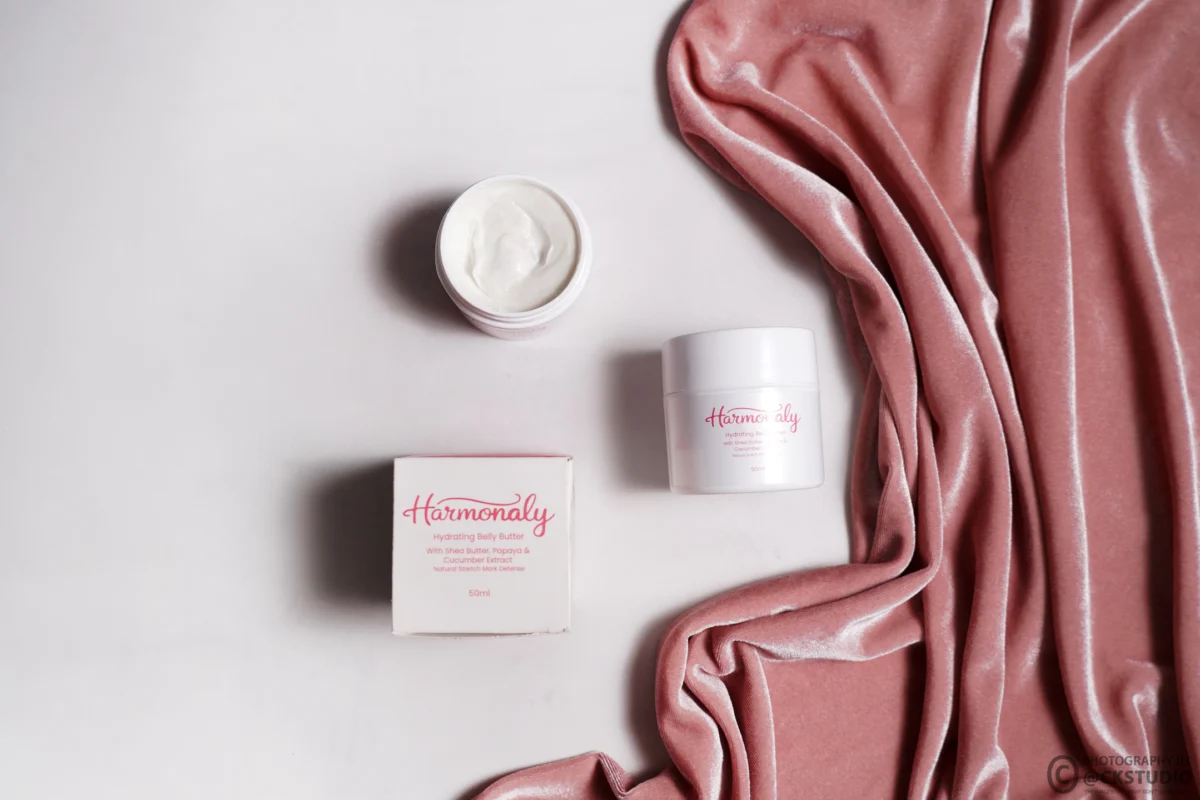
Soft-touch black packaging and embossed logos need a low, hard-ish raking light that skims across the surface. It throws tiny shadows into the embossing so the lettering reads in relief. Keep this light weak compared with the main light; it should add detail, not change the overall mood of the frame.
Matte black packs collect every speck of dust and every fingerprint, so they come straight before the cleaning stage in our workflow, which is the next section.
Prevent first, retouch second. Handle every bottle with cotton or nitrile gloves, clean it with a microfibre cloth and an air blower just before each frame, and use retouching only for what cannot be removed physically, such as moulding marks or tiny scratches in the glass.
A clear bottle shows dust twice: once on the front surface and again, out of focus, on the back surface seen through the liquid. A single fingerprint across the shoulder catches the strip light and becomes a bright smear. Cleaning glass at the start of the day is not enough, because every adjustment between frames adds new marks. Our rule is that the last hand to touch the bottle before the shutter wears a glove.
From the studio floor
The Ckstudio cleaning kit on a cosmetic set is simple: white cotton gloves for handling, nitrile gloves for oily products, two lint-free microfibre cloths (one dry, one barely damp), a rubber air blower and a soft brush for caps. We never use spirit-based cleaners on printed or foil labels because some inks lift. After cleaning, the bottle goes onto marked positions on the acrylic so it returns to exactly the same spot for all 3 to 4 angles.
Some marks are part of the product: mould seams on cheaper glass, tiny bubbles in the glass wall, scuffs on bottles that travelled loose in a carton. These are where careful image editing and retouching earns its place, removing the defect while keeping the reflections, label and liquid colour exactly as they were shot. Retouching that changes the colour of the liquid or redraws the label creates a product the buyer will not receive.

Never change the liquid colour away from the reference card, never sharpen or rewrite the ingredient text, and never remove the natural edge highlights that define the glass. Dust spots, fingerprints that slipped through, moulding marks and the occasional reflection of a light stand are fair to remove. When in doubt, compare the retouched file with the physical bottle on the desk.
If your team handles packs in-house, keep a pair of gloves and a blower next to the camera rather than in a drawer. It sounds small, but in our experience the cleaning step is where most self-shot cosmetic catalogues lose quality.
Look at every final image on a real phone at the size it will appear in search results and on the product page. The brand name and product name should be readable in the search tile, and the back-label frame should allow a buyer to read ingredients after zooming in.
Desktop monitors are misleading for skincare bottle photography. A label that looks crisp on a 27-inch screen can be a pale smudge on a phone, especially when a strip highlight crosses it. The Ckstudio quality check has two stages: a 100 percent crop on the calibrated monitor for sharpness and dust, then the same image on two or three phones at search-tile size for readability.
Round bottles have a specific problem: text wraps around the curve and the edges of the label fall away from the lens. For ingredient panels on round packs, we shoot two or three frames with the bottle rotated and stitch them, or we photograph the label straight-on in a dedicated frame. This is also why we keep the back-label frame separate from any styling; a buyer reading ingredients does not need props.
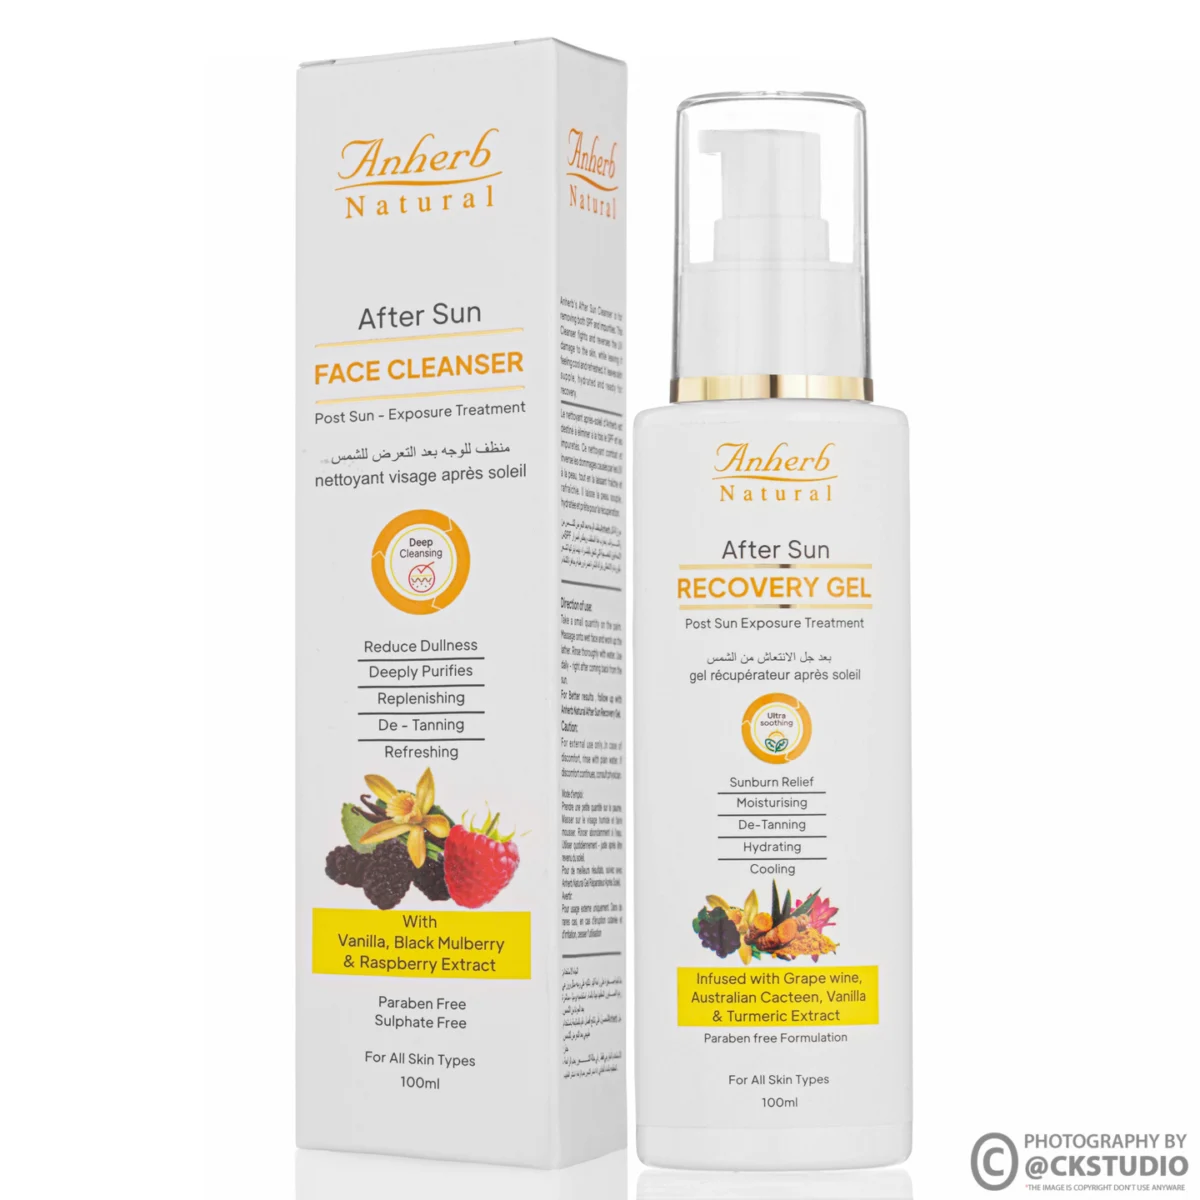
When a brand has many SKUs, keeping this check consistent across a whole catalogue is a production job rather than a photography trick. That is where structured ecommerce photography services help: fixed set marks, one lighting plan per packaging group, colour references and a QC pass on phones before any file is delivered.
Most failures come from four sources: lights placed in front of the glass, missing backlight on liquids, poor cleaning and over-editing. Each has a simple on-set fix that costs far less than a reshoot.
| Mistake | What the buyer sees | Fix |
|---|---|---|
| Softbox straight in front of a glass bottle | A white rectangle over the label | Move lights to the sides and behind; light the label with a small flagged source |
| No backlight on amber or tinted glass | Liquid looks black or muddy | Diffused rear light sized to the bottle |
| Clear bottle on white with no edge control | The bottle disappears into the background | Black cards outside the frame for dark outlines |
| Frosted white jar underexposed | A grey jar on a white page | Meter from a grey card; jar slightly darker than the background |
| Fingerprints and dust on glass | Smears that look like a used product | Gloves, blower and microfibre before every frame |
| Liquid colour changed in editing | Returns that say “looks different” | Colour locked to the reference card shot on set |
Two mistakes do not show up in a single image but hurt a whole catalogue. The first is inconsistent angles: one serum shot at eye level and the next from slightly above makes the range look mismatched on a brand store page. The second is mixed white balance: if some bottles were shot near a window and others under flash only, the whites drift between warm and cool. Both are solved by fixed camera height, marked product positions and flash-only lighting with ambient light switched off.
Finally, avoid cosmetic packaging reflections that reveal the studio, such as a photographer’s silhouette in a dark bottle or the outline of a window. Dark glass works like a black mirror; walk around the set with the modelling lights on and look for anything that does not belong before the first frame.
Move the lights to the sides and behind the bottle using strip softboxes, block reflections with black flags, and light the label with a small source angled so its reflection misses the lens. For skincare bottle photography on round packs, a separate label exposure blended into the final file gives the cleanest result.
Pure white for the main marketplace image, because Amazon requires it for the hero. For secondary images, soft gradients or coloured backgrounds that match the brand palette help clear glass edges stand out and give a more premium feel.
The camera meter sees a lot of white and underexposes. Meter from a grey card, use a large soft light, and check that the jar stays only slightly darker than the white background on a calibrated screen.
Small stray reflections, dust and fingerprints can be retouched, but the edge highlights that define glass should be created on set. Removing all reflections in editing makes the bottle look flat or like a 3D render, and changing liquid colour misleads buyers.
A practical set is a white hero, a back-label frame, a texture or dropper frame, an angled view and one or two lifestyle or infographic frames. Check your marketplace’s own maximum before planning the shot list.
The lighting technique is the same, but crops and image requirements differ. Amazon publishes its rules openly, while Nykaa shares them through seller onboarding, so shoot large masters and export each marketplace’s size at the end.
Glass, liquid, metal collars and frosted plastic all sit in one small skincare pack, and each surface needs its own decision. When the edges are drawn deliberately, the liquid is backlit, the closure is treated as its own product and the label passes a phone check, skincare bottle photography stops being a fight with glare and becomes a repeatable process for a whole range.
If you would rather hand that process over, Ckstudio shoots glass and frosted cosmetic packs for e-commerce brands every week. Share your SKU list on +91-8700258773 on WhatsApp, call +91-8700258773 between 10 am and 7 pm, or email [email protected], and Prince will suggest a shot list and lighting plan for your packaging.
Next step: once your bottles are lit well, check them against the beauty marketplace’s catalogue rules with our Nykaa image checklist for shades, swatches and labels.
Ckstudio plans every cosmetic shoot by packaging type, so serums, oils, frosted jars and pumps each get the light they need. Send your product list on WhatsApp +91-8700258773 or write to [email protected].
Call Prince: +91-8700258773