


Fashion Photography Services

E-commerce Photography
What to shoot, label and organise before a category manager reviews your SKUs, and how it differs from an Amazon or Flipkart catalogue.
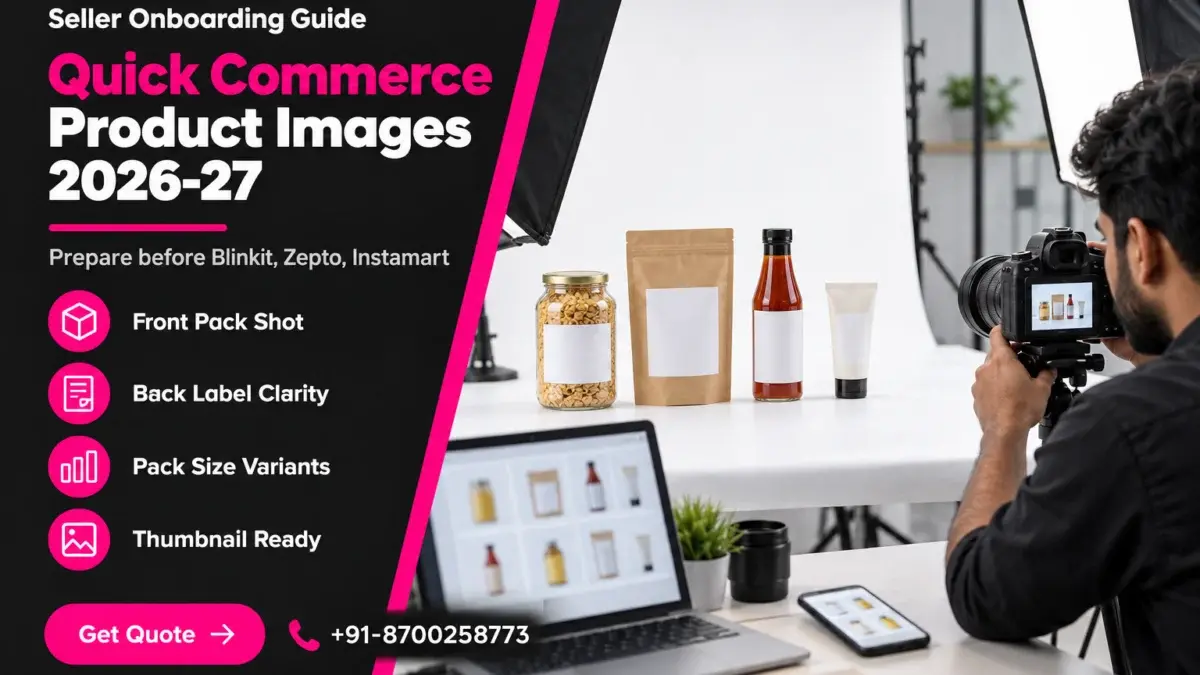
Quick commerce product images decide whether a shopper on Blinkit, Zepto, Swiggy Instamart or JioMart taps your pack in a two-second scroll, and they are also one of the first things a category manager checks before your SKUs go live. Brands that already sell on Amazon or Flipkart often assume their existing ecommerce photos will carry over. Sometimes they do; often the pack sizes, labels and variant order do not match what a dark-store catalogue needs.
This guide is part of the Ckstudio marketplace seller hub, written for D2C, FMCG and beauty brands that are about to apply. Prince and the Ckstudio catalogue team have shot packaged products for marketplace sellers since 2015, and the nine checks below come from how we prepare pack shots, label close-ups and variant sets before a brand sends its first SKU list.
In this guide
Most quick-commerce platforms onboard brands through a category or brand-partnership team rather than an open self-serve listing flow. You share brand and compliance documents plus a SKU sheet with images, a category manager reviews whether the products fit their dark-store assortment, and approved SKUs are then catalogued and stocked city by city.
On Amazon or Flipkart, a seller can usually create a listing the same day and fix the images later. Quick commerce works the other way round. Blinkit, Zepto and Swiggy Instamart carry a limited number of SKUs per dark store, so the category team chooses which products earn shelf space before anything is published. Your catalogue images are part of that pitch, not an afterthought.
Exact forms change by platform and category, and each team shares its own template, but brands are commonly asked for the following. Treat this as a preparation list and confirm the final version with your category manager or the platform’s seller portal.
Images get checked twice. First, the category manager looks at them to judge whether the brand looks credible and shelf-ready. Second, the catalogue team uses them to build the live product page, often cross-checking the pack photo against the net quantity, MRP and barcode you typed in the sheet. A mismatch between photo and data is one of the most common reasons a SKU goes back to the brand.
JioMart adds a slightly different route because it runs a marketplace seller programme alongside its own quick-delivery service, so some brands meet a self-serve portal while others work with a category team. Either way, the same rule holds: prepare one clean, consistent image set before you apply, and you can reuse it across every platform without reshooting.
Quick commerce product images are mostly seen as small square tiles in a dense grid, bought by shoppers who already know what they want. That makes instant recognition of the pack, the variant and the size more important than lifestyle storytelling or long image carousels.
On Amazon, a buyer searching “cold pressed coconut oil” scrolls results, opens a listing and swipes through six or seven images. On a quick-commerce app, the same buyer often adds the item from the category grid without opening the page at all. The tile is small, the decision is fast and the purchase is usually a repeat or a replacement. Your image has to answer three questions at a glance: is this the brand I know, is this the flavour I want, and is this the size I need?
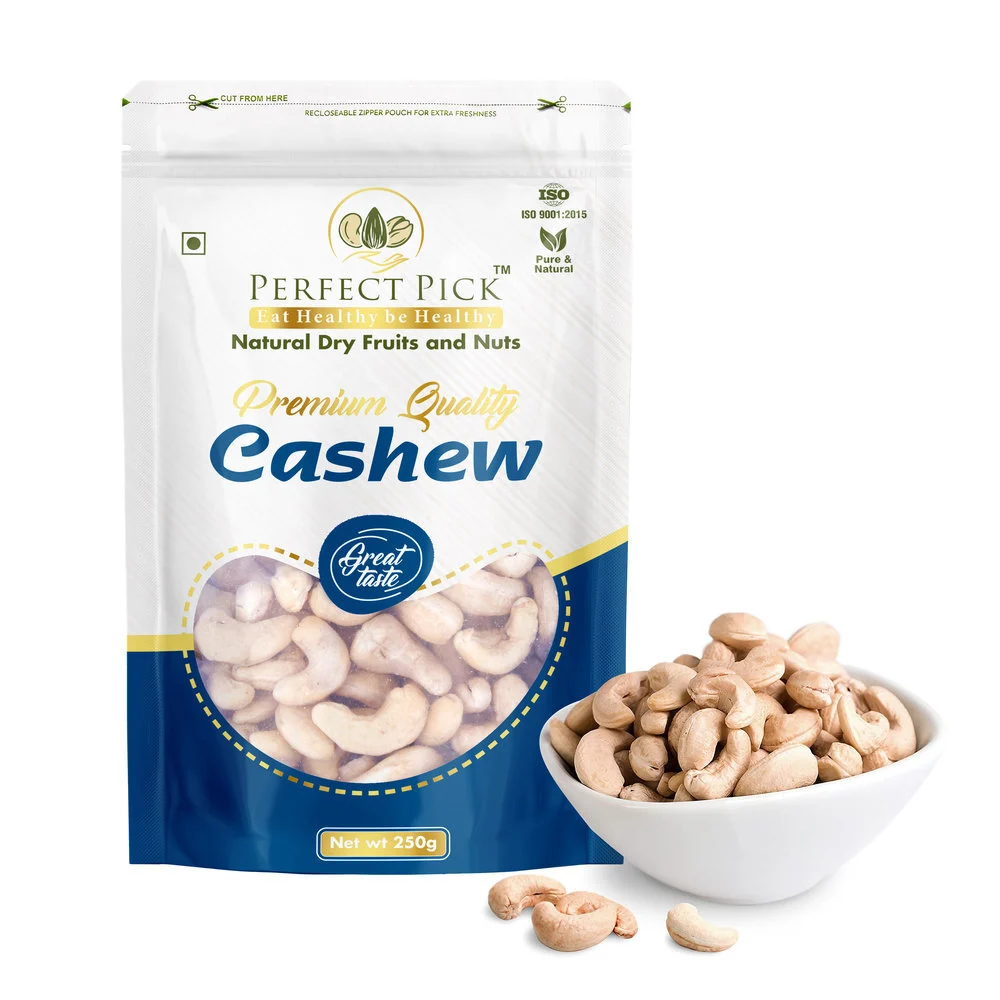
That shift changes what you prioritise in the studio. A beautiful styled kitchen scene matters less than a straight, evenly lit pack where the brand mark and variant name stay readable when the photo shrinks to roughly the width of a thumb.
| Factor | Amazon / Flipkart listing | Quick commerce catalogue |
|---|---|---|
| Where the buyer decides | Usually on the product page, after swiping images | Often on the category grid tile |
| Image that matters most | Main image plus a full gallery and A+ content | Front pack shot, then the back label |
| Buying pattern | Research-led, comparison of brands | Repeat, top-up and impulse buys |
| Who approves the listing | Mostly self-serve with automated checks | Category or catalogue team review |
| Biggest image risk | Main image rejected for background or props | Pack, size or MRP not matching the SKU data |
Amazon documents its main-image rules publicly, including a pure white background with the product filling most of the frame. Quick-commerce platforms generally share their image specifications privately with onboarded brands. So the safe approach is to shoot a master set that already meets the strictest common standard (white background, high resolution, no added text) and crop or resize it to whatever each team asks for.
Plan five to eight images per SKU: a straight front pack shot, a readable back label, two side views, a top or 45-degree view, a contents or serving shot, and a pack-size family photo when you sell more than one size. The front and back shots are non-negotiable; the rest depend on category.
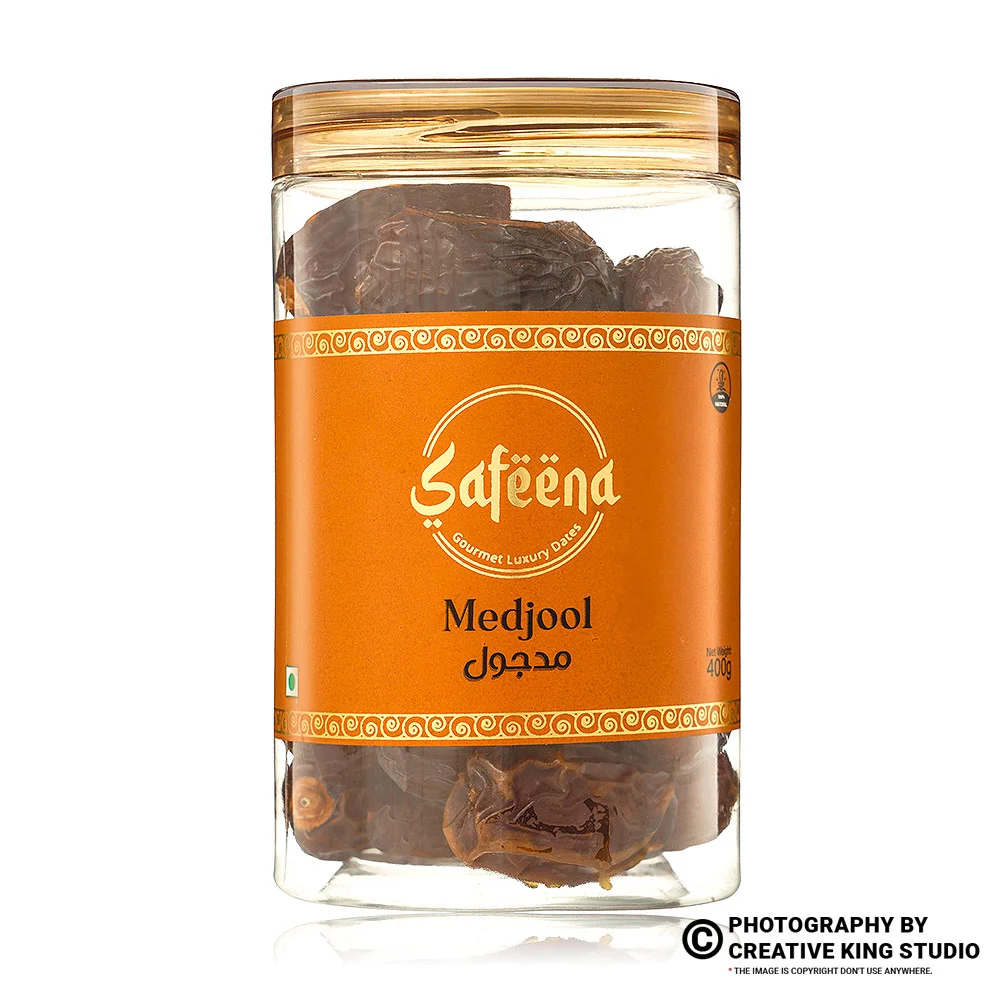
Beauty and personal care packs need a texture or swatch image because shade and consistency drive the purchase; our guide to cosmetic label and shade checks covers that in depth. Beverages benefit from a chilled or poured shot. Home-care refills should show the refill beside the original bottle so buyers do not order the wrong one.
Brands that do not have a consistent set yet usually face the same problem: old supplier photos in different lighting, missing back labels and no pack-size group. Booking proper ecommerce photography services for one planned session solves that at the source, because every SKU is shot under the same light, camera height and framing.
The short video below shows how a beauty product set is arranged and lit on set, which is close to how we approach small cosmetic packs for quick-commerce tiles.
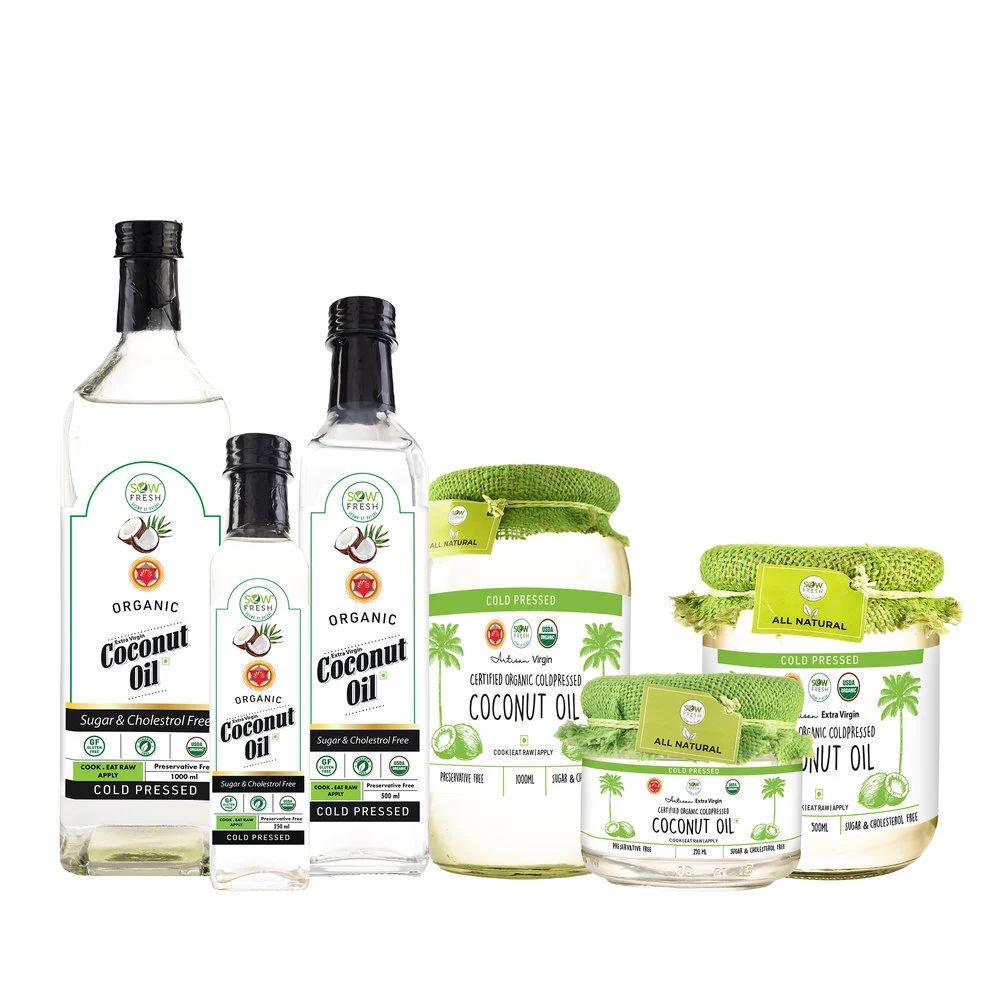
Shoot every variant and size with the same camera height, distance, lighting and crop, then name files with the SKU code from your onboarding sheet. Consistency lets the catalogue team match photos to data quickly and lets shoppers compare sizes without confusion.
Quick-commerce grids place your variants right next to each other. If the 200 g jar looks bigger than the 500 g jar because one was shot closer, shoppers notice and the catalogue team may question which image belongs to which SKU. The same applies to colour: a mango variant that looks orange in one shot and yellow in another weakens trust in the whole range.
Example scenario
Example: a snack brand applies with 10 flavours in 3 pack sizes, so 30 SKUs. At six angles per SKU plus one family photo per flavour, the image set is 190 files. Shot flavour by flavour with a locked camera, the 30 front shots line up perfectly in a grid, and the 10 family photos show 50 g, 150 g and 400 g packs at true scale. These numbers are illustrative, but the arithmetic shows why planning the angle list before the shoot matters.
Even well-shot packs need finishing. Dust on a glass jar, a dent in a pouch or a slightly tilted label becomes obvious once the catalogue team zooms in. Professional product image editing and retouching cleans these up while keeping the label text, colours and net quantity exactly as printed, which matters because the image must match the physical pack a shopper receives.
From the studio floor
For a variant range we tape the tripod at a fixed height, set the camera at f/11 with a 50 mm lens for full packs, and place a grey colour card in the first frame of every flavour. Two softboxes sit at 45 degrees and a strip light behind adds a clean edge on glass. Masters are exported at 3000 px on the long side in sRGB, so every platform’s crop can come from the same file.
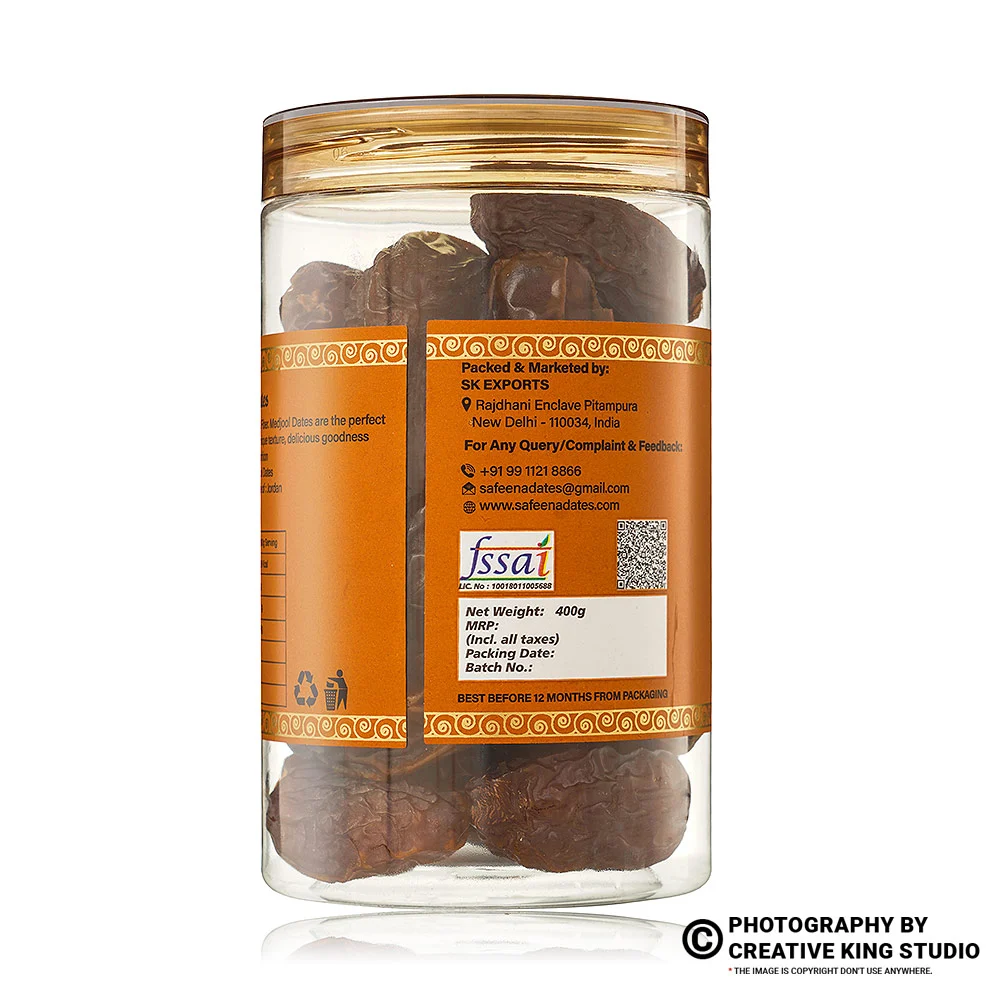
The net quantity, MRP, manufacturer or packer details, country of origin and, for food, the FSSAI licence number should all be legible in your back or side label images. These details are legal declarations that online sellers are expected to display, and catalogue teams cross-check them against your SKU sheet.
India’s Legal Metrology (Packaged Commodities) Rules require e-commerce entities to show key declarations from the package, such as the manufacturer or packer name and address, net quantity, retail sale price and country of origin, on the product page. Platforms often pull or verify these from your label photos, so a blurred or glare-covered back label creates real work for their catalogue team.
| Label detail | Why it matters | Where to verify |
|---|---|---|
| Net quantity and MRP | Matched against the SKU sheet and the price shown in the app | Legal Metrology (Packaged Commodities) Rules |
| Manufacturer / packer name and address | Mandatory declaration for packaged goods sold online | Legal Metrology (Packaged Commodities) Rules |
| Country of origin | Required declaration on the product page | Legal Metrology (Packaged Commodities) Rules |
| FSSAI licence or registration number | Food SKUs need it on the label; teams check it before listing | FSSAI labelling regulations and your category manager |
| Barcode (GTIN / EAN) | Links the physical pack to the catalogue entry in the dark store | GS1 India and your SKU sheet |
| Image size and format | Varies by platform and is shared privately | Each platform’s seller portal or category manager |
Barcodes deserve special attention. Dark stores scan packs at inward and at picking, so the barcode on the product must match the one in your sheet. Most brands register their GTINs through GS1 India. A clear photo of the barcode panel helps the catalogue team confirm it without asking for a physical sample.
Glossy pouches, laminated boxes and glass jars reflect softboxes straight back into the lens, often right across the nutrition table. At Ckstudio we treat that as a lighting problem, not an editing one: once text is burned out, retouching cannot recover it honestly.
From the studio floor
For label close-ups we switch to a 100 mm macro lens at f/11, move the softboxes further to the sides at about 60 degrees, and use a circular polariser to cut reflections on laminated pouches. Before the product leaves the set, one team member zooms to 100 percent on the tethered laptop and reads the FSSAI number, net quantity and MRP aloud. If any digit is unclear, we reshoot that frame.
Shoot square to the pack on pure white, fill most of the frame, light evenly with no hard shadows, and test every front shot at thumbnail size on a phone before approving it. If the brand and variant are not obvious at that size, adjust framing or lighting rather than adding text.
Small screens punish three things: too much empty space, low contrast between pack and background, and tiny variant names. A white jar on a white sweep can disappear in a grid unless a soft edge shadow or rim light separates it. Equally, a pack shot at a dramatic angle may look premium on a desktop but becomes unreadable as a small tile.
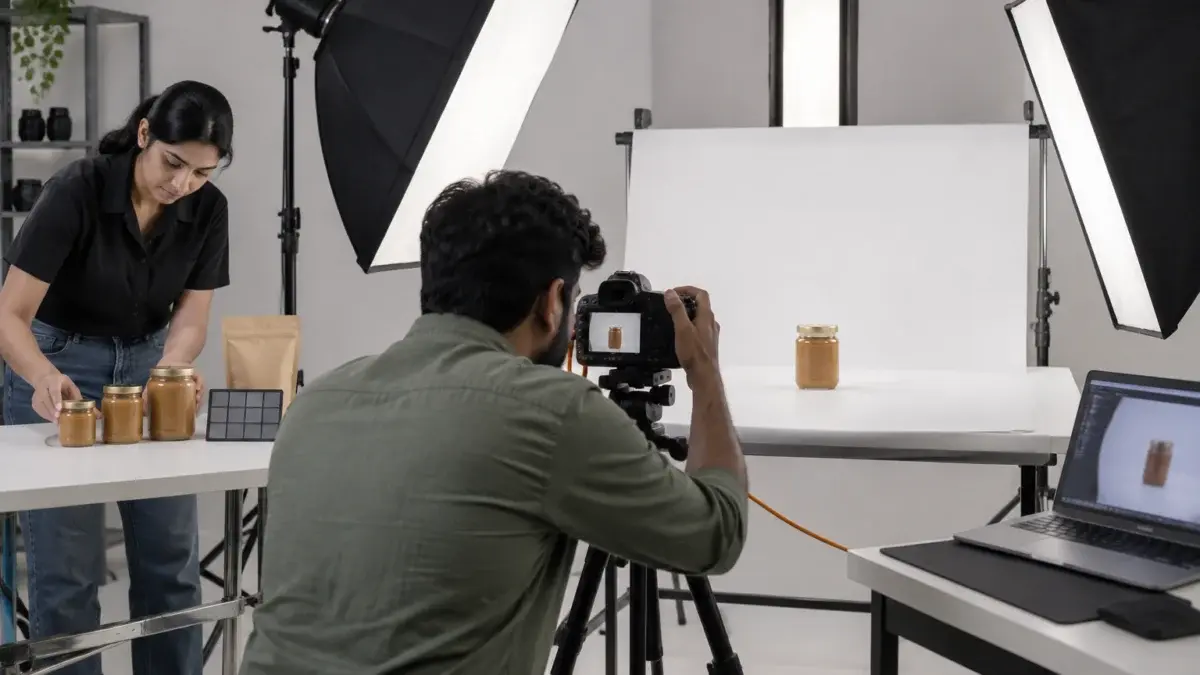
The video below shows a real marketplace product shoot at Ckstudio, including the lighting and the tethered review step described above.
From the studio floor
Our thumbnail test is simple: we shrink each approved front shot to about 150 px wide and look at it on a phone held at arm’s length beside two competitor-style tiles. If the variant name blends into the label background, we lower the key light by half a stop or move the camera 10 cm closer, then reshoot. It takes two minutes per SKU and saves a whole round of corrections later.
Before applying, confirm that every SKU on your sheet has a matching front and back image, that the photos match the current packaging, and that names, net quantities and barcodes agree across files and data. A complete, consistent folder shortens the back-and-forth with the category team.
Most delays start long before the application, in a shared drive with photos from three different years. Use this list as a final pass. It applies whether you sell on Blinkit, Zepto, Instamart or JioMart, and the same set can feed your Amazon and Flipkart listings too.

If you want a second pair of eyes on an existing folder before you apply, send a sample to [email protected] or message the Ckstudio team on WhatsApp at +91-8700258773. We will tell you honestly which images can be reused and which need a reshoot.
For brands already listed on Amazon and Flipkart, the quickest route is usually a gap shoot: reuse strong front shots that meet the white-background standard and only shoot the missing back labels, sides and family photos. That keeps cost and studio time down while giving the quick-commerce team a complete set.
Most image-related delays come from mismatches: the photo shows a different size, MRP or label than the SKU sheet, variants are mixed up, or the back label cannot be read. Each of these sends the SKU back to the brand for clarification, and fixing them before applying is far easier than after.
We cannot quote approval timelines, because they depend on each platform’s category plans and your city. What we can say is which preparation mistakes we see most often when brands bring us their existing catalogue, and how each one gets fixed.
None of these needs an expensive shoot. They need a planned shot list, consistent lighting and a careful final check. If you would rather hand that over, call Prince on +91-8700258773 with your SKU count and categories, and Ckstudio will suggest the shortest route to a complete set.
Quick commerce also changes fast in 2026-27, with platforms expanding categories beyond grocery into beauty, electronics accessories and home. Brands that keep one clean master library per SKU can respond to a new category invitation within days instead of organising a fresh shoot each time.
These platforms generally share exact image specifications with brands during onboarding rather than publishing them. Shoot a high-resolution square-friendly master on white and resize it to the specification your category manager or seller portal gives you.
Often yes for the front shot, if it is a clean white-background pack image of the current packaging. You usually still need readable back-label shots, side views and pack-size family photos, which many Amazon galleries skip.
Plan five to eight: front, back, two sides, a 45-degree or top view, a contents shot and a pack-size family photo where relevant. Front and back are the minimum for a credible SKU submission.
For food products, the FSSAI licence or registration number printed on your pack should be legible in the back or side label image, along with net quantity, MRP and packer details, so the catalogue team can verify them.
Keep the front shot clean with no added text, badges or watermarks. The app displays prices and offers in its own interface, and overlays can make the pack harder to recognise in a small tile.
JioMart also runs a marketplace seller programme, so some brands list through a self-serve portal while quick-commerce apps rely more on category-team reviews. The same consistent image set works for both routes.
Quick commerce rewards brands that are easy to recognise and easy to catalogue. Get the front pack, back label and pack-size family right once, keep everything matched to your SKU sheet, and the same library will serve Blinkit, Zepto, Instamart, JioMart and your existing marketplaces. For questions about your range, write to [email protected] or WhatsApp +91-8700258773.
Next step: once your quick-commerce set is ready, compare it with a stricter catalogue review in our Meesho pre-upload image checks.
Share your SKU list and pack sizes, and Ckstudio will plan front, back, side and family shots that match your onboarding sheet. Call +91-8700258773 to discuss your range.
Call Prince: +91-8700258773