Fashion Photography Services

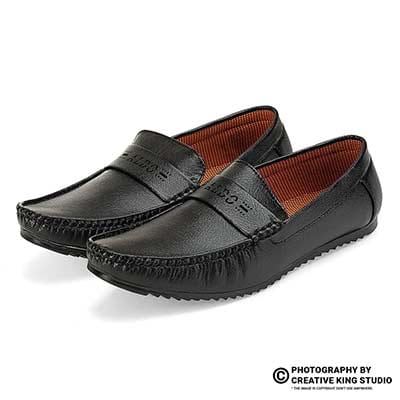
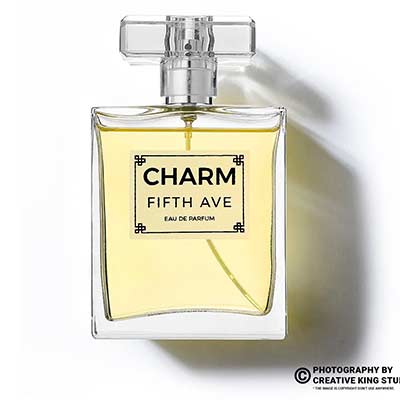
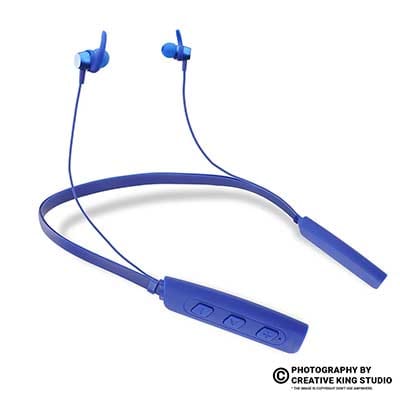
E-commerce Photography
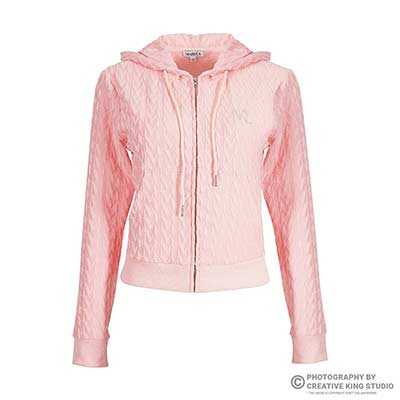
Seven slots, seven jobs: the exact order that turns Amazon browsers into buyers.
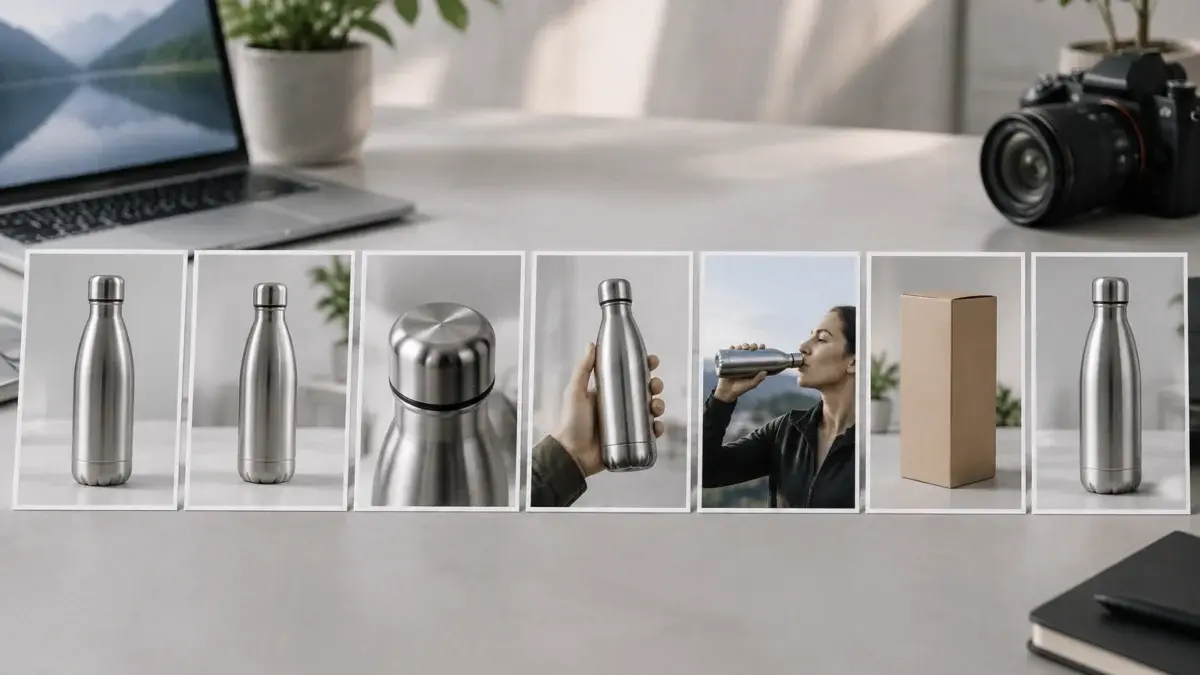
The right amazon product images order decides whether a shopper stops scrolling, understands your product in five seconds and clicks Add to Cart, or quietly returns to the search results. Most sellers upload seven good photos in a random sequence and wonder why the listing underperforms. This guide shows which seven images should come first, why each slot has a job, and how a planned shoot makes the whole set work together in 2026–27. It is written for Amazon private label sellers, D2C founders, brand managers and launching sellers who want a clear, practical plan instead of guesswork.
I am Prince, founder of Ckstudio, and in 9+ years of shooting for marketplaces I have seen the same pattern again and again: the photography is fine, but the sequence is wrong. Ckstudio plans the sequence before the camera comes out, and that single habit saves reshoots later. Reach Prince any time on +91-8700258773, on WhatsApp at +91-8700258773 or at [email protected] for e-commerce photography questions.
In this guide
The best amazon product images order is a clean main image first, then angles and details, then scale and use-case, then features and packaging, and finally a trust-building closer. Each slot answers one buyer question, so the shopper moves from “what is this?” to “will it work for me?” to “can I trust this brand?” without effort.
Think of the image stack as a short sales conversation. Slot one earns the click in search results. Slots two to four earn understanding. Slots five to seven earn confidence. When a seller scrambles that logic, for example by showing an infographic first or burying the scale shot at the end, the shopper has to do the thinking, and most shoppers will not.
Here is the short version of the amazon listing image sequence that works for most physical products. You can adapt the middle slots by category, but the first and last jobs rarely change.
| Slot | Job of the image | Typical shot |
|---|---|---|
| 1 | Win the click | Pure white main image, full product, sharp and centred |
| 2 | Show the product from another side | Three-quarter or back angle |
| 3 | Prove quality | Macro detail of material, stitching, ports or texture |
| 4 | Show size and use | Scale shot with a hand or lifestyle scene |
| 5 | Explain benefits | Feature callout or comparison graphic |
| 6 | Remove doubt | What is in the box, variants, packaging |
| 7 | Build trust | Brand story, certifications, care or guarantee graphic |
If you only remember one rule, remember this: every slot must do a different job. Seven near-identical front views waste six slots, which is why a planned shot list matters more than owning an expensive camera. Our Amazon product photography guide covers the technical requirements, while this article focuses on the sequence.
Shoppers on Amazon compare many listings quickly, usually on a phone, and they rarely swipe through every image. The first two or three images carry most of the decision, so the order of your photos directly shapes click-through, time to understand and conversion.
Search results show only the main image, so that picture decides the click. After the click, the gallery thumbnails sit beside or below the main image, and the buyer scans them in order. If slot two repeats slot one, the shopper learns nothing new and the page feels thin. If slot two shows a different angle and slot three proves quality, the page feels trustworthy within seconds.
A smart sequence also lowers returns. When size, material and what is included are visible early, fewer buyers purchase on a wrong assumption. Our guide on how to reduce returns with better product images explains how clear scale and detail shots protect your margins, and the conversion impact of product photography on Amazon and Flipkart shows why visual clarity is a measurable sales lever.
Most buyers look for five things: what it is, how big it is, what it is made of, how it is used and whether the brand looks reliable. Your amazon seller image strategy should map one image to each of these questions, and the seventh slot handles whatever is unique to your brand.
Note that Amazon rules and gallery layouts change over time, so always confirm current requirements in Seller Central before you finalise a shoot. Treat this article as a planning framework, not a replacement for the official guidelines.
Plan the set on paper first: write the buyer question each slot must answer, choose the shot type, decide what props or models are needed and only then book the shoot. A one-page shot list prevents duplicate images, missed angles and expensive reshoots.
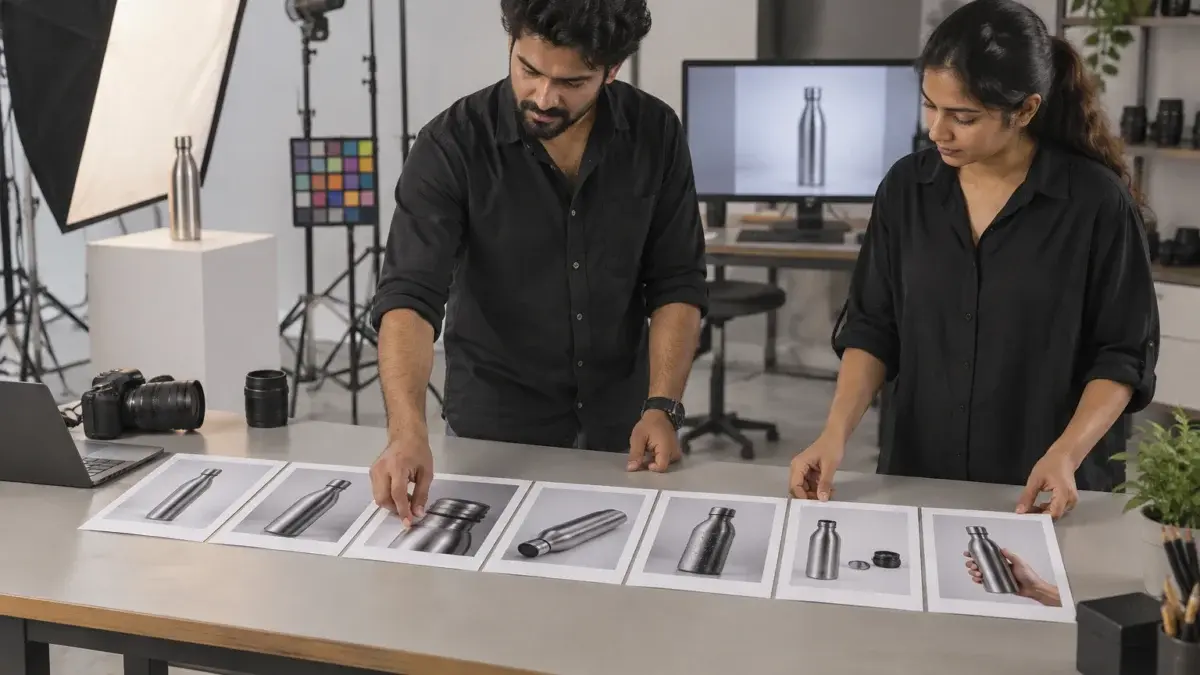
Start by listing your product’s three biggest selling points and its two biggest doubts. Selling points become features images; doubts become scale, detail or packaging images. A water bottle, for instance, sells on insulation and leak-proof design but raises doubts about size and weight, so the plan needs a hand-held scale shot and a clear macro of the lid.
Next, group shots by set-up so one lighting arrangement produces several images. White-background angles, macro details and packaging can all be shot on the same table in one session, while lifestyle and model scenes need a second set-up. Professional ecommerce photography services usually shoot in exactly this grouped way, which keeps cost and turnaround predictable.
Finally, give the set a single visual language: the same colour temperature, shadow style and cropping across all seven images. Mixed styles make a listing look like it was assembled from different sellers. Consistency is a quiet trust signal, and it is easy to achieve when one team shoots and retouches the whole stack.
Image 1 should be a clean, sharp, pure white background photograph of the actual product, filling most of the frame, with no text, badges or props. It is the only image shoppers see in search, so it must communicate the product category instantly and look premium even as a small thumbnail.
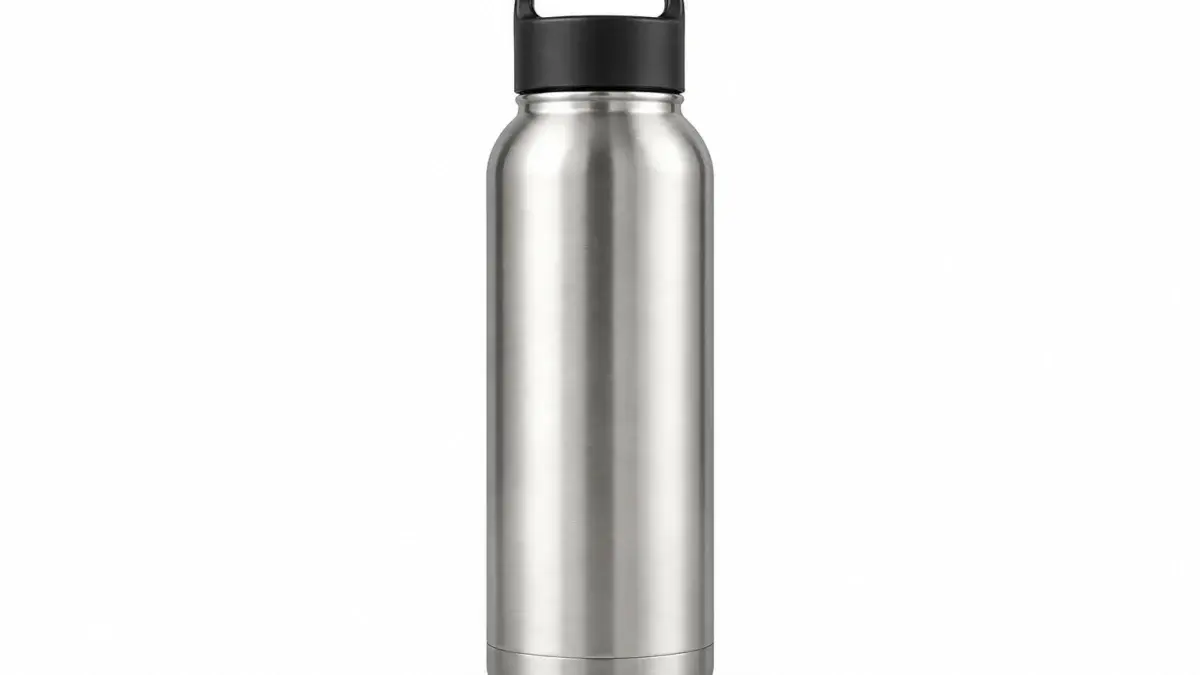
Amazon’s main image rules generally ask for a pure white background, the product occupying most of the frame, high resolution for zoom and no overlays or watermarks. Because policies are updated, verify the latest numbers in Seller Central. What Ckstudio adds on top of compliance is craft: controlled reflections on metal, accurate colour, a natural grounding shadow and a crisp edge that survives thumbnail size.
Pick the angle that shows the most about the product in one look. For a bottle that is a straight front view; for shoes it is a three-quarter side profile; for a garment it may be a ghost mannequin or front-facing model image. Our Amazon product photography services team tests two or three hero options and chooses the one that reads best at thumbnail size.
Clean-up matters too. Dust, stray reflections and uneven edges look worse at high zoom, so careful image editing and retouching is part of every hero image, not an optional extra. Never over-retouch: the product in the photo must match what the customer receives.
Image 2 should show the product from a second useful angle, and Image 3 should be a close-up that proves quality, such as material texture, a closure, stitching or ports. Together they confirm that the product is real, well made and worth a closer look.
After the hero, the shopper wants to turn the product in their hands. Slot two gives that rotation: a three-quarter, back or open view that the hero could not show. For clothing this is the back or side view, for footwear the sole and heel, for electronics the ports and the rear panel. Families of products often benefit from 360-degree product photography when buyers need to inspect every side.
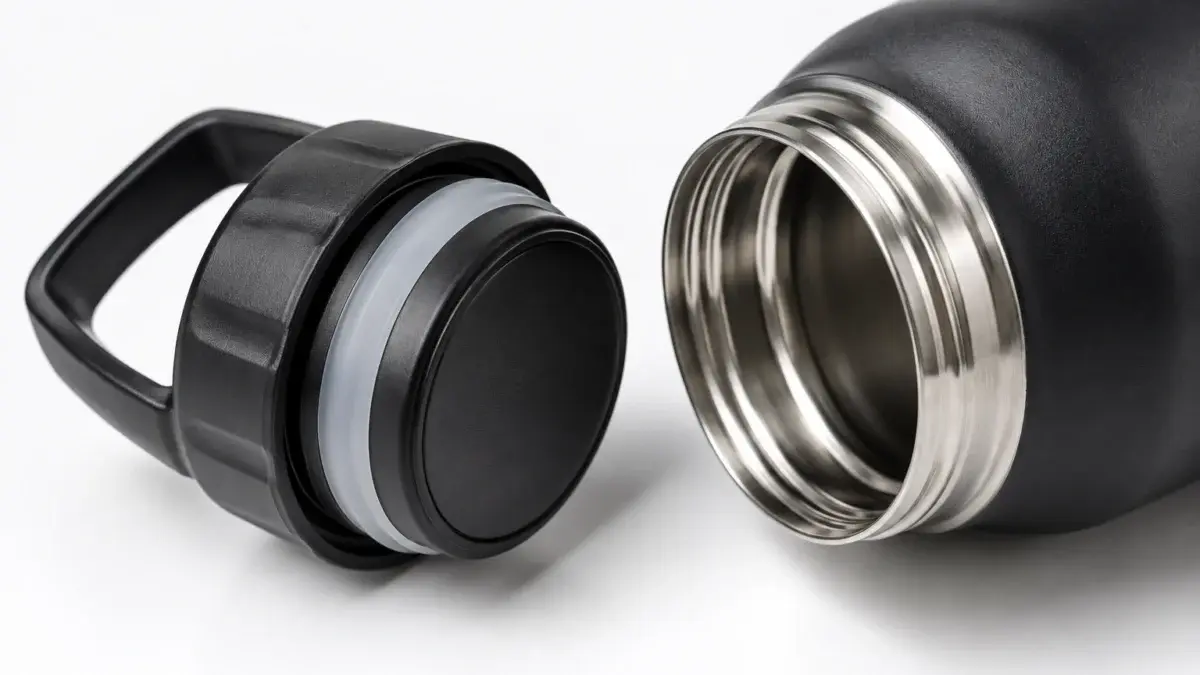
Detail shots are where quality shows. A sharp macro of a lid, zipper, clasp or fabric weave removes the doubt that cheap-looking thumbnails create. For accessories, our jewellery photography and footwear photography workflows rely on macro and focus-stacked detail shots for exactly this reason.
Keep detail images honest and uncluttered. One feature per image, a clean background and enough resolution to survive zoom work best. If an image needs three labels to be understood, it belongs in your features slot instead of slot three.
Image 4 should show size and real-life use with a hand, a person or a familiar object for scale, and Image 5 should explain your top benefits through a clear feature graphic. These two slots turn interest into understanding and answer “will this suit my life?”

Lifestyle images carry emotion that a white background cannot. A person using the product in an everyday Indian setting helps the shopper picture ownership, and the scale cue answers the number one pre-purchase question: how big is it? Our lifestyle product photography sets are built around this idea, with simple, believable scenes rather than elaborate staging.
For slot five, pick the single most persuasive benefit and show it visually: insulation, water resistance, capacity, compatibility or material. A designed graphic often works best here, and a specialist Amazon infographic design service can combine a real photograph with minimal supporting text. Keep text short and legible on mobile, and avoid claims you cannot substantiate.
This is also the right place to connect the images to your A+ content. The infographic style in slot five should echo the modules lower on the page, and our notes on Amazon A+ content and A+ photography rules explain how to keep the visual language consistent.
Image 6 should show what the customer receives, including variants, accessories and packaging, and Image 7 should close with trust: brand promise, care instructions, certifications you genuinely hold or a simple comparison. These slots reduce purchase anxiety right before the buyer decides.
The “what is in the box” image prevents the most common complaint on marketplaces, which is a mismatch between expectation and delivery. Lay out every included item neatly, show colour or size variants side by side and photograph the real retail box. Flat arrangements like these are a classic use of flat lay photography.
Slot seven is flexible. A care guide suits apparel, a size comparison suits furniture, a warranty or guarantee suits electronics, and a brand story suits D2C labels. Use only claims you can prove, such as an actual certification, and never copy badges you do not hold. Honest trust signals protect you from listing suppression, a risk we explain in our guide to Amazon listing rejection and suppressed ASINs.
If your catalogue is large, the same logic scales across SKUs. The workflow in our Amazon catalogue listing guide shows how consistent image slots speed up bulk uploads, so each new product follows the same seven-slot template.
The skeleton stays the same, but the middle slots change with the category. Apparel needs fit and fabric, jewellery needs macro and wearing shots, footwear needs sole and profile views, and home goods need scale and in-room context.
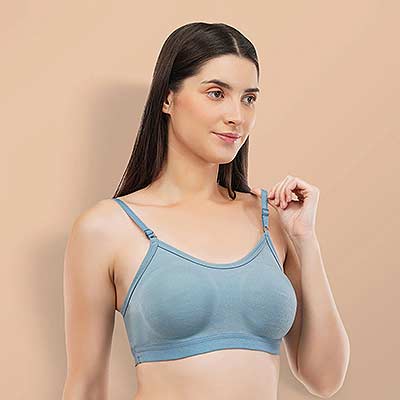
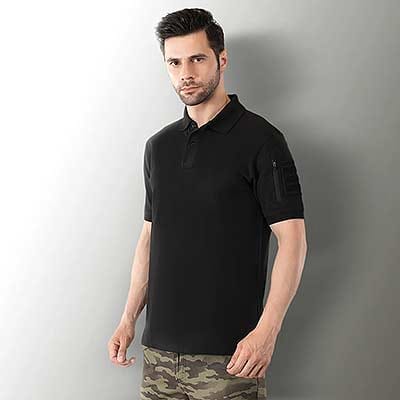
For clothing, slot one is usually a front-facing ghost mannequin or model image, slot two the back, slot three fabric and stitching detail, slot four a model in motion, and slot five the size or fit guide. Brands that need clean shapes can use ghost mannequin photography, while model-led sets benefit from fashion photography and a well-prepared garment photoshoot.
Jewellery leans on macro and worn shots, footwear on the sole, heel and top view, and kitchen products on capacity and use. Dedicated kitchen product photography helps show cookware or appliances in believable scenes. The same planning questions apply: what is the first doubt, and which slot removes it?
This Amazon product video for a pillow shows how motion and texture can communicate comfort better than a still photo.
Bedding, pillows and soft goods need texture, thickness and in-use comfort. Video amplifies this, as the example below shows, and our Amazon product video guide explains how a short clip can sit beside your images. Remember that the amazon product images order is a starting hypothesis; the category details tune it.
The most damaging mistakes are repeating the same angle, putting a text-heavy graphic first, skipping the scale shot, mixing visual styles and filling slots just to reach seven. Each one wastes a slot or confuses the buyer.
The last point deserves attention. AI tools can help with ideas, but a customer receives a real object. Our comparison of AI Amazon photography and studio photography explains where each approach fits and why real product shots should anchor your set.
Group the shots by set-up, shoot tethered to a laptop so every frame is checked live, and retouch from one master shot list. A disciplined studio day can produce the whole seven-image set with consistent light and colour.

A typical Ckstudio-style workflow runs in a clear order. First the white-background angles and macro details on one table, then packaging and flat lay, then lifestyle or model scenes. Tethered capture lets the photographer and the brand see exact framing immediately, which cuts approval cycles from days to minutes.
The behind-the-scenes video below shows what a real marketplace production looks like in a professional studio, with controlled lighting and a clear shot list. It is a good reference if you are deciding between DIY and a studio.
This behind-the-scenes marketplace shoot shows how lighting, product handling and shot planning come together in a professional studio.
After going live, treat the sequence as a hypothesis. Watch click-through and conversion over a few weeks, and where Amazon tools allow it, run a controlled test of the main image or the order of slots two to four. Change one variable at a time, and keep notes so each reshoot is smarter than the last.
Check that slot one is compliant and clickable, every slot has a unique job, scale and detail appear before slot five, claims are provable and the set shares one visual style. If all five checks pass, your sequence is ready to upload.
If you want the whole stack planned and produced by a team that does this daily, explore our Amazon product photography services, look at the portfolio and send your product list through the contact page. You can also review the official Sell on Amazon India resources for the latest rules.
Start with a pure white main image, then a second angle, a detail close-up, a scale or lifestyle image, a feature graphic, a what-is-in-the-box image and a trust closer. This amazon product images order gives each slot a separate job.
The main image matters most because it is the only photo shown in search results. It decides the click, so it must be clean, sharp and compliant with the current Seller Central rules.
No. Keep the first image as a clean product photo on white and place the infographic around slot five, where it explains benefits after the shopper understands the product.
Use all the slots you can fill with genuinely different, useful images. Seven strong images are a practical target for most products, and quality matters more than count.
Yes, you can usually reorder images in Seller Central. Change one thing at a time, wait for enough traffic and compare click-through and conversion before making the next change.
Ckstudio can plan and shoot the complete set, including angles, details, lifestyle, packaging and graphics. Call or WhatsApp +91-8700258773 with your product list and marketplace to discuss your project.
Prince and the Ckstudio team plan the full image sequence, shoot it in one production day and deliver marketplace-ready files. Reach us on +91-8700258773, message us on WhatsApp at +91-8700258773 or write to [email protected]. Studio hours are 10 am to 7 pm.
Call Prince: +91-8700258773Next step: read the complete Amazon seller guide 2026.