




Fashion Photography Services





E-commerce Photography




A focused India-first guide to the Flipkart seller registration process: what documents to prepare, how GSTIN, PAN, bank and pickup details fit together, what Seller Hub asks for, and how to reduce avoidable verification delays.

Flipkart seller registration is easiest when the seller prepares the required business, tax, banking and pickup information before starting. This guide is written for Indian marketplace sellers, D2C brands and small businesses that want a clean onboarding path rather than a broad “how to sell online” overview.
The search intent behind this topic is practical and narrow: sellers want to know the documents required for Flipkart seller registration, whether GST is needed, how PAN and bank details are handled, what happens in Seller Hub, and why verification sometimes stalls. The registration flow can vary by category and may change over time, so live Seller Hub prompts should always take priority.
Flipkart’s public seller materials currently promote account creation in around 10 minutes when details are ready and describe valid GST, address, bank details and at least one product as core onboarding inputs. Its Seller Hub app listing separately identifies Books as the published GST exception and references PAN details for that exception. Government GST rules are a separate layer, so this guide distinguishes marketplace onboarding policy from tax-law eligibility.
Flipkart seller registration generally requires an active mobile number and email, the tax details supported for your category, an active bank account, pickup address and PIN code, and at least one product ready to list. For standard published onboarding, Flipkart asks for a regular GST number; the Books category is currently identified as the GST exception in its seller-app information.
Check the live Flipkart Seller Hub before submission because category eligibility and onboarding fields can change.
The Flipkart seller documents are less about uploading a large stack of paperwork and more about keeping the identity, tax, banking and pickup information consistent. A mismatch between the legal name, GST details, bank account information or pickup address can create additional checks even when each item is valid by itself.
| Document / Information | Why It Is Needed | When Required | What to Check |
|---|---|---|---|
| Mobile number | OTP and account access | At signup | Use an active number you control |
| Email address | Communication and verification | At signup | Use a monitored business email |
| GSTIN | Tax and standard seller onboarding | Most published categories | Legal name, state and active status |
| PAN / applicable tax details | Tax identity where requested | Depends on onboarding/category | Exact name and number |
| Bank account | Payment settlement | During onboarding | Account number, IFSC, holder details |
| Pickup address | Courier collection and operations | During onboarding | Complete address and serviceable PIN |
| PIN code | Pickup/serviceability mapping | With address | Correct location mapping |
| Product information | First product listing | Before activation/listing | Title, category, price, stock and attributes |
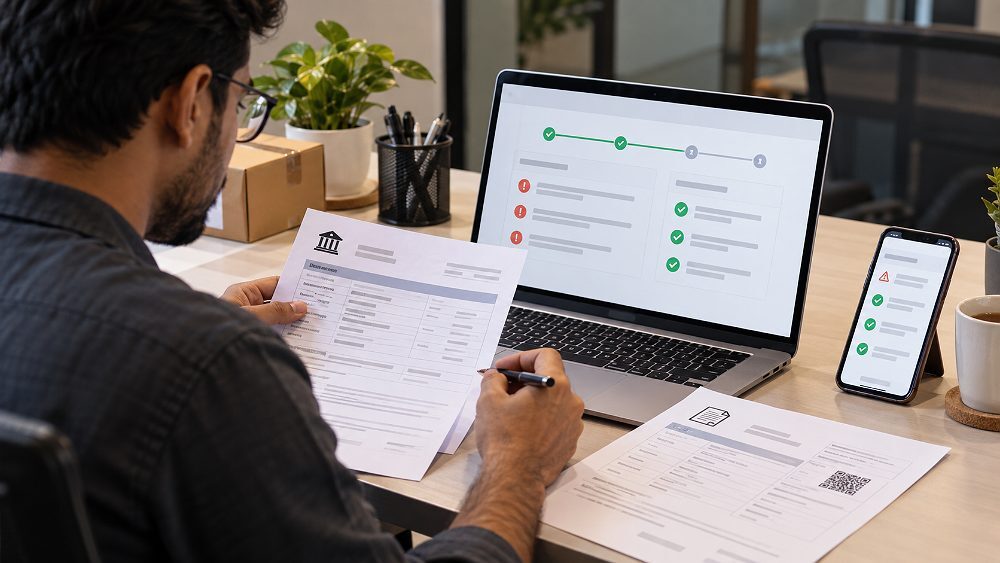
Before beginning the Flipkart seller registration process, compare your legal or business name across tax records and the account information you plan to submit. Confirm that the mobile and email are accessible, the GST details match official records, the pickup address is complete, and the bank account number plus IFSC are entered exactly.
Keep the first product’s basic catalogue information ready as well. Once onboarding moves into listing, having a title, category, price, stock, attributes and marketplace-ready photographs prevents the account setup from turning into a stop-start process. Ckstudio’s Flipkart product photography services page is useful when the listing images still need production.
For marketplace onboarding, GST for Flipkart seller registration should be read as a platform requirement first. Flipkart’s current public seller information says standard sellers create an account with a valid GSTIN, and its Seller Hub app describes a regular GST number as a requirement with the Books category marked as an exception.
That platform rule should not be rewritten as “GST is legally mandatory for every ecommerce seller in every circumstance.” Indian GST law and government notifications include conditional frameworks for certain unregistered suppliers through electronic commerce operators. Whether a marketplace supports a particular legal pathway for a category is a separate operational question.
For Flipkart’s standard published onboarding, a regular GST number is currently requested. The platform’s app information specifically says the regular GST number is not applicable to the Books category. Sellers should therefore verify the live category requirement inside Seller Hub instead of assuming one rule applies to every product type.
For tax-law questions beyond the platform form, consult the official GST Portal and CBIC GST guidance, or a qualified tax professional. This keeps marketplace policy separate from legal eligibility.

Flipkart seller registration without GST should be approached carefully. Flipkart’s current published seller-app information identifies Books as the GST exception. That does not automatically mean every legal GST exemption or special procedure is supported for every Flipkart category.
Government GST systems separately provide a process for certain unregistered persons supplying through ecommerce operators under specified conditions. A seller who believes a special provision applies should first confirm eligibility on official government sources and then check whether the live Flipkart category onboarding supports that route. Do not submit mismatched or borrowed GST/PAN information to force registration.
| Situation | Flipkart Published Requirement | Recommended Action |
|---|---|---|
| Standard taxable product category | Regular GST number in current onboarding information | Prepare an active GSTIN and matching business details |
| Books category | Published GST exception | Follow the live Books onboarding path and applicable PAN prompts |
| Seller unsure about GST eligibility | Category-specific support may vary | Check Seller Hub plus official GST guidance before submitting |
| Seller relying on a special GST-law provision | Marketplace support must be checked separately | Confirm legal eligibility and platform acceptance independently |
PAN for Flipkart seller onboarding should be entered only where the registration flow asks for it and must match the relevant tax identity. PAN is already embedded in the structure of a GSTIN, but separate PAN-related prompts can depend on the category and onboarding route.
Flipkart’s current Seller Hub app information specifically references PAN details for the Books-category GST exception. For other categories, follow the live form rather than assuming a separate PAN upload is universally required. Never use another person’s PAN or business identity to bypass verification because that can create tax, banking and account-ownership conflicts later.
An active bank account for Flipkart seller onboarding is needed because marketplace settlements have to be credited to the registered seller’s payment details. Enter the account number and IFSC carefully and keep account-holder or business information consistent with the profile information requested during registration.
Seller Hub may run bank verification checks or ask for supporting information during onboarding. Double-check every digit before submission and avoid changing multiple linked fields at once unless Flipkart instructs you to do so. Once activated, settlement information becomes part of the operating seller account, so accuracy at registration saves time later.
The following Flipkart seller registration process step by step keeps each action tied to the information you should have prepared. The exact labels in Seller Hub may evolve, but the onboarding logic remains centred on identity, tax, pickup, banking, seller profile, catalogue creation and verification.

Go to the official Flipkart Seller Hub and start the seller-signup flow. Using the official portal reduces the risk of entering tax or banking data on unofficial registration pages. Keep your prepared checklist beside you before beginning.
Enter an active mobile number, complete the mobile OTP step, and use an email address that you or your business team can monitor. Mobile and email verification establish the contact layer for the Flipkart seller account registration, so avoid disposable or inaccessible credentials.
Enter the GSTIN exactly as recorded where standard onboarding requires it. Follow the live category requirement and use the Books exception only when that category and workflow apply. If you are exploring Flipkart seller registration without GST, confirm both your tax-law position and Flipkart’s current support before continuing.
Add the complete business or pickup address requested by Seller Hub, including the correct city, state and PIN code. This information affects courier collection and serviceability, so spelling, PIN mapping and address completeness matter. Use the actual operational pickup point that can support marketplace dispatches.
Enter the settlement bank account number, IFSC and account-holder information carefully. If Flipkart asks for bank verification, complete the displayed step rather than repeatedly resubmitting different values. The Flipkart seller bank verification process works best when the bank identity aligns with the account and tax information already supplied.
Fill in the seller or store profile, legal/business details and any authorization or signature prompts shown in the current interface. Review the information before moving on because the seller profile becomes the operating identity inside Seller Hub.
Prepare at least one product with a clear title, correct category, price, stock, attributes and marketplace-ready photographs. For image specifications and catalogue preparation, the Flipkart product image size and background guide and Flipkart catalogue upload guide can support the next step.
Review the information you have entered, submit any pending verification items and watch the dashboard for requests or status changes. If a mismatch is flagged, correct the specific field instead of guessing. Account creation may be fast, but final verification and listing activation can vary by category, documentation and additional checks.
Flipkart promotes seller account creation as a process that can be completed in roughly 10 minutes when the required details are ready. That message describes the account-creation flow, not a guaranteed final activation time for every seller.
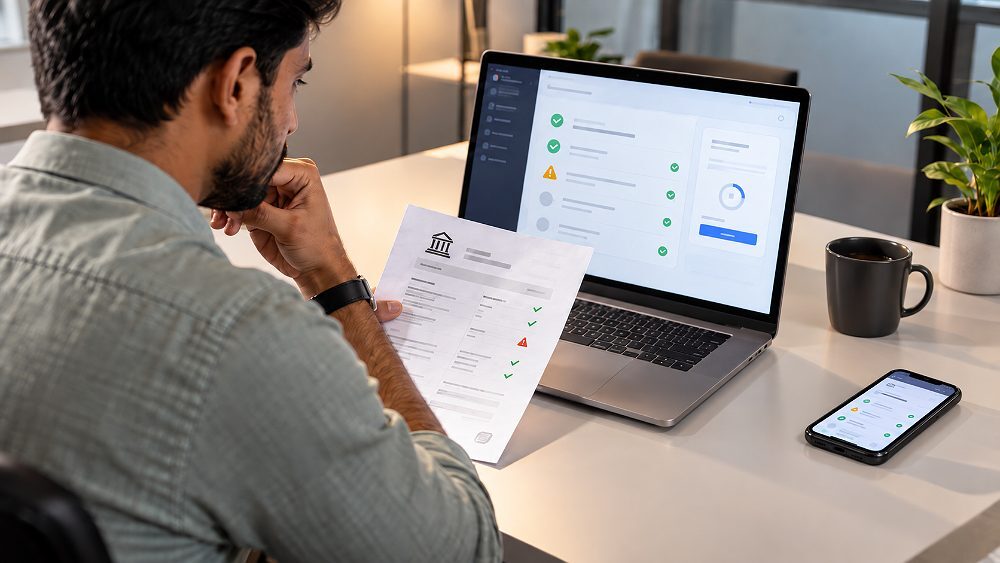
Flipkart seller verification time can vary when tax records need matching, a pickup address has a serviceability issue, bank details require another check, a category has additional requirements, or the product listing remains incomplete. Treat the 10-minute claim as an onboarding speed target rather than a promise of approval.
| Problem | Likely Reason to Check | Recommended Check |
|---|---|---|
| GSTIN not accepted | Typing error, status issue or category mismatch | Compare GSTIN and legal name with official GST records |
| Business name mismatch | Different spelling across records | Use the legal name expected by the current form |
| OTP not received | Network, number or retry issue | Confirm number, signal and retry after the shown interval |
| Pickup address problem | Incomplete address or PIN/serviceability issue | Check full address and correct PIN code |
| Bank details rejected | Incorrect account/IFSC or identity mismatch | Re-enter from official bank records and follow verification prompt |
| Category/GST confusion | Seller assumes a tax rule equals platform support | Check the live category requirement in Seller Hub |
| Seller profile incomplete | Missing required onboarding field | Open each incomplete dashboard section |
| Product listing not activated | Missing attributes, images or approval checks | Review listing completeness and platform messages |
For listing-specific rejection troubleshooting after the account is created, see the Flipkart listing rejection reasons and fixes guide. Image-led listing issues are covered separately in the Flipkart listing images guide.
This Flipkart seller registration checklist is intentionally narrow. Seller fees, fulfilment strategy, advanced listing optimization and growth tactics belong after onboarding, not inside the initial registration decision.
After the Flipkart seller account is active, finish the seller profile, create an accurate first listing, add inventory and pricing, review fulfilment or shipping options, and understand the payment/settlement dashboard. Account creation is only the gate; the catalogue still needs to be complete enough for shoppers and marketplace quality checks.
Plan the next tasks in a sensible order. The Flipkart seller eligibility and brand-fit guide helps with fit and prerequisites, while the Flipkart seller fees and commission guide is better used when pricing and profitability become the next question.
For catalogue operations, move next to the Flipkart catalogue upload workflow. Once listings are live, the Flipkart seller growth guide and returns and claims guide cover the later operational stage.
If your brand also plans to onboard on Myntra, use the Myntra marketplace seller guide as the cross-platform hub. That page is a different seller journey, so this article stays focused on Flipkart registration rather than mixing platform requirements.
Once registration is complete, the first visible customer-facing asset is the product listing. Clear, accurate images help the catalogue communicate colour, material, shape, scale and product details without forcing the shopper to guess. For sellers preparing a new catalogue, this Flipkart product photography guide explains the broader visual workflow.
Ckstudio supports ecommerce sellers in Delhi with marketplace-ready photography, model shoots and catalogue production. Sellers can also review common visual problems in the Flipkart photography mistakes guide before sending a bulk SKU list for production.

For a practical look at how marketplace products are handled under controlled lighting, the following behind-the-scenes example shows a real production style relevant to Flipkart, Myntra and other ecommerce listings.

After Flipkart seller registration, Ckstudio can help prepare consistent product images for ecommerce marketplaces and D2C catalogues. Share the product category, SKU count and required image style for a practical shoot plan.
Flipkart seller registration typically needs an active mobile number, email address, applicable GST or tax details, bank account information, pickup address with PIN code and at least one product to list. Requirements can vary by category, so use the current Seller Hub prompts as the final checklist.
Flipkart’s current published onboarding information asks standard seller categories for a regular GST number and identifies Books as a GST exception. Sellers should confirm the live requirement for their category in Seller Hub and treat government GST eligibility as a separate legal question.
Flipkart currently identifies Books as the published GST-exempt onboarding category. Government GST rules also contain conditional provisions for certain unregistered ecommerce suppliers, but marketplace support is separate; check both official GST guidance and the live Seller Hub category flow.
PAN alone should not be assumed to replace the standard tax requirements for every category. Flipkart’s current app information references PAN details for its Books-category GST exception; other categories should follow the GST/tax prompts shown during onboarding.
Use an active account suitable for receiving marketplace settlements and enter the account number, IFSC and requested holder/business details accurately. The live onboarding screen will determine any additional bank-verification requirements.
Open the official Seller Hub, verify your mobile and email, add the applicable tax details, pickup/business information and bank account, complete the seller profile, prepare at least one product listing, then submit any remaining verification steps shown in the dashboard.
Flipkart promotes account creation in around 10 minutes when details are ready. Final verification or activation may take longer when documents, tax records, bank details, pickup information, category checks or product-listing requirements need additional review.
The seller signup itself is generally presented as free, while marketplace selling involves category-dependent fees and operational charges after you start selling. Review current fee information inside Seller Hub before setting final prices.
Common checks include GSTIN or legal-name mismatch, incomplete pickup information, bank detail errors, missing profile fields or incomplete product-listing information. Use the exact Seller Hub message as the starting point because the reason can differ by account.
An individual or proprietorship may be able to onboard when the applicable tax, bank, identity, pickup and category requirements are satisfied. The exact entity and tax details should match the live registration pathway and official records.
Where GSTIN is required, enter it exactly and ensure the associated legal business name, registered state and status are correct. If Seller Hub asks for related business or pickup details, keep them consistent with the records you are using for onboarding.
Complete the seller profile, publish an accurate product listing, prepare marketplace-quality images, set stock and pricing, review fulfilment and fees, understand the settlement dashboard and monitor account notifications for listing or verification issues.